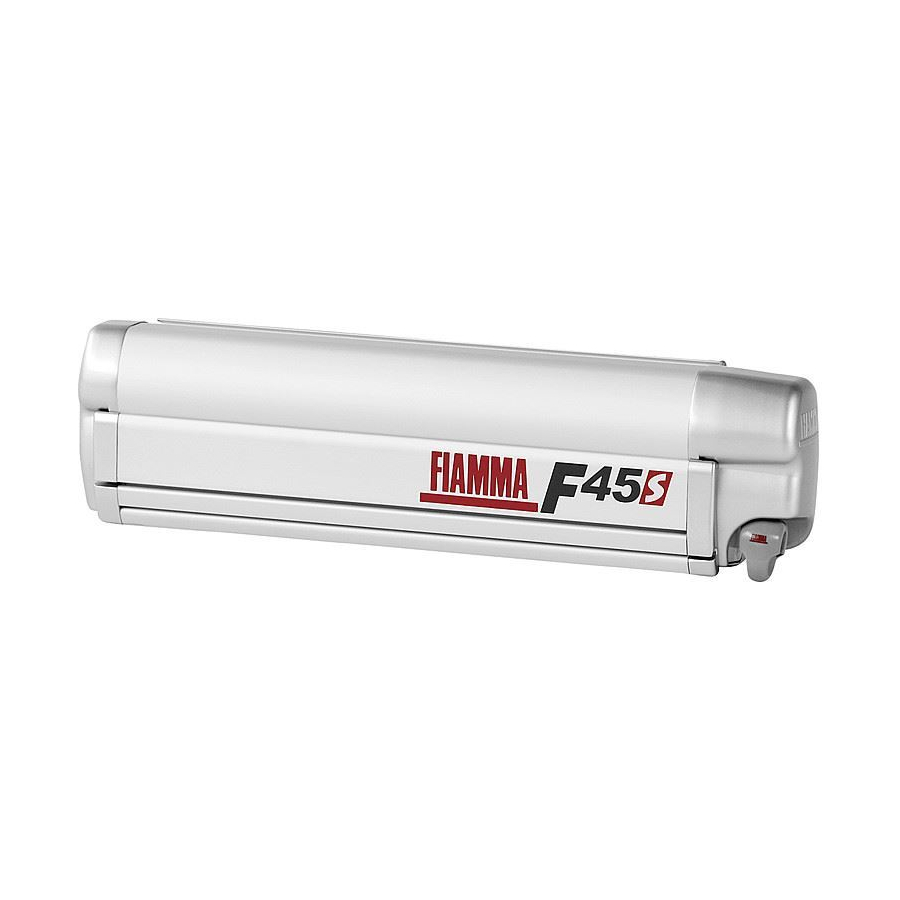
Fiamma F45S Maintenance And Repairs
Hide thumbs
Also See for F45S:
- Installation and usage instructions (45 pages) ,
- Installation and use instructions manual (33 pages) ,
- Installation instructions manual (8 pages)
Advertisement
Quick Links
Advertisement

Subscribe to Our Youtube Channel
Related Manuals for Fiamma F45S


Summary of Contents for Fiamma F45S
- Page 1 F45 • Maintenance and repairs...
- Page 2 1 person FABRIC REPLACEMENT ARMS REPLACEMENT p.18 30 minutes 20 minutes Necessary tools: 2 persons Necessary tools: 2 persons Necessary tools: Torque or ratchet wrench 10 and 13 mm Philips and Flat screwdriver Meter INDEX Copyright ©2014 Fiamma SpA - 2...
- Page 3 Solution: A.2 • Adjust the upper bolt of the Dual Shock Absorber by tightening or loosening slightly on the side where the lead bar is lower (wrench 10mm). INDEX Copyright ©2014 Fiamma SpA - 3...
- Page 4 Problem: B.1 • The lead bar of the awning doesn’t close properly in the left side. Solution: B.1 • Open the awning and locate the end part of the roller tube (Presto Fix). INDEX Copyright ©2014 Fiamma SpA - 4...
- Page 5 B • Lead bar does not close properly B.3 • With a flathead screwdriver, turn the left side of the Presto Fix clockwise (downwards) of one or two shots. INDEX Copyright ©2014 Fiamma SpA - 5...
-
Page 6: Fabric Replacement
C • Fabric replacement FABRIC REPLACEMENT C.1 • Fully open the awning. C.2 • Remove the screws on both of the end covers as shown in images. INDEX Copyright ©2014 Fiamma SpA - 6... - Page 7 C • Fabric replacement C.3 • Unhook the upper case cover by lifting it upwards. For F45 L: slide it by pulling it from the left side before removing the end cap (see C.6). INDEX Copyright ©2014 Fiamma SpA - 7...
- Page 8 C • Fabric replacement C.4 • Remove the two legs from the lead bar of the awning (wrench 10 mm). C.5 • Remove the screws that secure the fabric on both sides of the lead bar. INDEX Copyright ©2014 Fiamma SpA - 8...
- Page 9 C • Fabric replacement C.6 • Remove the second and third screw from the left end cap. C.7 • Remove the left end cap. INDEX Copyright ©2014 Fiamma SpA - 9...
- Page 10 C.10 C.10 • Slide the new fabric in C.9 • Remove the roller tube from the lead bar of the awning. the lead bar of the awning. INDEX Copyright ©2014 Fiamma SpA - 10...
- Page 11 C • Fabric replacement C.11 C.11 • Unroll the new fabric. C.12 • Insert the roller tube in the right end cap. C.12 INDEX Copyright ©2014 Fiamma SpA - 11...
- Page 12 C • Fabric replacement C.13 C.13 • Reassemble C.14 the right end cap. C.14 • Fasten the left end cap with its two screws. INDEX Copyright ©2014 Fiamma SpA - 12...
- Page 13 C • Fabric replacement C.15 C.15 • Reassemble the cover on the case. INDEX Copyright ©2014 Fiamma SpA - 13...
- Page 14 C • Fabric replacement C.16 • Fasten the cover of the case with its two screws. C.16 INDEX Copyright ©2014 Fiamma SpA - 14...
- Page 15 C • Fabric replacement C.17 • When the closure is nearly complete check that the arms are aligned: if they were not, align them manually. C.17 INDEX Copyright ©2014 Fiamma SpA - 15...
- Page 16 C.18 After tightening the screws, if the arms are not aligned, further tighten the screw in the side where the arm is closer to the lead bar. INDEX Copyright ©2014 Fiamma SpA - 16...
- Page 17 C • Fabric replacement C.19 C.19 • Reassemble the legs on the lead bar. Video INDEX Copyright ©2014 Fiamma SpA - 17...
- Page 18 D • Arms replacement ARMS REPLACEMENT D.1 • Fully open the awning. INDEX Copyright ©2014 Fiamma SpA - 18...
- Page 19 D • Arms replacement D.2 • Remove the leg from the lead bar of the awning (wrench 10 mm), only the one in the same side of the arm to be replaced. INDEX Copyright ©2014 Fiamma SpA - 19...
- Page 20 D • Arms replacement D.3 • Remove screw and nut that secures the arm to Dual Shock Absorber (wrench 10 mm) located inside the case box (only for the arm to be replaced). INDEX Copyright ©2014 Fiamma SpA - 20...
- Page 21 D • Arms replacement D.4 • Slightly loosen the nut that secures the arm to the lead bar of the awning and remove the arm by sliding it outwards. INDEX Copyright ©2014 Fiamma SpA - 21...
- Page 22 D • Arms replacement ATTENTION D.5 • Bend your arm and secure it by tying it with a rope or with a rigid elastic. INDEX Copyright ©2014 Fiamma SpA - 22...
- Page 23 D • Arms replacement D.6 • Remove the arm of Dual Shock Absorber paying attention to the internal spring that could come out of its seat. INDEX Copyright ©2014 Fiamma SpA - 23...
- Page 24 D • Arms replacement D.7 • Secure the new arm (D.5) and then insert it using the spring that was in the previous one. INDEX Copyright ©2014 Fiamma SpA - 24...
- Page 25 D • Arms replacement D.8 • Fully tighten the lower nut. Tighten the upper nut leaving it free to move. D.9 • Remove the safety equipment (rope or rigid elastic) and open the arm. INDEX Copyright ©2014 Fiamma SpA - 25...
- Page 26 D • Arms replacement D.10 • Insert the other end of the arm in thelead bar of the awning. D.10 D.11 • Tighten the screw once properly positioned the bracket. INDEX Copyright ©2014 Fiamma SpA - 26...
- Page 27 D • Arms replacement D.11 D.12 • Measure the distance from the hooking of the arm to the edge of the lead bar with a metre. INDEX Copyright ©2014 Fiamma SpA - 27...
- Page 28 D • Arms replacement D.13 • Reopen the awning, put the arm on the lead bar using the measurement taken previously, then secure the attachment of the arm to the lead bar. D.12 INDEX Copyright ©2014 Fiamma SpA - 28...
- Page 29 D • Arms replacement D.13 D.14 • Reassemble the leg on the lead bar. INDEX Copyright ©2014 Fiamma SpA - 29...
Need help?
Do you have a question about the F45S and is the answer not in the manual?
Questions and answers