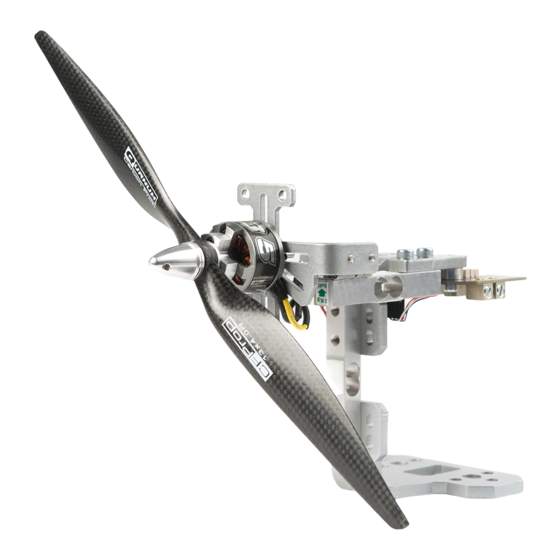
RCbenchmark 1580 Series Assembly Manual
Dynamometer
Hide thumbs
Also See for 1580 Series:
- Assembly manual (16 pages) ,
- General user manual (28 pages) ,
- Assembly manual (4 pages)
Advertisement
Quick Links
Included
-Assembly manual (1)
-Data acquisition board (1)
-Calibration bar (1)
-Calibration weight (200g)
-Black knobs (2)
-Motor mounting part (1)
-Lower structural part (1)
-Upper structural part (1)
-Power cables (2 x 75cm)
-Load cell 2 kg (2)
-Load cell 5 kg (1)
-Hinges (2)
-Tie-wraps (≈10)
-Hex keys (3)
-Washers to install motors (1 bag)
-USB cable (1)
Dynamometer Series 1580
Assembly Manual 1.12
For the latest version
of the manual and
extra tutorials, please visit
RCbenchmark.com
-RPM probes (1 + 1 extra)
-Spacers (2)
-Washers M4 (2)
-M4 5mm (12)
-M4 12mm (4)
-M5 12mm (6)
Note: for increased safety, you may use removable (blue) thread-
locking fluid to secure the screws. Do not use permanent (red) fluid.
1
Install 5kg load cell
5kg
2
Install 2kg load cell and
upper structural part
Upper
structural
part
2x M5
Wires out on
this side
2x M4
Lower structural
part
Wires pointing
inside for both load
cells
2x 2kg
load cell
4x M5
⚠
Do not
tighten
yet.
Advertisement

Subscribe to Our Youtube Channel
Summary of Contents for RCbenchmark 1580 Series
- Page 1 Wires out on this side 2x M4 For the latest version of the manual and Lower structural extra tutorials, please visit part RCbenchmark.com Install 2kg load cell and Wires pointing upper structural part inside for both load cells Included -Assembly manual (1)
- Page 2 Attach hinges to motor mounting part Position 2kg load cells parallel to each other and tighten Tighten 4x Tighten 4x 4x M4 5mm 2x Hinge Parallel Motor mounting part Assemble data acquisition board, motor mounting part, and lower structural part Top view 4x M4 5mm Connect in the following order: the load...
- Page 3 8) Do not use voltages over 35V. device (as seen in the image below), you may need to install a 9) Always disconnect the power source before manipulating the driver. For driver installation support, visit: equipment. rcbenchmark.com/installation-and-drivers/. Press "Connect" Power system schematic RPM probe Calibration...
- Page 4 2x C-clamp for attaching to ⚠ Do not table reverse For questions regarding the installation of the device, please polarity contact us at support@rcbenchmark.com You can send us feedback and bug reports anonymously directly from the app in the "Welcome" tab.


Need help?
Do you have a question about the 1580 Series and is the answer not in the manual?
Questions and answers