
Related Manuals for Redback MOWRO RM18


Summary of Contents for Redback MOWRO RM18
- Page 1 MOWRO RM18 Operation Manual this manual. Failure to follow this important safety information may result in serious injury. Carefully read and understand the manual completely before attempting to operate the MowRo.
- Page 2 For Service or Questions Call 1-800-976-3009 www.mowro.com...
- Page 3 Table of Contents Important Safety Information .............................. Warranty Information ..............Mower Part and Overview ..............Planning and Layout Guide ..............Docking Station Installation .................. Mower Operations ..................Mower Sensors ................. Color Customization ............Mower Maintenance and Storage ..................Troubleshooting ...........
- Page 4 Important Safety Information WARNING WARNING: Read and thoroughly understand all instructions and safety information before assembling or operating the MowRo Lawn Mower. Failure to do so may cause serious injury. Do not allow anyone to operate this MowRo Lawn Mower who has not read this manual. As with all power equipment, the MowRo can be dangerous if assembled or used improperly.
- Page 5 Important Safety Information General Safety Failure to follow warnings, cautions, assembly and operation instructions in the Operation Manual may result in serious injury. DANGER READ THE OPERATION MANUAL BEFORE OPERATION. • Do not permit children to operate this equipment at any time. •...
- Page 6 Important Safety Information Safety Icons Safety icons are to remind you of important information while you are operating the unit. The MowRo has sharp blades. Use Use caution when operating this power caution when operating around other equipment. people and pets. Read and understand the Operation Keep your hands and feet away from the Manual before operating the MowRo...
- Page 7 (2) years against defects in materials, parts or workmanship. Redback, at its own discretion, will repair or replace any and all parts found to be defective, through normal use. This warranty is valid for only units that have been used for personal use, and that has been maintained in accordance with the instructions in the owner’s manual.
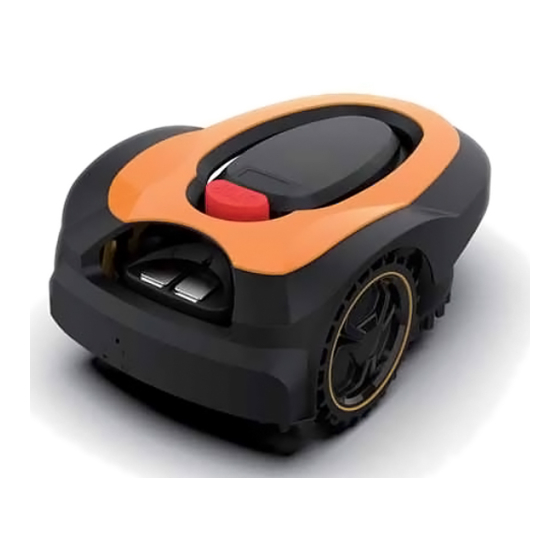
- Page 8 Overview Rain Sensor Area PIN Code Start Time Clock On / Off switch Battery capacity Setting Start Confirm Return to charging station Emergency stop Charging electrode Cutting height adjustment Handle Rear wheel Front wheel Chasis protection...
- Page 9 6 pegs for the charging station 100m boundary line 150 boundary line pegs 100m boundary line 2 Wire Clamps 4 Wire Splicers 9 spare blades with screws Power Supply Transformer Green blinking, charging. Green firmly, stand-by Boundary line disconnected Signal frequency *Only available on APP version Boundary line connector Connection to PSU...
- Page 10 Planning and Laying the Boundary Line Laying Boundary Lines In order to make the Robot Mower mow within the desired area – and only that area – you need to mark the area by means of boundary wiring. Remove all foreign objects, rocks, roots, etc.
- Page 12 Docking Station Installation Avoid placing the docking station in a corner of the lawn or in low-lying areas where the docking station or the Robot Mower may be damaged by puddles, or under a high tree due to the risk of lightning. Note: It is important that the adapter and the electrical plug are always kept dry! The docking station must have 6.5 feet of free space in front of it so the...
- Page 13 Operation PIN Code Clock Mow Area Start Time Rain Sensor Power switch Battery Capacity Settings Mower Operation Note: To ensure proper setup, verify that the mower is fully charged and is in contact with the docking station. Note: Make sure that the path of perimeter is compeltly clear before operating. Unlocking the Mower 1) Turn on the mower by switching the red button (located to the left of the LCD screen)
- Page 14 Operation Settings Guide and Automatic Start 1) Unlock the mower. (If locked, see steps 1-7 in the Unlocking the Mower section.) 2) Once the mower is unlocked press the “Set” button to shift through the icons at the top of the screen. Setting Your Security PIN 1) Unlock the mower.
- Page 15 Operation Setting the Mow Area Note: Roughly measure the size of your lawn to determine its area. 1) Unlock the mower. (If locked, see steps 1-7 in the Unlocking the Mower section.) 2) Press the “Set” button until the meters squared icon is showing at the top of the LCD screen.
- Page 16 Sensors Obstacle/Contact Sensor When the Robot Mower meets an obstacle, it will reverse and change direction to avoid the obstacle. If it does not find a new path within 3 seconds, the cutting motor stops. If it does not find a new path within 10 seconds, the robot will shut down and it will require a manual restart.
- Page 17 Color Customization CUSTOMIZE FOR YOUR STYLE WITH OPTIONAL DECORATIVE COLORED HOUSING ORANGE BLACK PINK BLUE WHITE GREEN GRAY TO BUY CUSTOM COLORS GOT TO WWW.MOWRO.COM Installation instructions - http://rm18colorswap.mowro.com PART#20740220-COLOR...
- Page 18 Maintenance and Storage Cleaning the Robot Mower Lift the front and rear covers and remove any collected debris, grass clippings and dust using a soft brush, vacuum or damp cloth. Repeat for the bottom side of the robot using care when handling the blade disc and blades.
- Page 19 Maintenance and Storage DANGER Blades are extremely sharp and will cut even when dull. Use caution when replacing. Wear gloves to protect hands from cuts. Storage Disconnect the docking station from the AC power adapter. Remove the ends of the boundary wire from the docking station. Turn the power switch off on the Robot Mower to protect the battery.
- Page 20 Troubleshooting Testing the Docking Station Symptom Cause Action Robot doesn’t leave docking station. PIN not entered correctly. Enter factory default PIN (0000) or PIN set by user. NOTE: Forgot PIN? Contact customer service Battery is not charged. Allow robot to charge until battery symbol has 4 bars on LCD screen.
- Page 21 Information Codes Information Codes: Displayed on LCD Screen NOTE: How to Manually Restart - Place the machine within 1m near the boundary line, enter correct PIN code, then press “start”. Status Code Cause Solution STOP Button has been engaged. Manually restart the mower. Lift sensor has been triggered.
- Page 22 Information Codes Information Codes: Displayed on LCD Screen NOTE: How to Manually Restart - Place the machine within 1m near the boundary line, enter correct PIN code, then press “start”. Battery overheat. If this issue persists, please contact customer service. Robot is out of boundary line Robot mower is outside boundary wire? Boundary line is perimeter.
- Page 23 IMPORTANT NOTICE We, the manufacturer, reserve the right to change the product and/ information usage only and the pictures and drawings depicted herein are for reference only. Warranty Repair and Service Do not return this product to the store for warranty issues or repair. Call our customer service department at 1-800-976-3009 or visit www.mowro.com for the location of the nearest service center.
- Page 24 Call 1-800-976-3009 www.mowro.com Installation Video http://rm18installvideo.mowro.com...
Need help?
Do you have a question about the MOWRO RM18 and is the answer not in the manual?
Questions and answers
Hallo, i will lost my robot redback rm18 password, always was 0000 and my kid change it and now i cant start robot for work, what i can to do? How remove or change the password?
To change the password (PIN) for the Redback MOWRO RM18 robot:
1. Unlock the mower (use the current PIN or factory default 0000).
2. Press the “Set” button until the lock icon appears on the LCD screen.
3. The screen will display four zeros, with the first zero blinking.
4. Use the “OK” button to move between digits.
5. Use the up and down arrows (on the “Home” and “Start” buttons) to set each digit of the new PIN.
If you forgot the PIN, contact customer service.
This answer is automatically generated