
Related Manuals for TerraMaster D5-300C


Summary of Contents for TerraMaster D5-300C
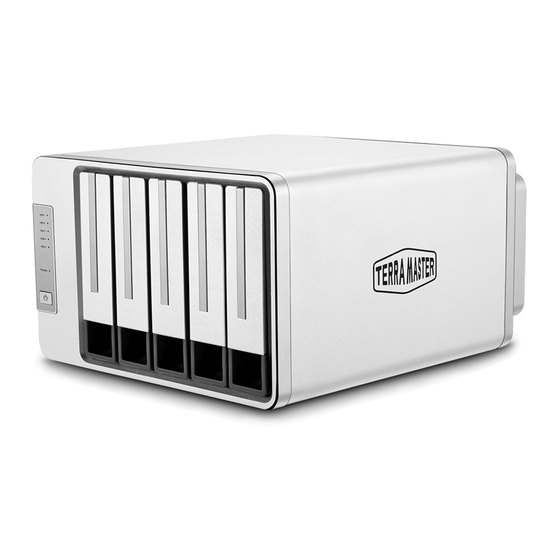
- Page 1 Data Storage Master TerraMaster RAID Storage User Manual Model: D5-300C Copyright © 2017 TerraMaster All Rights Reserved.
- Page 2 User Manual 1. Appearance Panel Illustration Rear Cover Illustration ① ② ⑧ ⑦ ③ ⑥ ④ ⑤ Item Description Off: Hard drive not detected or hard drive in sleep mode Green: Hard drive is ready ① Hard Drive Flashing Green: Reading/writing Indicators 1 &...
-
Page 3: Hard Drive Installation
2. Hard Drive Installation 1. Pull the handle out of the hard drive tray, grasp it, and draw the hard drive tray from the device. Fix the hard drive and the tray in place using the screws provided, and insert the tray into the device along the track. -
Page 4: Raid Setup
3. RAID Setup The D5-300C houses 5 drive bays. The first two are RAID-capable, and the remaining 3 are independent. This gives you maximum security, flexibility, and storage space in the same chassis. This is known as a RAID 2 + 3 configuration (i.e., 2 RAID drives and 3 single drives). -
Page 5: Troubleshooting
Step 2: Select a RAID mode. You can do this by using a screwdriver to turn the rotary switch located on the rear cover, moving the pointer to your desired RAID mode. Step 3: To ensure the newly-selected RAID mode takes effect, use a pin to press and hold the RESET button for 5 seconds. - Page 7 Mac OS 1. Go to “Disk Utility > External”; 2. Use the menu to find an unallocated disk; 3. Select the unallocated disk and click “Erase”; 4.Select the relevant “Name”, “Format”, and “Scheme” from the menu and click “Erase”; 5. Once the “Erase” process is finished, RAID initialisation is complete.
-
Page 8: Data Recovery
Warning! Changing your device’s RAID mode could lead to hard drive formatting, which would delete all data from the hard drives. Therefore, please back up your hard drive data before switching RAID mode. 5. Data Recovery RAID 1 comprises a mirror of the data contents held on two or more disks. If a hard drive becomes faulty, you can just replace the defective hard drive. - Page 9 Note: 1. Your device must be powered on for the entire time that you are replacing the faulty hard drive; 2. Please ensure that the capacity of the newly-inserted hard drive is greater than or equal to the capacity of the faulty hard drive; 3.
Need help?
Do you have a question about the D5-300C and is the answer not in the manual?
Questions and answers