Advertisement
Quick Links
sauder.com
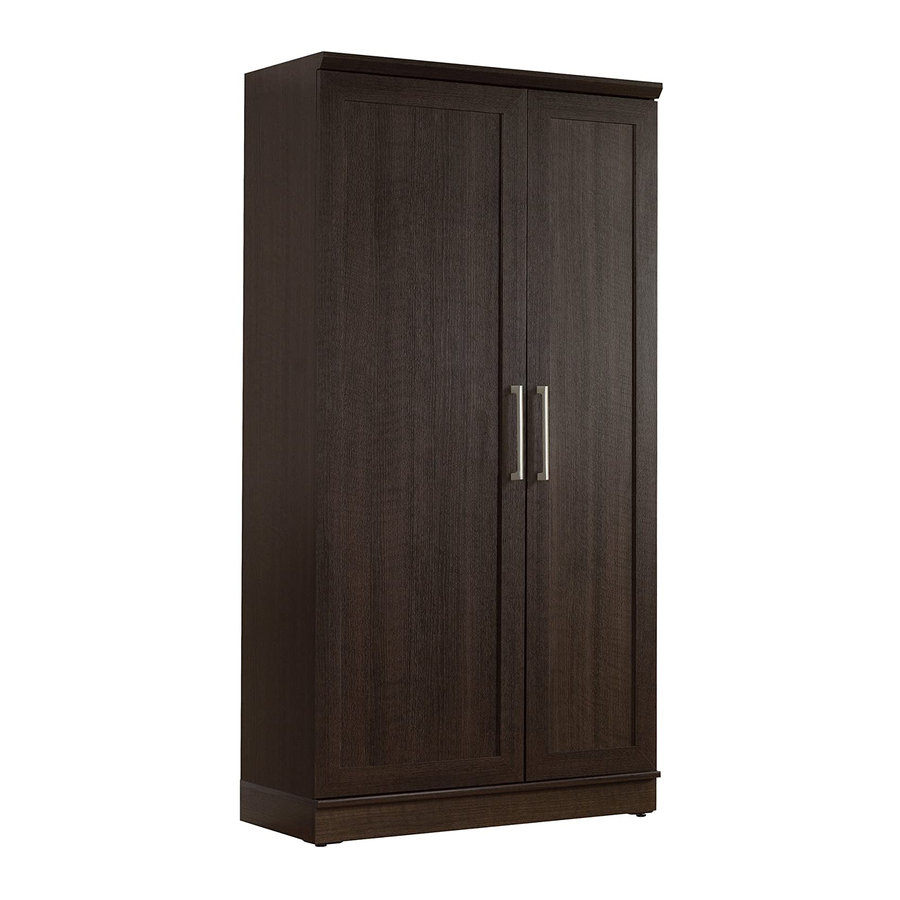
Storage Cabinet
HomePlus Collection | Model 411572
Need help? Visit Sauder.com to view video assembly tips or chat with a live rep.
Prefer the phone? Call 1-800-523-3987.
Share your journey!
Store behind
closed doors.
NOTE: THIS INSTRUCTION
BOOKLET CONTAINS IMPORTANT
SAFETY INFORMATION.
PLEASE READ AND KEEP FOR
FUTURE REFERENCE.
English pg 1-36
Français pg 37-40
Español pg 41-44
Lot # 367954
01/08/15
Purchased: __________________
Be sure to give us a ring before
making any returns. 1-800-523-3987
Advertisement

Related Manuals for Sauder HomePlus 411572


Summary of Contents for Sauder HomePlus 411572
- Page 1 HomePlus Collection | Model 411572 NOTE: THIS INSTRUCTION BOOKLET CONTAINS IMPORTANT SAFETY INFORMATION. Need help? Visit Sauder.com to view video assembly tips or chat with a live rep. PLEASE READ AND KEEP FOR FUTURE REFERENCE. Prefer the phone? Call 1-800-523-3987.
- Page 2 DOOR END (1) SMALL SHELF (1) FRONT SKIRT (1) UPRIGHT (1) BACK (1) SIDE SKIRT (2) TOP (1) LARGE DOOR (1) TOP MOLDING (1) BOTTOM (1) SMALL DOOR (1) DOOR SHELF (3) LARGE ADJUSTABLE SHELF (2) Page 2 411572 www.sauder.com/services...
- Page 3 Now you know Part Identifi cation our ABCs. Hardware Identifi cation FRONT FOOT - 2 REAR FOOT - 2 TWIST-LOCK ® FASTENER - 27 METAL BRACKET - 1 www.sauder.com/services 411572 Page 3...
- Page 4 SILVER 5/8" FLAT HEAD SCREW - 8 SILVER 3/4" MACHINE SCREW - 2 BLACK 9/16" LARGE HEAD SCREW - 19 BLACK 9/16" WAFER HEAD SCREW - 4 BLACK 1/2" FLAT HEAD SCREW - 8 NAIL - 72 Page 4 411572 www.sauder.com/services...
- Page 5 Assemble your unit on a carpeted fl oor or on the empty carton to avoid scratching your unit or the fl oor. å To begin assembly, push a SAUDER TWIST-LOCK® FASTENER (V) into the large holes in the ENDS (A and B), DOOR å...
- Page 6 Fasten the LARGE SHELF (I) to the LARGE END (B). å Tighten two TWIST-LOCK® FASTENERS. ® How to use the SAUDER TWIST-LOCK FASTENER 1. Insert the dowel end of the FASTENER into the hole of the adjoining part. NOTE: The dowel end of the FASTENER must remain fully inserted in the hole of the adjoining part while locking the FASTENER.
- Page 7 BLACK 1-7/8" FLAT HEAD SCREW (2 used in this step) These four holes must be here. 34-3/4" 34-3/4" The measurement must be as shown. If it is not, then fl ip the UPRIGHT (D) end for end. www.sauder.com/services 411572 Page 7...
- Page 8 Fasten the SMALL SHELF (J) to the UPRIGHT (D). Tighten å two TWIST-LOCK® FASTENERS. Angled edge Finished edge S u r f a c I S T i t h - L O F A S T E N ® E R S Page 8 411572 www.sauder.com/services...
- Page 9 SHELF (J). Tighten four TWIST-LOCK® FASTENERS. Edge with i t h o ® TWIST-LOCK® f a c S u r - L O FASTENERS I S T E R S T E N F A S www.sauder.com/services 411572 Page 9...
- Page 10 å UPRIGHT (D). Use six BLACK 1-7/8" FLAT HEAD SCREWS (MM). Rounded edge fi n i s h r f a Drill through these pre-drilled holes. BLACK 1-7/8" FLAT HEAD SCREW (6 used in this step) Page 10 411572 www.sauder.com/services...
- Page 11 BLACK 9/16" WAFER HEAD SCREWS (QQ) through the FEET and into the BOTTOM as shown in the lower diagram. (4 used) This hole must be here. BLACK 9/16" WAFER HEAD SCREW (4 used for the FEET) www.sauder.com/services 411572 Page 11...
- Page 12 NAIL (72 used for the BACK) SILVER 5/8" FLAT HEAD SCREW (8 used for the FOOT BASE) Turn completely in. These holes must be here. BLACK 9/16" LARGE HEAD SCREW (2 used for the ANGLE BRACKET) Page 12 411572 www.sauder.com/services...
- Page 13 NOTE: Be sure the PINS insert into the edges of the å DOOR SHELVES and DOOR UPRIGHT before you tighten the TWIST-LOCK® FASTENERS. Edge with TWIST-LOCK® FASTENERS Now might be a good time to refresh your drink. Plastic edge Plastic edge www.sauder.com/services 411572 Page 13...
- Page 14 BLACK 1/2" FLAT HEAD SCREW (2 used for the STRIKE PLATES) SILVER 3/4" MACHINE SCREW (2 used for the PULL) IMPORTANT: The PULL (X) must be fastened to the DOOR before the END and UPRIGHT are fastened. Page 14 411572 www.sauder.com/services...
- Page 15 Push the DOOR STOPS (Z) into the holes in the top and å bottom corners of the UPRIGHT (D). Place packing material, books, or magazines underneath the SMALL DOOR for support. BLACK 9/16" LARGE HEAD SCREW (8 used for the HINGES) www.sauder.com/services 411572 Page 15...
- Page 16 Step 12 Fasten three SPRING HINGES (EE) to the LARGE DOOR (L). LARGE DOOR ON LEFT å Use six BLACK 1/2" FLAT HEAD SCREWS (SS). BLACK 1/2" FLAT HEAD SCREW (2 used for the HINGES) Page 16 411572 www.sauder.com/services...
- Page 17 å SCREWS (NN). Stop See the next step for DOOR adjustments. å Mounting screw Hinge SILVER 7/8" MACHINE SCREW (2 used for the PULL) Floor Turn the ADJUSTABLE FEET downward until it touches the fl oor. www.sauder.com/services 411572 Page 17...
- Page 18 To adjust the DOORS in or out (depth), loosen the mounting å screw one turn and move the DOORS in or out, as needed. Tighten the mounting screw after making adjustments. Mounting screw (depth) Adjusting screw (horizontal) (vertical adjustment) Page 18 411572 www.sauder.com/services...
- Page 19 LARGE END (B) and UPRIGHT (D). Set the ADJUSTABLE SHELVES (N and P) onto the METAL PINS. If you're doing this to help a friend, don't leave without a bite. (12 used) (12 used) (16 used) www.sauder.com/services 411572 Page 19...
- Page 20 20 lbs. (1 used into the top of your unit) 5 lbs. 30 lbs. 25 lbs. 5 lbs. (6 used) 35 lbs. (8 used) 20 lbs. 5 lbs. 30 lbs. 5 lbs. 5 lbs. 60 lbs. Page 20 411572 www.sauder.com/services...
- Page 21 LARGE DOOR ON RIGHT å carton to avoid scratching your unit or the fl oor. To begin assembly, push a SAUDER TWIST-LOCK® å FASTENER (V) into the large holes in the ENDS (A and B), DOOR END (C), T OP (E), DOOR SHELVES (G), LARGE SHELF (I), DOOR UPRIGHT (H), and SMALL SHELF (J).
- Page 22 TWIST-LOCK® FASTENERS. Fasten the LARGE SHELF (I) to the LARGE END (B). å Tighten two TWIST-LOCK® FASTENERS. How to use the SAUDER TWIST-LOCK ® FASTENER 1. Insert the dowel end of the FASTENER into the hole of the adjoining part.
- Page 23 BLACK 1-7/8" FLAT HEAD SCREW (2 used in this step) These four holes must be here. 34-3/4" 34-3/4" The measurement must be as shown. If it is not, then fl ip the UPRIGHT (D) end for end. www.sauder.com/services 411572 Page 23...
- Page 24 Fasten the SMALL SHELF (J) to the UPRIGHT (D). Tighten å two TWIST-LOCK® FASTENERS. Angled edge Finished edge i t h f a c ® S u r - L O I S T E R S T E N F A S Page 24 411572 www.sauder.com/services...
- Page 25 SHELF (J). Tighten four TWIST-LOCK® FASTENERS. Edge with TWIST-LOCK® FASTENERS S u r f a c i t h o I S T - L O F A S T E N ® E R S www.sauder.com/services 411572 Page 25...
- Page 26 å UPRIGHT (D). Use six BLACK 1-7/8" FLAT HEAD SCREWS (MM). Rounded edge i s h fi n r f a Drill through these pre-drilled holes. BLACK 1-7/8" FLAT HEAD SCREW (6 used in this step) Page 26 411572 www.sauder.com/services...
- Page 27 BLACK 9/16" WAFER HEAD SCREWS (QQ) through the FEET and into the BOTTOM as shown in the lower diagram. (4 used) (4 used) This hole must be here. BLACK 9/16" WAFER HEAD SCREW (4 used for the FEET) www.sauder.com/services 411572 Page 27...
- Page 28 NAIL SILVER 5/8" FLAT HEAD SCREW (72 used for the BACK) (8 used for the FOOT BASE) Turn completely in. These holes must be here. BLACK 9/16" LARGE HEAD SCREW (2 used for the ANGLE BRACKET) Page 28 411572 www.sauder.com/services...
- Page 29 NOTE: Be sure the PINS insert into the edges of the å DOOR SHELVES and DOOR UPRIGHT before you tighten the TWIST-LOCK® FASTENERS. Edge with TWIST-LOCK® FASTENERS Plastic edge Plastic edge Now might be a good time to refresh your drink. www.sauder.com/services 411572 Page 29...
- Page 30 BLACK 1/2" FLAT HEAD SCREW (2 used for the STRIKE PLATES) SILVER 3/4" MACHINE SCREW (2 used for the PULL) IMPORTANT: The PULL (X) must be fastened to the DOOR before the END and UPRIGHT are fastened. Page 30 411572 www.sauder.com/services...
- Page 31 Push the DOOR STOPS (Z) into the holes in the top and å bottom corners of the UPRIGHT (D). Place packing material, books, or magazines underneath the SMALL DOOR for support. BLACK 9/16" LARGE HEAD SCREW (8 used for the HINGES) www.sauder.com/services 411572 Page 31...
- Page 32 Step 28 Fasten three HINGES (EE) to the LARGE DOOR (L). Use LARGE DOOR ON RIGHT å six BLACK 1/2" FLAT HEAD SCREWS (SS). BLACK 1/2" FLAT HEAD SCREW (2 used for the HINGES) Page 32 411572 www.sauder.com/services...
- Page 33 Fasten a PULL (X) to the LARGE DOOR (L). Use two BLACK 7/8" MACHINE SCREWS (NN). å See the next step for DOOR adjustments. å Stop Mounting screw Hinge SILVER 7/8" MACHINE SCREW (2 used for the PULL) Floor Turn the ADJUSTABLE FEET downward until it touches the fl oor. www.sauder.com/services 411572 Page 33...
- Page 34 To adjust the DOORS in or out (depth), loosen the mounting å screw one turn and move the DOORS in or out, as needed. Tighten the mounting screw after making adjustments. Mounting screw (depth) Adjusting screw (horizontal) (vertical adjustment) Page 34 411572 www.sauder.com/services...
- Page 35 LARGE END (B) and UPRIGHT (D). Set the ADJUSTABLE SHELVES (N and P) onto the METAL PINS. If you're doing this to help a friend, don't leave without a bite. (12 used) (12 used) (16 used) www.sauder.com/services 411572 Page 35...
- Page 36 BLACK 9/16" LARGE HEAD SCREW (1 used into the top of your unit) 5 lbs. 30 lbs. (6 used) 25 lbs. 5 lbs. 35 lbs. (8 used) 20 lbs. 5 lbs. 5 lbs. 30 lbs. 5 lbs. 60 lbs. Page 36 411572 www.sauder.com/services...
- Page 37 PETITE EXTRÉMITÉ ............1 CONSOLE DE SÉCURITÉ ........1 pour future référence. GRANDE EXTRÉMITÉ ..........1 ARRÊT DE PORTE ............2 Pour contacter Sauder en ce qui concerne cet EXTRÉMITÉ DE PORTE ...........1 GOUPILLE EN MÉTAL ......... 34 élément, faire référence MONTANT................1 MANCHON EN CAOUTCHOUC ....
- Page 38 ÉTAPE 8 Pour commencer l'assemblage, enfoncer une FIXATION TWIST-LOCK® SAUDER (V) dans les gros trous des EXTRÉMITÉS (A et B), l'EXTRÉMITÉ DE Attention:Ne pas relever l'élément dans sa position verticale avant d'avoir fi xé PORTE (C), le DESSUS (E), les TABLETTES DE PORTE (G), la GRANDE l’ARRIÈRE.
- Page 39 Assembler l'élément sur un sol à moquette ou sur le carton vide pour éviter d'endommager l'élément ou le sol. Pour commencer l'assemblage, enfoncer une FIXATION TWIST-LOCK® SAUDER (V) dans les gros trous des EXTRÉMITÉS (A et B), l'EXTRÉMITÉ DE PORTE (C), le DESSUS (E), les TABLETTES DE PORTE (G), la GRANDE TABLETTE (I), le MONTANT DE PORTE (H) et la PETITE TABLETTE (J).
- Page 40 ÉTAPE 28 Ceci complète l'assemblage. Pour nettoyer, utiliser l'encaustique pour meubles préférée ou un chiff on humide. Essuyer. Fixer trois CHARNIÈRES (EE) à la GRANDE PORTE (L). Utiliser six VIS NOIRES TÊTE PLATE 13 mm (SS). Page 40 411572 www.sauder.com/services...
- Page 41 TOPE DE PUERTA ..............2 et conserver le livret pour future référence. EXTREMO GRANDE ................1 ESPIGA DE METAL ............34 Pour contacter Sauder EXTREMO DE PUERTA ..............1 MANGUITO DE GOMA ............16 en ce qui concerne cet PARAL ......................1 DESLIZAMIENTO AJUSTABLE ........
- Page 42 Para comenzar el ensamblaje, empuje un SUJETADOR TWIST-LOCK® SAUDER (V) en los NOTA: Para levantar una esquina de la unidad, gire el DESLIZAMIENTO agujeros grandes de los EXTREMOS (A y B), del EXTREMO DE PUERTA (C), del PANEL AJUSTABLE hacia la izquierda.
- Page 43 TORNILLOS NEGROS DE CABEZA PERDIDA de 13 mm (SS). rayar la unidad o el piso. Para comenzar el ensamblaje, empuje un SUJETADOR TWIST-LOCK® SAUDER (V) en los agujeros grandes de los EXTREMOS (A y B), del EXTREMO DE PUERTA (C), del PANEL...
- Page 44 Fije las BISAGRAS (LL) al EXTREMO PEQUEÑO (A). Utilice ocho TORNILLOS un paño húmedo. Seque con un paño. NEGROS DE CABEZA GRANDE de 14 mm (RR). Empuje los TOPES DE LA PUERTA (Z) en los agujeros en las esquinas superior e inferior del PARAL (D). Page 44 411572 www.sauder.com/services...
- Page 45 • Ne pas pousser le mobilier, surtout sur la être très lourd. moquette. Se faire aider par une autre personne pour soulever l’élément et le mettre en place • Cette unité doit être placée contre un mur.. www.sauder.com/services 411572 Page 45...
- Page 46 • No empuje la unidad, especialmente sobre ser muy pesado. un piso alfombrado. Pide la ayuda de otra persona para levantar la unidad y colocarla en lugar. • Esta unidad debe ser colocada contra una pared. Page 46 411572 www.sauder.com/services...
- Page 47 à compter de la date d'achat la première fois et qui sont signalés à Sauder dans les limites de couverture de la contre tout défaut de matériaux ou de fabrication des composantes de mobilier Sauder.
- Page 48 Dear Valued Customer: So, how did it go? Thanks so much for choosing Sauder® furniture. I hope the Set a world record for speed? purchase and assembly process was a positive experience Feeling good about yourself? and you feel good about the furniture you just built. If you Nice.
Need help?
Do you have a question about the HomePlus 411572 and is the answer not in the manual?
Questions and answers