Araknis Networks 310 Series Troubleshooting Manual
Pcna network
Hide thumbs
Also See for 310 Series:
- User interface manual (52 pages) ,
- Quick start manual (17 pages) ,
- Product manual (103 pages)
Table of Contents
Advertisement
Quick Links
If you get stuck...
PCNA Network Troubleshooting Guide
Use this document if something went wrong with your network setup. By now, you should have put
together your PCNA network and connected it to the Internet through a fiber network box, cable or DSL
modem, or Ethernet network port. After you complete each of the following steps, test your Internet
connection. If you are unable to connect, go to the next step.
Overview of Troubleshooting Steps
STEP 1
STEP 2
STEP 3
STEP 4
STEP 5
STEP 6
STEP 7
STEP 8
Renew Network Host Configuration
Restart Computer
Verify Network Power
Verify Ethernet Connections
Factory Reset Network
Resolve Router Conflicts
1
Advertisement
Table of Contents

Subscribe to Our Youtube Channel
Related Manuals for Araknis Networks 310 Series


Summary of Contents for Araknis Networks 310 Series
- Page 1 If you get stuck… PCNA Network Troubleshooting Guide Use this document if something went wrong with your network setup. By now, you should have put together your PCNA network and connected it to the Internet through a fiber network box, cable or DSL modem, or Ethernet network port.
- Page 2 STEP 1 Renew your computer’s network host configuration. From the Apple () menu, click System Preferences. 2. In the System Preferences window, click Network. 3. In the list on the left, click the Ethernet connection that is labeled, “Connected.” 4. Click Advanced. 5.
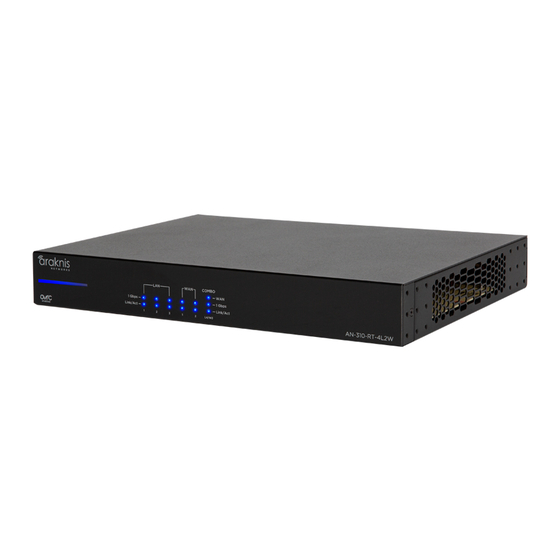
- Page 3 STEP 3 Verify the network is powered on. Verify the power cords for each device are firmly connected according to the diagram below. Note: In countries that use 240VAC, the WattBox 250 is substituted with a Pakedge P2E managed power unit. WattBox 250 Araknis 310 Router Araknis 210 Switch...
- Page 4 STEP 4 Verify the Ethernet cables are properly connected. Use the diagram below to verify that you have properly connected your networking equipment. Verify that each Ethernet cable is securely seated in the correct port. After you verify the Ethernet cables are properly connected, repeat Step 1: Renew your computer’s network host configuration, to test your Internet connection.
- Page 5 STEP 5 Factory reset network equipment. Insert a paperclip, or similar instrument, and reset each networking device to its factory settings. Reset devices in this order: the router, the switch, the wireless access point, and then the managed power unit. Wait for each device to complete the reset process before moving to the next device (approximately five minutes per device).
- Page 6 STEP 6 Resolve network conflicts between routers. If the preceding steps haven’t worked, chances are the Internet port you connected your PCNA network to uses the same network address as the Araknis 310 router. Out of the box, the router creates a network with an address of 192.168.1.0 If your fiber network box, cable or DSL modem, or Ethernet network uses the same network address, your router cannot route traffic between the Internet and your local network.
- Page 7 STEP 6 Resolve network conflicts between routers. (continued) Add an intermediate router between the Araknis 310 router and your Internet port. Just about any old router you can configure will do. If you don’t have an extra router available, there are several models of economical, “travel” size routers you can order online that will work.
- Page 8 STEP 7 Contact Your Internet Service Provider Your Internet Service Provider may have some helpful information and tips for configuring their device to work with your PCNA network. This may include putting the fiber network box, cable or DSL modem into “bridge mode.” When you contact your ISP, be prepared to explain that you are connecting your own router to their device as well as the troubleshooting steps you have already tried.
Need help?
Do you have a question about the 310 Series and is the answer not in the manual?
Questions and answers