iXsystems TrueNAS ES24 Basic Setup Manual
Expansion shelf
Hide thumbs
Also See for TrueNAS ES24:
- Basic setup manual (16 pages) ,
- Basic setup manual (10 pages) ,
- Basic setup manual (13 pages)
Table of Contents
Advertisement
Quick Links
Advertisement
Table of Contents

Related Manuals for iXsystems TrueNAS ES24


Summary of Contents for iXsystems TrueNAS ES24
- Page 1 TrueNAS ES24 Expansion Shelf ® Basic Setup Guide Version 1.9...
-
Page 2: Table Of Contents
� � � � � � � � � � � � � � � � � � � � � � � � � � � � � � � � � � � � � � � � � � � � � � � � � � � � � � � � � � � � � � � � � � � � � � Copyright © 2020 iXsystems, Inc. All rights reserved. All trademarks are the property of their respective owners. -
Page 3: Unpacking The Unit
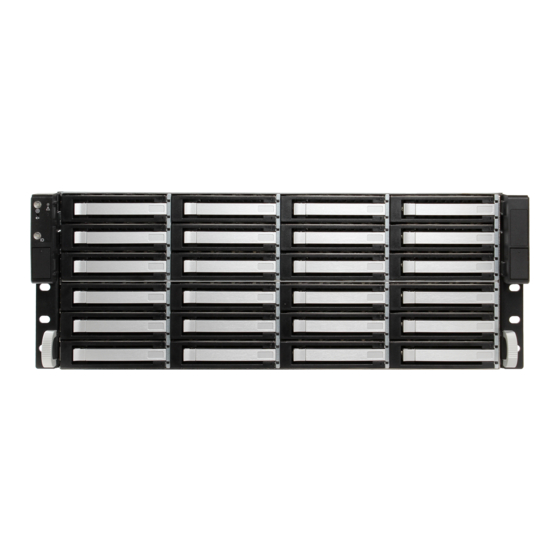
The TrueNAS ES24 is a 4U, 24-bay, SAS3 (12 Gb/s) expansion shelf with dual expansion controllers and redun- dant power supplies� 1 Unpacking the Unit TrueNAS units are carefully packed and shipped with trusted carriers to arrive in perfect condition� If there is any shipping damage or any parts are missing, please take photos and contact iXsystems support immediately support@ixsystems�com... -
Page 4: Become Familiar With The Es24 System
On the back panel is the serial number (1), two redundant power supplies (2), and two expansion controllers (5)� Each expansion controller has two HD Mini SAS3 connectors (3) for connection to a host and another HD Mini SAS3 connector for expansion (4)� Support: 855-473-7449 or 408-943-4100 Page 2 Email: support@ixsystems.com... -
Page 5: Es24 Rail Kit Assembly
3.3 Mount the Rack Rails A TrueNAS ES24 requires 4U of vertical rack space� The rack rails are installed in the bottom 2U of the total 4U height� The inner rack rail must be unlocked and retracted before installing the rail in the rack� Rotate the release lever on the back of the inner rail clockwise as shown on the arrow label (1)�... - Page 6 (1) while pushing the unit into the rack� Push the chassis into the rack until it is flush with the front of the rack (2). Anchor the unit in the rack on both sides with long M5 screws� Support: 855-473-7449 or 408-943-4100 Page 4 Email: support@ixsystems.com...
-
Page 7: Install Drive Trays
All drive bays must be filled to maintain proper air flow for cooling. If fewer than 24 drives are connected, filler blanks must be placed in the empty bays� Support: 855-473-7449 or 408-943-4100 Page 5 Email: support@ixsystems.com... -
Page 8: Connect Power Cords
Do not plug the power cords into a power outlet yet. Connect a power cord to the back of one power sup- ply� Place the cord in the plastic clamp and press the tab into the latch to lock it in place� Repeat the process for the second power supply and cord� Support: 855-473-7449 or 408-943-4100 Page 6 Email: support@ixsystems.com... -
Page 9: Connect The Expansion Shelf
If the TrueNAS system is on, it can remain on while the expansion shelf is connected� The ES24 is compatible with several TrueNAS systems� Typical SAS cable connections for connecting one or two ES24 units to TrueNAS High Availability (HA) systems are shown here� 6.1 M40 Support: 855-473-7449 or 408-943-4100 Page 7 Email: support@ixsystems.com... - Page 10 6.2 M50 Support: 855-473-7449 or 408-943-4100 Page 8 Email: support@ixsystems.com...
-
Page 11: Software Documentation
7 Software Documentation The TrueNAS Documentation Hub has software configuration and usage articles. It is available by clicking Guide in the TrueNAS web interface or going directly to https://www�truenas�com/docs� 8 Contacting iXsystems For assistance, please contact iX Support: Contact Method Contact Options https://support.ixsystems.com... - Page 12 Support: 855-473-7449 or 408-943-4100 Page 10 Email: support@ixsystems.com...
Need help?
Do you have a question about the TrueNAS ES24 and is the answer not in the manual?
Questions and answers