Table of Contents
Advertisement
Advertisement
Table of Contents

Subscribe to Our Youtube Channel
Related Manuals for Gear4music DP-6


Summary of Contents for Gear4music DP-6
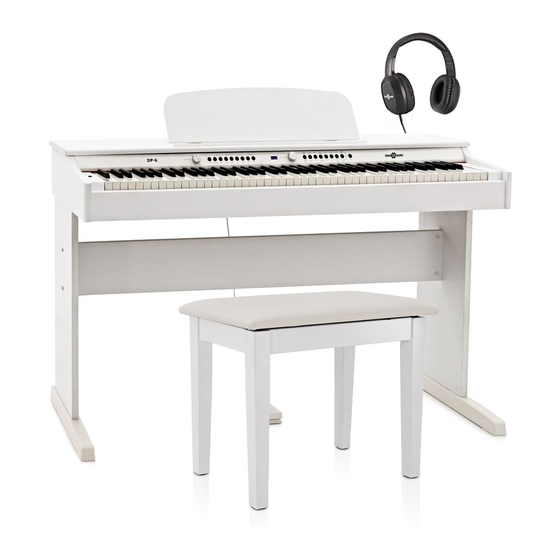
- Page 4 Thank you for choosing the Digital Piano Your piano is a high quality digital piano featuring an 88 note hammer action, touch sensitive keybed and the most advanced PCM tone generation technology that combined will provide you with a rich performing and playing experience.
-
Page 5: Table Of Contents
Contents .............. Panel Control ............. Play the piano ............1. Using DC Power Jack ................2. Standny/On ..............3. Adjusting Volume ............... 4. Using Headphone ......... 5. Using LINE IN And LINE OUT Jack .......... -
Page 6: Panel Control
STANDBY/ON... - Page 7 STANDBY/ON LED DISPLAY MASTER VOLUME DATA CONTROL TOUCH Button VOICES Buttons METRONOME Button BANK Button TRANS Button PEDAL Jack REVERB Button MIDI OUT Jack CHORUS Button USB TO HOST Jack SPLIT Buttons LINE IN Jack DUAL Button LINE OUT Jack DC Power Jack TRACK Button PLAY Button...
-
Page 8: Play The Piano
Play The Piano 1. Using DC Power Jack Connection for the included DC power adapter. Please use only the provided adapter. 2. Standby/On Press the [STANDBY/ON] button to turn on the power and the LED display will illuminate. STANDBY/ON Auto Standby Your piano will switch off automatically after 30 minutes of inactivity. -
Page 9: Using Line In And Line Out Jack
5. Using LINE IN And LINE OUT Jack The audio output from other sound system connected to the LINE IN jack on the bottom panel can be mixed with the sound of the unit. This function is convenient when you want to play along with a favourite song. -
Page 10: Piano Pedals
8. Piano Pedal a.Sustain Pedal(supplied) The foot pedal included with your digital piano will cause piano key sounds to decay slowly as if they were being held down. A piano-style pedal may optionally be used. The jack will auto-detect the polarity of the sustain pedal. PEDAL b.Double Pedal(optional) This digital piano can be used with a Double pedal. -
Page 11: Touch Sensitivity
10. Touch Sensitivity Press [TOUCH] button repeatedly, you can select four type of touch sensitivity styles to accommodate your play and the button indicator will light. LOW style: require more strength to produce maximal sound. NORMAL style: require standard strength to produce maximal sound. HIGH style: require less strength to produce maximal sound. -
Page 12: Transpose
12. Transpose The Transpose function will raise or lower the pitch of the keyboard in semitone increments from -12 to +12. To turn Transpose on, press the [TRANS] button. The LED will display: 0. Now use the [DATA CONTROL] knob to select the desired transpose value. DATA CONTROL TRANS 13. -
Page 13: Chorus Effect
15. Chorus Effect The Chorus effect may be applied to each voice individually and will be retained even when the power is turned off. Press [CHORUS] button to open or close the chorus function, the LED will display: c-1. Use the [DATA CONTROL] knob to adjust the chorus type (c-1 ~ c-8). -
Page 14: Split Mode
17. Split Mode Press [SPLIT] button to enter split mode, your keyboard will be divided into two sections, which means different voices can be played with the left and right hands at the same time. Enter Split Mode Press the [SPLIT] button and the Split indicator will light. The LED will show: SPL. The Split (left hand) voice will be E.PIANO and the Split Point will be F2. -
Page 15: Dual Mode
18. Dual Mode Press [DUAL] button to enter Dual voice mode, two voices will sound simultaneously when you play keyboards. DUAL a. Select Dual Voice Hold down [DUAL] button, then press the voice button to select the Dual voice. GRAND E. -
Page 16: Song Recording
20. Song Recording The Song Recorder built into the piano can record two individual tracks, allowing you to record one part and then record a second, complementary part while the first part is being played back. a. To Record a Track Press the [TRACK] button and the [PLAY] button simultaneously to enter Record Wait Mode. - Page 17 c. To Erase a Single Track in the Song Recorder: Press the [TRACK] button then use the [DATA CONTROL] knob to select the track you wish to erase. DATA CONTROL Press the [TRACK] button twice quickly. The track will be erased, and the piano will be back in Performance Mode.
- Page 18 NOTE If there is nothing recorded on either of the tracks (1 or 2), then the Song will not play. Rather, the Song LED will flash 3 times quickly, and the piano will exit Song Play Mode and resume Performance Mode, with the LED display showing the currently selected voice. e.
-
Page 19: Factory Reset
Factory Reset Performing a Factory Reset will clear all battery backed memory and restore all functions to factory defaults.Please note that anything you have recorded in the Song Recorder will be erased by this procedure! DEMO METRONOME TRANS STANDBY/ON ·Hold down the [METRONOME] and [TRANS] buttons at the same time. ·Turn the Power On. -
Page 20: Voice List
Voice List Voice Name LED Display GRAND PIANO E.PIANO 1 VIBES ROCK ORGAN HARPSI STRINGS FANTASIA UPRIGHT BASS BRIGHT PIANO E.PIANO 2 FM EP CHURCH ORGAN CLAV CHOIR WARM PAD ELECTRIC BASS... -
Page 21: Specifications
Specifications Keyboard 88 weighted, hammer-action, velocity-sensitive keys Polyphony 64 notes max. Voice Selectors Grand Piano, Bright Piano, E.Piano 1, E.Piano 2, Vibes, Fm E.piano, Rock Organ, Church Organ, Harpsi., Clav, Strings, Choir, Fantasia, Warm Pad, Upright Bass, Electric Bass Recorder Record, Play >3000 notes Pedal Control Sustain Soft(OPT)
Need help?
Do you have a question about the DP-6 and is the answer not in the manual?
Questions and answers
Power on, no sound
The Gear4music DP-6 has built-in speakers and multiple connection options, including headphone and line-out jacks. If there is no sound when powering it on, possible reasons include:
1. Headphones or External Speakers Connected – If headphones or external speakers are plugged in, the built-in speakers may be muted.
2. Volume is Low or Muted – Check if the volume is turned down or muted.
3. MIDI Controller Mode – If used as a MIDI controller through USB or MIDI out, it may not produce sound unless connected to a sound module or computer.
4. Power or Hardware Issues – Ensure the power adapter is properly connected and the piano is functioning correctly.
Checking these factors can help determine why there is no sound.
This answer is automatically generated
Pianul funcționează, ledurile luminează dar nu se aude sunet. Menționez, nu este conectat pa PC sau căști. Care e problema si ce sa fac? Mulțumesc