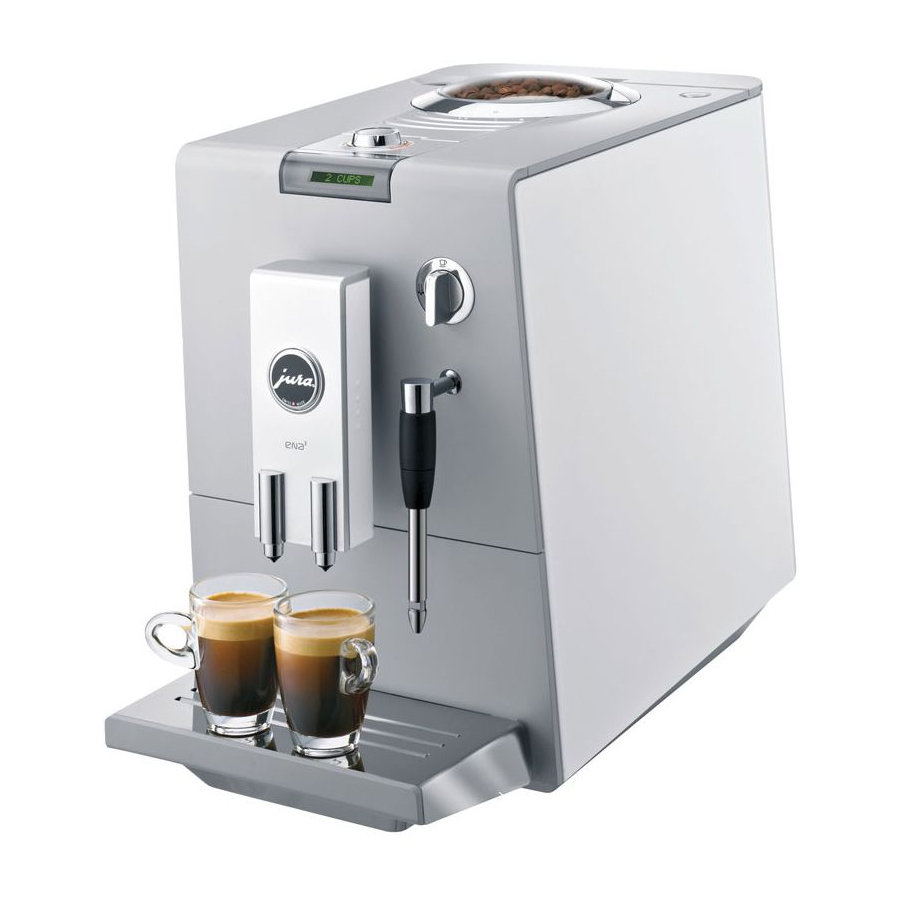
Jura ENA 3 Disassembling Manual
Hide thumbs
Also See for ENA 3:
- User manual ,
- User instruction manual (38 pages) ,
- Instructions for use manual (35 pages)
Table of Contents
Advertisement
Elektroapparate AG
Language
E
Author: Patrik Studer
Date:
Rev. A:
18.10.2007
26.10.2007
Disassembling manual
ENA 3 / ENA 5
Checked:
Rev. B:
Rev. C:
Approved:
Docu.-name:
C:\Users\Admin\Documents\Jura Manuals\Ena\ENA 5\Ena
Disassemble Manual.doc
Rev. D:
Rev. E:
Technical Support
Ena Disassemble Manual.doc
Rev. F:
Page 1/15
Advertisement
Table of Contents

Summary of Contents for Jura ENA 3
- Page 1 Disassembling manual Technical Support Elektroapparate AG ENA 3 / ENA 5 Language Author: Patrik Studer Checked: Approved: Docu.-name: Ena Disassemble Manual.doc C:\Users\Admin\Documents\Jura Manuals\Ena\ENA 5\Ena Disassemble Manual.doc Date: Rev. A: Rev. B: Rev. C: Rev. D: Rev. E: Rev. F: Page 1/15 18.10.2007...
- Page 2 ! Remove water tank and drip tray 1/ Unscrew the Oval screw 2/ Pull down the flap 3/ Pull down the whole piece 4/ Turn JURA emblem anticlockwise and unscrew the oval screw Author: Patrik Studer Checked: Approved: Docu.-name: Ena Disassemble Manual.doc...
- Page 3 Disassembling manual Technical Support Elektroapparate AG ENA 3 / ENA 5 Language 5/ Pull up fixation of the lateral part 6/ 2x Unscrew TORX 15 7/ Remove lateral part Right towards you 8/ Remove lateral part Left towards you 9/ Release snap-lock of fixation of the lateral part...
- Page 4 Disassembling manual Technical Support Elektroapparate AG ENA 3 / ENA 5 Language 11/ When re-inserting, start from beneath 12/ Removing brewing unit: Unscrew 3x TORX 15 13/ Removing ENA 5 coffee spout: 14/ Release rotatable coffee spout with Release hose and 2x TORX 10 JURA service tool ...
- Page 5 Disassembling manual Technical Support Elektroapparate AG ENA 3 / ENA 5 Language 17/ Press cap of coffee spout on the left and right 18/ Remove black part of the coffee spout towards and turn it towards you and upwards 19/ Grease slightly the O-rings with 20/ When re-assembling, press down the spike with PARALIQ GTE 703 Art.No.
- Page 6 Disassembling manual Technical Support Elektroapparate AG ENA 3 / ENA 5 Language 23/ View of disassembled coffee spout 24/ View of disassembled coffee spout 25/ Press program-lid on the rear end 26/ Pull up axe with a small screw driver...
- Page 7 Disassembling manual Technical Support Elektroapparate AG ENA 3 / ENA 5 Language 29/ Unscrew TORX 10 30/ Pull air cover forwards 31/ Lift up air cover 32/ Side view of air cover (fit-in hook) 33/ Unscrew 2x TORX 10 34/ Removing upper part: Release 1st snap-lock with a screw driver ...
- Page 8 Disassembling manual Technical Support Elektroapparate AG ENA 3 / ENA 5 Language 37/ Remove cover of Rotary Switch by releasing the 38/ Remove display module 4 snap-locks (if necessary) 39/ Removing Steam-/Hot water tap: 40/ Pull out fixation Unscrew TORX 10 ...
- Page 9 Disassembling manual Technical Support Elektroapparate AG ENA 3 / ENA 5 Language 45/ View of disassembled front 46/ Remove fixation of grinder adjuster towards you 47/ Release 4x snap-locks of the grinder adjusting 48/ Grinder adjusting ring disassembled: ring upwards Indentation to indentation ...
- Page 10 Disassembling manual Technical Support Elektroapparate AG ENA 3 / ENA 5 Language 51/ Open swinging support by pressing the snap-lock 52/ View behind the power print 53/ View of the grinder unit: 54/ Pull out cover of the grinder funnel Unscrew 3x TORX 15 and pull out grinder unit ...
- Page 11 Disassembling manual Technical Support Elektroapparate AG ENA 3 / ENA 5 Language Spot 55/ When re-inserting check the proper marks 56/ When re-inserting check the proper marks for the setting: for the setting: Grinder unit has coloured marks Depression of the grinder adjusting ring is in ...
- Page 12 Disassembling manual Technical Support Elektroapparate AG ENA 3 / ENA 5 Language 59/ Removing shield of drip tray: 60/ Disassembled shield (positions of the snap-locks) Bend slightly the shield to release the 2 snap-locks on the side Author: Patrik Studer...
- Page 13 Disassembling manual Technical Support Elektroapparate AG ENA 3 / ENA 5 Language View lateral of appliance, Right Micro switch Steam/ Thermoblock Power switch Hot water Grinder unit Membran controller Fuse Thermostat Power-/logic board Pump Geared motor Encoder Überthemperatur- Thermofuses Sicherung...
- Page 14 Disassembling manual Technical Support Elektroapparate AG ENA 3 / ENA 5 Language View brewing unit View of upper part of appliance Micro switch powder coffee View of back of appliance Fuse Inner distributing collar Transformator Flowmeter Author: Patrik Studer Checked: Approved: Docu.-name:...
- Page 15 Disassembling manual Technical Support Elektroapparate AG ENA 3 / ENA 5 Language Power-logic-Print, cable connections: TM2 To heater L TM1 To interference filter L CM2A To ON/OFF switch TM3 To heater CM2C To temperature sensor TM4 To interference filter N...


Need help?
Do you have a question about the ENA 3 and is the answer not in the manual?
Questions and answers
Is this part broken
What is this part on my ENA3