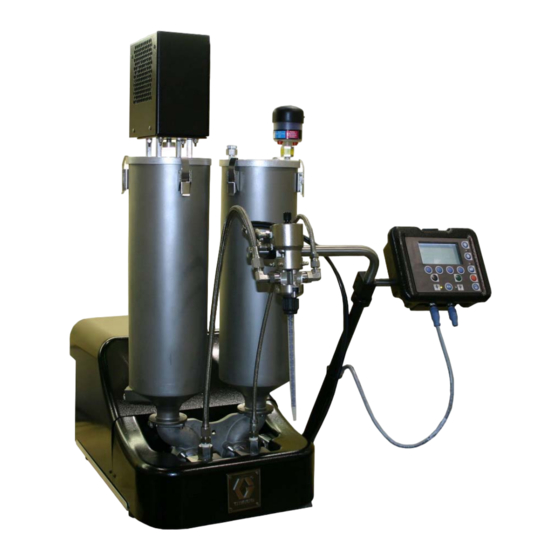
Graco PR70 Kit Instructions
Solenoid valve upgrade kit
Hide thumbs
Also See for PR70:
- Operation & maintenance manual (82 pages) ,
- Repair and parts manual (82 pages) ,
- Instructions - parts manual (74 pages)
Table of Contents
Advertisement
Quick Links
Kit Instructions
™
PR70
Upgrade Kit
For replacing the air cylinder solenoid valve on all PR70 fixed or variable ratio systems
that meter, mix, and dispense two-component materials. For professional use only.
Part No. 17J520
100 psi (0.7 MPa, 7 bar) Maximum Air Inlet Pressure
Important Safety Instructions
Read all warnings and instructions in this manual
™
and in PR70
Module Operation and Maintenance Manual
312759. Save all instructions.
Solenoid Valve
™
and PR70v
with Advanced Display
3A3229B
EN
Advertisement
Table of Contents

Summary of Contents for Graco PR70
- Page 1 Solenoid Valve Upgrade Kit 3A3229B For replacing the air cylinder solenoid valve on all PR70 fixed or variable ratio systems that meter, mix, and dispense two-component materials. For professional use only. Part No. 17J520 100 psi (0.7 MPa, 7 bar) Maximum Air Inlet Pressure...
-
Page 2: Table Of Contents
Manual Overview These instructions are for upgrading the air cylinder solenoid valve on all models of PR70 fixed or variable ratio systems. The new solenoid valve, part #17K155, included in this kit replaces part #120899. This kit 17J520 should be ordered if part #120899 fails and needs to be replaced. -
Page 3: Kit 17J520 Parts
Part Description Quantity 17D916 BRACKET, shelf 128266 SCREW, cap, socket head, 4-40 128538 CABLE, gca, pr70 61/2906-BK/11* HOSE, .245 id x .375 od, pu, 95 dur 2 ft C27076 128170 SCREW, hex, head, m4 x .7 x 10 mm 17K155 VALVE, solenoid, 3 way Not Shown. -
Page 4: Installation
2. Remove the protective shield. NOTE: The solenoid valve assembly is located at the The PR70 equipment stays pressurized until pressure rear of the PR70 and the Fluid Control Module (FCM) is is manually relieved. To help prevent serious injury located above it. -
Page 5: Replace The Solenoid Valve
Installation Replace the Solenoid Valve NOTE: The air cylinder solenoid valve and dispense solenoid valve need to be installed vertically instead of horizontally on the cylinder end block. This requires the 1. Remove the three socket head screws holding the use of the bracket (part #17D916) included in the valve air cylinder solenoid valve and the dispense sole- replacement kit. -
Page 6: Replace The Cable Harness
Installation Replace the Cable Harness 9. Cut the air line tubing (part #61/2906-BK/11) included in the kit to the appropriate lengths to make the retract and extend air cylinder connections. 1. Remove the existing cable harness that is con- Refer to Figure 7 below. nected to the FCM. - Page 7 5. Connect cable 4 to the cable running from the LVDT. NOTE: Figure 10 is a top view of a PR70 with the shield and several components removed to show the location of the LVDT.
- Page 8 Original instructions. This manual contains English. MM 3A3229 Graco Headquarters: Minneapolis International Offices: Belgium, China, Japan, Korea GRACO INC. AND SUBSIDIARIES • P.O. BOX 1441 • MINNEAPOLIS MN 55440-1441 • USA Copyright 2014, Graco Inc. All Graco manufacturing locations are registered to ISO 9001. www.graco.com...


