Keithley S46 Series Installation Manual
Microwave switch system
Hide thumbs
Also See for S46 Series:
- Instruction manual (92 pages) ,
- Installation manual (6 pages) ,
- Installation manual (5 pages)
Advertisement
Keithley Instruments, Inc.
28775 Aurora Road
Cleveland, Ohio 44139
(440) 248-0400
www.keithley.com
Introduction
This guide contains information on S46 relay installation and system configuration that is necessary after
installing new relays.
WARNING The information in this section is only intended for qualified service
personnel. Do not attempt to replace parts or otherwise service the
equipment unless you are qualified to do so.
Relay kits
Table 1 summarizes available relay kits and part numbers.
WARNING Use only the parts specified in Table 1 of this guide when servicing
the equipment. Use of improper parts may expose the operator to haz-
ardous voltages that could result in personal injury or death.
Table 1
S46 relay kits
Relay
Description
location
1 to 8
SPDT RF relay
A to D
SP4T RF relay
A to D
SP6T RF relay
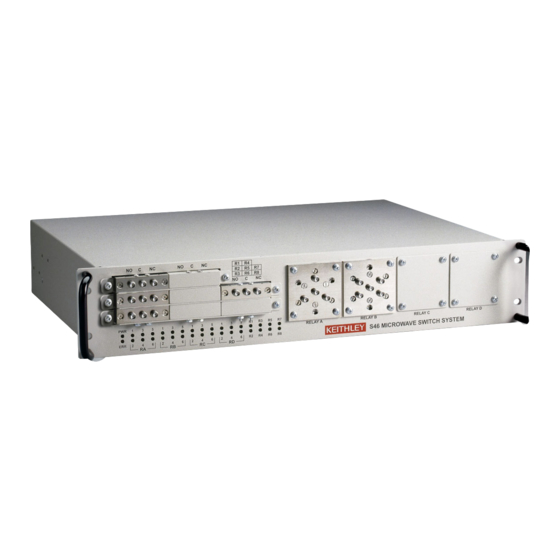
S46 Microwave Switch System
Terminated Teledyne Installation Guide
Relay kit
Kit parts summary
model number
S46-SPDT-KIT-T
SPDT terminated relay (1)
Connecting cable (1)
S46-SP4T-KIT-T
4-40 × 1/4 PPHSEM screws (2)
SP4T relay (1)
Ribbon cable (1)
S46-SP6T-KIT-T
4-40 × 1/4 PPHSEM screws (2)
SP6T relay (1)
Ribbon cable (1)
Keithley
part number
S40-0082
SYS46-311B
4-40X1/4 PPHSEM
S40-0207
CA-286-1B
4-40X1/4 PPHSEM
RL-288-1
CA-286-1B
PA-912 Rev. A / 05-05
Advertisement
Table of Contents

Subscribe to Our Youtube Channel
Related Manuals for Keithley S46 Series


Summary of Contents for Keithley S46 Series
- Page 1 S46 Microwave Switch System Keithley Instruments, Inc. Terminated Teledyne Installation Guide 28775 Aurora Road Cleveland, Ohio 44139 (440) 248-0400 www.keithley.com Introduction This guide contains information on S46 relay installation and system configuration that is necessary after installing new relays. WARNING The information in this section is only intended for qualified service personnel.
- Page 2 Relay installation Before installing the relays, remove the screws that secure the S46 top cover, and then remove the cover. WARNING Disconnect the line cord and all cables from the S46 before removing the top cover. RELAY 1-8 installation 1. Unplug line cord, disconnect all cables, and remove the Top Cover . 2.
- Page 3 Figure 2 Connecting control wires to SPDT relay RELAY A-D installation 1. Remove the four screws securing the cover plate over the mounting hole where the new relay is to be installed (see Figure 2. Connect the supplied ribbon cable to the relay securing it with the two 4-40X1/4PPHSEM screws. 3.
- Page 4 Figure 3 RELAY A-D installation Board connector reference Table 2 Relay connectors Relay Connector Relay Connector — — — — — — — —...
- Page 5 Figure 4 Relay connector locations System configuration After installing the new relays, you must program the S46 for the new relay configuration with the following command: :ROUT:CONF:CPOL <clist> <clist> is defined as follows: clist = (@0 | 3-6, 0 | 3-6, 0 | 3-6, 0 | 3-6, 0 | 1, ... 0 | 1) Relay: ...
Need help?
Do you have a question about the S46 Series and is the answer not in the manual?
Questions and answers