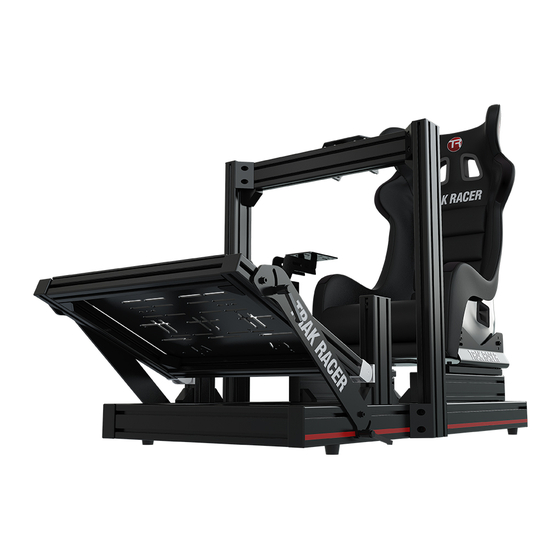
TRAK RACER TR80 Manual
Hide thumbs
Also See for TR80:
- Assembly manual (41 pages) ,
- Manual (18 pages) ,
- Assembly manual (41 pages)
Advertisement
Quick Links
Advertisement

Related Manuals for TRAK RACER TR80


Summary of Contents for TRAK RACER TR80
- Page 1 TR80 Manual...
- Page 2 STEP 1 Let’s start building your new simracing rig! Lay out all the individual parts as shown below...
- Page 3 STEP 2 Attach the feet on the main beams and add the pictured parts as shown below STEP 3 Add 10x nuts to the middle profiles before placing them inbetween as shown below Note: make sure to break off the taps in the corner brackets with a flat screwdriver if don’t they sit flush on the aluminium profile as shown on the next page...
- Page 5 After completing step 1, 2, 3 and tightening the brackets your build should look like this:...
- Page 6 STEP 4 Add 2 profiles on top of the existing square as shown below After adding the parts in step 4 your build should look like this:...
- Page 7 STEP 4 Add the seat slider and brackets as shown below Note: the middle leaver attached to the 2 rails should be bend outwards to fit both ends of the rails STEP 5 After fitting the leaver, test if the rails can slide easily as shown below...
- Page 8 STEP 6 Now add the seat (GT style shown below) to the bracket and test if you can freely adjust your seating position with the leaver. If this doesn’t go smooth adjust realign the aluminium profile and try again. STEP 7 Add the wheelmount support as shown below Note: remove the red strips and add it later on in the build (step 16)
- Page 9 STEP 8 After tightening the bolts add the middle profile as shown below. Make sure to add 4 extra nuts on the profile, facing the seat, top and bottom before attaching it to the frame. STEP 9 Attach the wheelmount to the frame, 8x nuts shown below should have already been added in step 8...
- Page 10 Before fully tightening the wheelmount see below for adjustability options. Note: adjusting can also be done with the wheelbase mounted. STEP 10 Add the shifter profile as shown below. Note: right side is illustrated but you could also choose to mount if on the left side.
- Page 11 STEP 11 Add the shiftermount as shown below The shiftermount can be adjusted to your preferrence as shown below...
- Page 12 STEP 12 Add pictured parts as shown below STEP 13 Add the pictured parts to complete the bottom frame as shown below.
- Page 13 STEP 14 Add the side structure of the pedalplate Add each side like shown below Now slide in the nuts to attach the middle profiles...
- Page 14 STEP 15 Add the pedalplate as shown below The pedalplate can be adjusted towards your likings as shown below...
- Page 15 Almost there! Now its time to personalize the seating/wheelmount and pedalplate towards your likings. Every component can be adjusted as shown below. STEP 16 When you are done adjusting add the red striping. Note: you need to cut the red striping on several points in order for it to fit your custom adjustments.
- Page 16 That’s it, you are done! We wish you a lot of fun with your freshly built simulator. Thank you for choosing Trak Racer.
Need help?
Do you have a question about the TR80 and is the answer not in the manual?
Questions and answers