Table of Contents
Advertisement
Advertisement
Table of Contents

Related Manuals for Akaso Brave 6 Plus


Summary of Contents for Akaso Brave 6 Plus
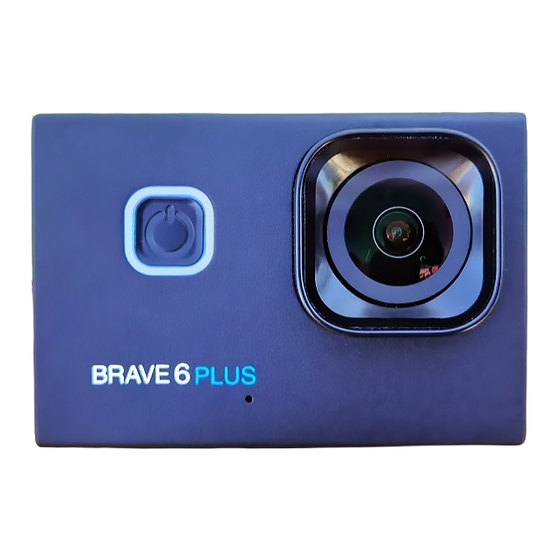
- Page 1 USER MANUAL AKASO Brave 6 Plus Action Camera...
-
Page 2: Table Of Contents
CONTENTS What’s in the Box Your Brave 6 Plus Getting Started Overview of Modes Customizing Your Brave 6 Plus Playing Back Your Content Deleting Your Content Connecting to the App Offloading Your Content Maintaining Your Camera Maximizing Battery Life Battery Storage and Handling... -
Page 3: What's In The Box
USB Cable Tethers Lens Cloth Charger Mounts Backdoor Quick Start Guide AKASO Brave 6 Plus Action Camera Bandages Battery Remote Quick Start Guide How to use all sorts of accessories of action camera? Scan the following QR code or enter the website to watch the video. -
Page 4: Getting Started
GETTING STARTED Welcome to your AKASO Brave 6 Plus. To capture videos and photos, you need a microSD card to start recording (sold separately). MICROSD CARDS Please use brand name memory cards that meet these requirements: • microSD, microSDHC or microSDXC •... -
Page 5: Overview Of Modes
OVERVIEW OF MODES PHOTO MODE There are 5 modes: Video, Photo, Video Settings, Photo Settings and Camera Settings. Swipe your finger across the screen to switch to Photo Mode after you turn on camera. In Photo Mode, press Shutter button to take photos. Long press Up or Down button to adjust the zoom level. -
Page 6: Customizing Your Brave 6 Plus
PHOTO SETTINGS CUSTOMIZING YOUR BRAVE 6 PLUS VIDEO SETTINGS Turn on the camera, swipe your fingers up the screen, choose Photo Settings to enter the Photo Settings menu. You can change photo settings in this mode. 1. Video mode: Normal Video/Driving Mode/Time Lapse Mode/Slow Motion Video/ Still Photo/Loop Video Default setting is Normal Video. - Page 7 7. Audio: On/Off Loop recording allows your camera to overwrite old files with new files. Once the memory card becomes full, the camera will delete the first video file to make room for the latest file. Default setting is On. For example, if the setting for loop recording is “1 Minute”, then the camera will create Turn off Audio, the camera does not record audio when you record video.
- Page 8 Time Lapse Photo Mode 7. ISO: Auto/100/200/400/800/1600 Time Lapse Interval: 1 Sec/2 Sec/5 Sec/10 Sec/30 Sec/60 Sec Default setting is Auto. Default setting is 2 Sec. ISO determines the camera’s sensitivity to light, and creates a trade-off between brightness and resulting image noise. Image noise refers to the degree of graininess in the Burst Photo Mode image.
- Page 9 Voice Commands: 10. Date Stamp: On/Off AKASO Video Start: Under the Video Mode, this voice command will make the camera Default setting is On. start to record video. Turn on Date Stamp, this camera adds date stamp to the videos and photos you take.
-
Page 10: Playing Back Your Content
Please follow these guidelines to get the best performance from your camera: Please download and install the AKASO GO App in App Store or Google Play first. 1. For best audio performance, shake the camera or blow on the mic to remove debris The AKASO GO App lets you control your camera remotely using a smartphone or tablet. -
Page 11: Maximizing Battery Life
EXTERNAL MICROPHONE If the battery reaches 0% while recording, the camera saves the file and powers off. Brave 6 Plus supports connecting an external microphone (sold separately) to achieve To maximize battery life, follow these guidelines when possible: improvement over sound quality, please connect the external microphone via the USB-C •... -
Page 12: Mounting Your Camera
CR2032 BATTERY REPLACEMENT FOR REMOTE 5. Install all 4 screws back onto the PCB board. 1. Use a 1.8mm Phillips tip screwdriver to remove the 4 screws on the back cover of the remote, allowing you to open it. 6. Install all 4 screws back into the cover. 2. -
Page 13: Contact Us
CONTACT US For any inquires with AKASO products, please feel free to contact us, we will respond within 24 hours. E-mail: cs@akasotech.com Tel: (888) 466-9222 (US) Mon-Fri (except holiday) 9am-5pm (EST) Official website: www.akasotech.com...
Need help?
Do you have a question about the Brave 6 Plus and is the answer not in the manual?
Questions and answers