Advertisement
Charisma™ LED Single Sided Light Box - XBX Series - Without Lights
First start by assembling corners. There are three (3) brackets per corner. All extrusion sections are numbered to identify which
pieces go together, 1 with 1, 2 with 2, etc.
1. Insert the flat L brackets with the four (4) set screws into the back of one extrusion segment as shown. Identical bracket with no
holes goes between bracket and the extrusion, as shown in the images below. Lightly screw into place, DO NOT fully tighten.
2. For Bent Corner Bracket: Insert the bent bracket into the same extrusion section. Firmly screw the bracket into place. Take the
mating extrusion piece with matching number. Guide the corner brackets in, then tighten all brackets.
3. Repeat assembly steps for the three remaining corners (not shown).
4. Install white backing graphic (See additional page for detailed instructions).
5. WALL MOUNT OPTION:
Drill mounting holes in the frame channel as needed, to align with the EXISTING WALL
blade or hole puncher, puncture or cut small holes into the white backing graphic to match the holes just drilled in the frame, then
mount to the wall (Mounting screws and anchors not provided).Install front graphic (See additional page for detailed instructions).
6. Install the graphic (See additional page for detailed instructions).
NOTE: Model shown below may differ from your model, but assembly instructions remain the same.
1.
Bracket A
Bracket B
2a.
4. Backing graphic Installation (see next
page)
White Backing Graphic
Bracket A
Bracket B
2b.
5.
Screw
STUDS. Using an X-acto
White
Backing
Graphic
Wall Mount Holes
are drilled by
customer at time
of installation.
2c.
6. Graphic Installation
(see next page)
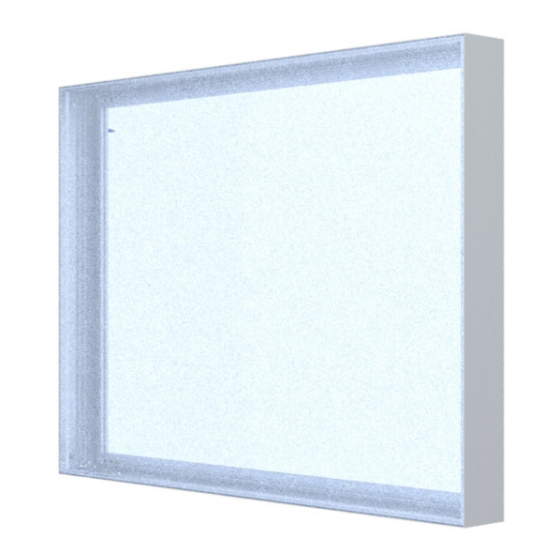
XBX34 shown
Version: 2
Page 1 of 2
Advertisement
Table of Contents

Related Manuals for Testrite Visual Charisma XBX Series


Summary of Contents for Testrite Visual Charisma XBX Series
- Page 1 Charisma™ LED Single Sided Light Box - XBX Series - Without Lights First start by assembling corners. There are three (3) brackets per corner. All extrusion sections are numbered to identify which pieces go together, 1 with 1, 2 with 2, etc. 1.
- Page 2 Charisma™ LED Single Sided Light Box - XBX Series - Without Lights 1. To install the backing graphic or front graphic, take the corner with the pull tag on it and press about 6”-10” of silicone into the frame channel (fig. 1a). Repeat for the opposite corner (fig.
Need help?
Do you have a question about the Charisma XBX Series and is the answer not in the manual?
Questions and answers