Table of Contents
Advertisement
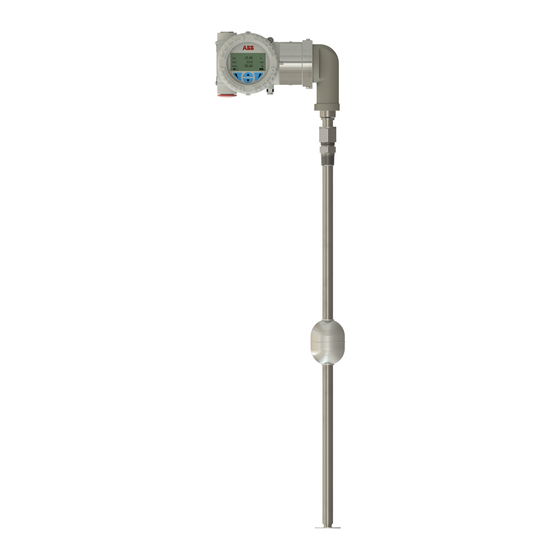
Quick Links
Advertisement
Table of Contents

Related Manuals for ABB K-TEK AccuTrak AT500


Summary of Contents for ABB K-TEK AccuTrak AT500
- Page 1 AT500-0200-1b (10-2010) DCN0528...
-
Page 2: Table Of Contents
TABLE OF CONTENTS 1. STORAGE INFORMATION ..........................3 1.1 AT600 ............................3 1.2 AT500 ............................3 2. INSTALLATION AND STARTUP ........................3 2.1 Wiring ............................. 3 2.2 Establishing 4mA & 20mA Setpoints ..................... 4 2.2.1 Setting the 4mA / 0% point .................... 4 2.2.2 Setting the 20mA / 100% point .................. -
Page 3: Storage Information
1. STORAGE INFORMATION If required, storage prior to installation should be indoors at ambient temperature, not to exceed the following: Temperature range: -40 to 150 degrees F. Humidity: 0 to 100% R.H. non-condensing. AT600 AT600 transmitters are typically mounted to KM26 Magnetic Level Gauges. These operate off the magnet assembly in the float of the level gauge. -
Page 4: Establishing 4Ma & 20Ma Setpoints
Establishing 4mA & 20mA Setpoints The unit is a digital transmitter with no routine calibration required. If re-calibration is required, calibration can be changed using the built in switchpoints as follows: 2.2.1 Setting the 4mA / 0% point Establish a tank level of 0% ... -
Page 5: Setting Alarm To 3.6Ma (Low Alarm)
2.4.1 Setting ALARM to 3.6mA (Low Alarm) Enter the ALARM SETUP MODE by applying power to the unit while Magnet is at position X. Slide magnet to position Z to set the unit to 3.6 mA / Low Alarm; this step is verified by checking that the output is now at 3.6 mA 2.4.2 Setting ALARM to 21mA (High Alarm) default... - Page 6 SWITCH OPERATIONS Summary of operations using the three switch points: SW S, SW X SW Z Magnetic switchpoints are located on lines S X & Z at points 90 degrees from the conduit connection indicated by: on FIGURE 1 POWER UP SW S - SET 21 mA ALARM FIGURE 1 SW X - ENTER ALARM MODE SETUP...
-
Page 7: Troubleshooting Information
TROUBLESHOOTING INFORMATION Proper Power-Up Use a mA meter to measure the output current (see section 2.2 for mA monitor connections). When power is applied, the output should go to 4.00 mA for at least 1 second, and then to either the measured level or an alarm condition output. If this does not happen, the transmitter may not be receiving enough power, or the main electronic is defective. -
Page 8: Installation Drawings
4. APPENDIX A Installation Drawings AT500-0200-1b (10-2010) DCN0528... - Page 9 Installation Drawings (continued): AT500-0200-1b (10-2010) DCN0528...
-
Page 10: Fmeda Certificate
5. APPENDIX B AT500-0200-1b (10-2010) DCN0528... -
Page 11: Warranty Statement
6. APPENDIX C Warranty Statement 5 YEAR WARRANTY FOR: KM26 Magnetic Liquid Level Gauges; MagWave Dual Chamber System; LS Series Mechanical Level Switches (LS500, LS550, LS600, LS700, LS800 & LS900); EC External Chambers and ST95 Seal Pots. 3 YEAR WARRANTY FOR: KCAP300 &... -
Page 12: Rma Form
RMA Form AT500-0200-1b (10-2010) DCN0528... -
Page 13: Eu Declaration Of Conformity
EU Declaration of Conformity AT500-0200-1b (10-2010) DCN0528... - Page 14 AT500-0200-1b (10-2010) DCN0528...
Need help?
Do you have a question about the K-TEK AccuTrak AT500 and is the answer not in the manual?
Questions and answers