Table of Contents
Advertisement
Quick Links
Note: Whenever this document directs you to "Hold SHIFT and press MENU
arrive at a particular screen, you can use the alternate procedure of "Hold SHIFT while
rotating the DATA DIAL." While both methods accomplish the same task, you may find
rotating the Data Dial preferable.
After changing system parameters in the various edit screens, pressing either MENU
will exit you back to the main screen.
AUTO CUE (Cue to Modulation)
1) This function requires use of the Memory Start feature, and its performance is
directly affected by the Auto Cue Sensitivity level
AUTO CUE SENSITIVITY LEVEL
1) Hold SHIFT and press MENU
2) Press DATA, current parameter value will blink (Memory Start Standby mode must
be disengaged)
3) Rotate DATA DIAL either clockwise or counter clockwise until desired value is
displayed
4) Press SET to confirm new parameter value
CAPTURE OFFSET
1) Hold SHIFT and Press MENU
(if display reads "oPEn", proceed to step 3)
2) Press DATA ("cLoSE" will blink), rotate DATA DIAL to "oPEn" - press SET
3) Press MENU
4) While holding SET, press CHASE - the smaller of the two Time Code displays will
be the current offset value
Note: It is assumed that Time Code is being fed to the DA-60
device.
To Trim or Clear the Offset:
5) Press MENU
6) Press DATA - the "hour" digits of the offset screen will blink and successive
presses of DATA enable you to cycle from "minutes" to "seconds" to "frames" to
"sub frames" and back to "hour"
7) Enter the desired value using the DATA DIAL and DATA key - upon completion,
press SET
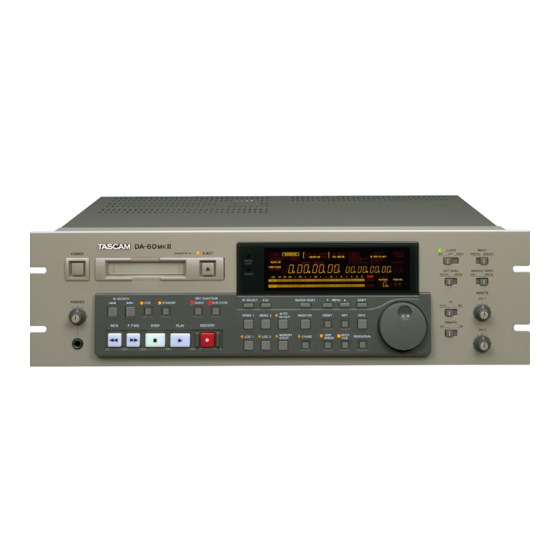
DA-60
QUICK TIPS
or
or
or
until "
CHASE OFFSET" appears in the upper right display
or
and select " CHASE OFFSET"
II
MK
until you arrive at screen #6 "AtcuE"
until you arrive at screen display "-tc-cLoSE"
1
or
II from an external
MK
" to
or
Advertisement
Table of Contents

Related Manuals for Tascam DA-60MKII


Summary of Contents for Tascam DA-60MKII
- Page 1 DA-60 QUICK TIPS Note: Whenever this document directs you to “Hold SHIFT and press MENU ” to arrive at a particular screen, you can use the alternate procedure of “Hold SHIFT while rotating the DATA DIAL.” While both methods accomplish the same task, you may find rotating the Data Dial preferable.
- Page 2 CHASE LOCK SYNCHRONIZATION 1) Set CLOCK and EXT SYNC switches to the positions appropriate for your environment and verify connections 2) For most applications, hold SHIFT and press MENU until you arrive at screen display "23 cHaSE XX" (XX = Free or Re-Chase), press DATA, rotate DATA DIAL, select "rEcHASE"...
- Page 3 MEMORY START PLAY Unless you are starting from the beginning of a program, you should first capture a locate point using one of the two MEMO locations. 1) Press MEMORY START - its LED will light solid 2) Press either ID SEARCH ( for beginning of desired program ) or the LOC key ( either 1 or 2 ) that corresponds to the desired memory point 3) Tape will position itself and store audio into the memory buffer during which time the MEMORY START LED blinks...
- Page 4 7) Hold SHIFT and press MENU until you arrive at screen display "9P-id", press DATA (current device will blink) 8) Rotate the DATA DIAL to select the device that best suits your controller and press 9) Hold SHIFT and press MENU until you arrive at screen display "SPEEd", press DATA (current status will blink) 10) Rotate the DATA DIAL to select the speed that best suits your environment (9x or...
- Page 5 PUNCH IN/OUT (Auto) Use the Memo Point Capture function, treating LOC 1 as the Punch In point and LOC 2 as the Punch Out point 2) Place the DA-60 II in EDIT AUDIO MODE 3) Press AUTO IN/OUT, its LED will light solid Rehearsal: 4) Press REHEARSAL - tape will locate to the preroll position prior to the punch in point and stop (the AUTO IN/OUT LED will blink)
- Page 6 RECORD / WRITE MODES ASSEMBLE MODE - both AUDIO and SUB CODE LEDs in the REC FUNCTION area of the DA-60 II are lit, permitting recording of both audio and subcode data 2) EDIT AUDIO MODE - Only the AUDIO LED in the REC FUNCTION area of the DA-60 II is lit, permitting recording / editing of audio data without affecting the subcode data...
- Page 7 7) Press DATA - the "hour" digits of the generator starting address screen will blink and successive presses of DATA enable you to cycle from "minutes" to "seconds" to "frames" and back to "hour" 8) Enter the desired generator starting address using the DATA DIAL and DATA key - upon completion, press SET 9) Hold SHIFT and press MENU until you arrive at screen display "24 tcGEN...
- Page 8 SYNC / SYSTEM REFERENCE SOURCE INT - For use if the DA-60 II is operated as a stand-alone unit or is to be slaved to an analog audio recorder 2) EXT - For use if the DA-60 II is to be slaved to a digital audio recorder 3) VIDEO - For use if the DA-60 II is to be slaved to VTRs TAPE TIME CODE CONFIRMATION...
Need help?
Do you have a question about the DA-60MKII and is the answer not in the manual?
Questions and answers