
Related Manuals for Tascam DA-98


Summary of Contents for Tascam DA-98
- Page 1 V 2.0 DTRS Setup Guide Setup Guide Setup Guide Setup Guide Revised: 04-12-00...
- Page 2 Digital 328 v2 and Tascam Digital 328 v2 and Tascam Digital 328 v2 and Tascam Digital 328 v2 and Tascam DTRS Setup Guide DTRS Setup Guide DTRS Setup Guide DTRS Setup Guide Contents: 1 1 1 1 Connecting The System...
-
Page 3: Connecting The System
Audio Connections Audio Connections Connect audio connections as shown in the diagram below. A Tascam TDIF cable must be connected from the TDIF port of the DTRS machine to the TDIF Port A of the 328. The TDIF connection allows two way digital transfer between the 328 and the Tascam DTRS. - Page 4 Digital 328 Wordclock out DTRS Wordsync In MIDI Cables: 328 MIDI Out DTRS MIDI In (if present) DTRS MIDI Out (if present) 328 MIDI In Tascam TDIF Cable: 328 8 Track A TDIF DTRS TDIF Port Tascam DTRS Setup Guide...
-
Page 5: Digital 328 Setup
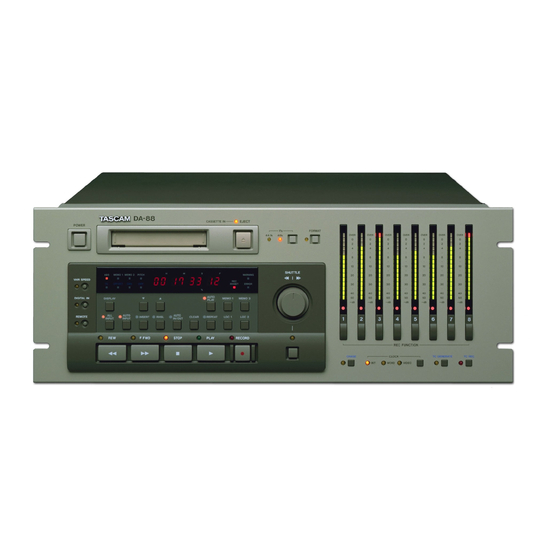
Tape Machine Setup menu. Enter the Menu pages by pressing the <MENU> button, and scroll up or down with the encoder until the ‘Tape Mach Setup’ menu is highlighted. Press <ENTER>, scroll until ‘Tascam DTRS’ is highlighted and press <ENTER> again. - Page 6 <ENTER>. To recall the setup, highlight it in the Setup menu in the LCD and press the <RECALL> button in the snapshot section of the Select Panel. < Setup#01 > ID :Tascam DA88 Before proceeding to the DTRS setup, RECALL THE SETUP as illustrated above and SWITCH OFF THE 328. Tascam DTRS Setup Guide...
- Page 7 Tascam DA-78HR Tascam DA-78HR Tascam DA-78HR Tascam DA-78HR Pages 23-25 of the DA-78HR manual should be consulted when setting NOTE up the unit with the configuration below The DA-78HR menus must be configured as illustrated in the table below in order to complete the setup.
-
Page 8: Da-88 Setup
To set up the DA-88 to receive the MIDI Machine Control commands for remote control from the 328’s transport control, the DA-88 must be fitted with the Tascam SY-88 synchronization board. This board has a series of Mode Dip Switches, some of which must be set up correctly to work with the 328. - Page 9 LED flashes, firstly check that the cabling is correct and the 328 clock settings have been entered correctly. The DA-98 must also be set up to receive the input from the TDIF input rather than the analogue inputs. To do this, press the <DIGITAL IN> button on the DA-98.
- Page 10 Press <ENTER> to confirm and enter the ‘OutTc Tmg’ menu. Set this to ‘Digital’ so the timecode is output from the DA-98 with reference to the digital output rather than the analogue output. Press <ENTER> to confirm and enter the ‘OutTc Src’ submenu. Set this to ‘Tape (Abs)’...
-
Page 11: Additional Information
The MIDI Machine Control (MMC) of the DA series allows transport controls to be controlled from the 328. Record Enable MMC is also implemented into the DA machines. The DA-98 and DA- 78HR do not require additional hardware, but in order for MMC – DTRS Sync to be used on the DA-38 and DA-88, additional hardware is required. - Page 12 Spirit by Soundcraft Harman International Industries Ltd., Cranborne House, Cranborne Road, Potters Bar, Herts EN6 3JN, England. Tel: +44 (0)1707 665000 Fax: +44 (0)1707 665461 web: http://www.spiritbysoundcraft.com e-mail: spiritsupport@soundcraft.com spiritdig@harman.com (US) Tascam DTRS Setup Guide...
Need help?
Do you have a question about the DA-98 and is the answer not in the manual?
Questions and answers