Table of Contents
Advertisement
Quick Links
Advertisement
Table of Contents

Related Manuals for Loctite 98084


Summary of Contents for Loctite 98084
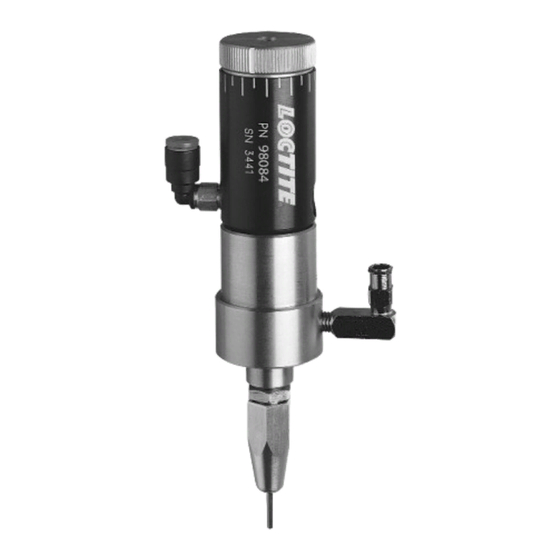
- Page 1 EQUIPMENT Operation Manual Loctite ® Micro Needle Valve Part Number 98084...
-
Page 2: Table Of Contents
Contents Page No. 1 Please observe the following ......... . 1-2 1.1 Emphasized Sections . -
Page 3: Please Observe The Following
Observe the manufacturer’s instructions as stated in the Material Safety Data Sheet (MSDS). While under warranty, the unit may be repaired only by an authorized Henkel Loctite service representative. 1.3 Unpacking and Inspection Carefully unpack the valve and examine the items contained in the carton. Inspect the valve for any damage that might have occurred in transit. -
Page 4: Usage
1. Please Observe the Following (continued) 1.6 Usage The Micro Needle Valve is designed to dispense low to medium viscosity UV curing products with very precise deposits over a wide range of shot and bead sizes down to a fraction of a microliter. A short opening stroke provides extremely fast, positive shut-off. -
Page 5: Theory Of Operation
When the reservoir is pressurized the adhesive flows into the valve. The higher the pressure the greater the flow rate. The adhesive contacts the pressurized air thus making the air quality a critical component of the system. Loctite recommends filtered dry air for each system. -
Page 6: Valve Sectional Views
2.2.1 Valve Sectional Views 5" (approx.) Secondary Shut-Off 1.12" Open Position Closed Position Figure 2. 3. Technical Data Size: Length – 5" approx. (127 mm) Diameter – 1.1 inches (28.5 mm) Weight: 8 oz. (227 g) Port Size: Fluid Inlet – 1/8"... -
Page 7: Installation
4. Installation 4.1 Typical Pressure Time Set Up To Precision Regulator, Gauge, & Valve P/N: 98099 Typical Set-Up 985281 Mounting Bracket (Not Included) 30 cc Syringe & Airline Adapter To Shot Miser™ Reservoir (Not Included) 1 Liter P/N: 98090 To Controller: Single Function P/N: 98023 Shot Miser™... -
Page 8: Adjusting Dispense Quantity
4.3 Shutdown The valve does not need any special care for shut down periods of up to two weeks. If the valve is not going to be used for more than two weeks, cleaning the system out with Loctite ®... -
Page 9: Procedure For Replacing Needle Valve Assembly
4. Apply silicone grease (997569) onto thread of needle retaining cap (2) and install onto the Luer adapter (3). 5.2 Procedure for Replacing Needle Valve Assembly Tools required: 7/64" hex wrench, 7/16" open end wrench, snap ring pliers, O-ring tool. Purging: Clean by purging valve with Loctite ® Equipment Flushing Solvent P/N 12121. Notice: To prevent possible damage to seal components, please follow these instructions in the following sequence. -
Page 10: Valve Components
5. Maintenance and Cleaning (continued) 5.2.1 Connecting the Airline and Product Feed Line Dispense Tip Figure 5. 6. Troubleshooting Type of Malfunction Possible Cause Correction No material flow. – Material pressure too low. • Increase material pressure. – Valve air pressure too low. •... -
Page 11: Spare Parts - Micro Dispense Valve
7. Spare Parts - Micro Dispense Valve Refer to Figure 5 Valve Needle Rod Kit 98091 Needle Rod and Piston Sub-assembly Item 4 Piston O-ring Item 10 Flat Washer, Nylon Item 15 Needle Rod O-ring Item 9 Flat Washer, Nylon (retain washer) Item 8 Retaining Ring Item 6... -
Page 12: Warranty
Loctite is a registered trademark of Henkel Loctite Corporation, U.S.A. Teflon is a registered trademark of E.I. DuPont de Nemours Co., Inc. © Copyright 2002. Henkel Loctite Corporation. All rights reserved. Data in this operation manual is subject to change without notice.
Need help?
Do you have a question about the 98084 and is the answer not in the manual?
Questions and answers