
Related Manuals for NewAir NAC14KWH02


Summary of Contents for NewAir NAC14KWH02
- Page 1 SKU: NAC14KWH02 3-in-1 Portable Air Conditioner OWNER’S MANUAL Read and save these instructions. Manual v1.0...
-
Page 2: Table Of Contents
Register Your Product Online ................3 Safety Information & Warnings ................4 Product Features ....................5 Assembly & Installation ..................9 Cleaning & Maintenance ..................11 Troubleshooting ....................13 Limited Manufacturer’s Warranty ..............14 SPECIFICATIONS NAC14KWH02 ODEL 120V~ OLTAGE 60Hz REQUENCY 1350W OWER Width: 18.5 in... -
Page 3: Register Your Product Online
REGISTER YOUR PRODUCT ONLINE Register Your NewAir Product Online Today! Take advantage of all the benefits product registration has to offer: Service and Support Troubleshoot, diagnose, and service issues faster and more accurately Recall Notifications Stay up to date on safety, system updates, and recall notifications... -
Page 4: Safety Information & Warnings
• Do not wipe the air conditioner with chemical solvents such as benzene, gasoline, alcohol, etc. If the air conditioner is dirty, please clean only with neutral detergents. rises above 104 ℉. • WARNING: Immediately stop using the unit if the ambient temperature in the room newair.com... -
Page 5: Product Features
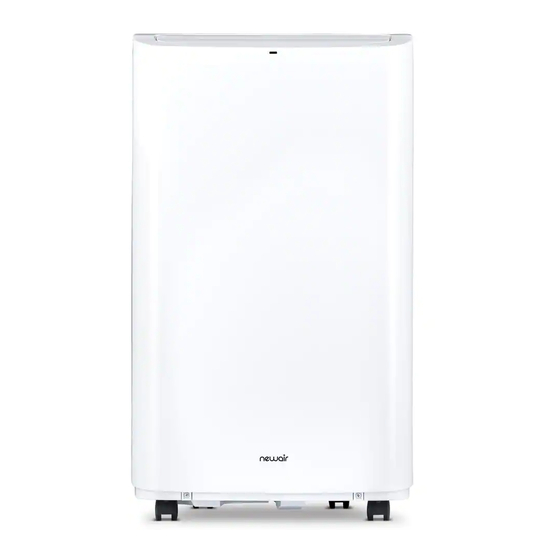
PRODUCT FEATURES 1. Control Panel 7. Power Cord 2. Main Vent 8. Dust Filter 3. Exhaust Hose 9. Exhaust Outlet 4. Casters 10. Power Cord Storage Brackets 5. Carrying Handle 11. Water Drain 6. Rear Air Intake... - Page 6 “fan” or “dry” mode. When in “cool” mode, the display will show the temperature setting you chose. While setting the timer, the display will show the current number of hours that you have chosen. newair.com...
- Page 7 4. UP/DOWN CONTROLS These buttons are used to adjust the temperature and time settings. Press these two buttons simultaneously to change the displayed temperature from Fahrenheit to Celsius. 5. MODE Press this button to cycle between “cool,” “dry,” and “fan” mode. “Cool” mode is the normal air conditioning mode, which will put out cold air and maintain whatever ambient temperature you choose.
- Page 8 COMPRESSOR 3-MINUTE DELAY When the compressor inside the unit shuts off, it will keep itself off for 3 minutes before starting up again in order to maintain its efficiency. newair.com...
-
Page 9: Assembly & Installation
ASSEMBLY & INSTALLATION Choosing a Location Always keep the unit on a flat surface and in a dry place. Keep at least 20 inches of space on all sides of the unit to maintain efficiency and safety. Assembling the Exhaust Connect the exhaust pipe to the round joiner disc, turning counter- •... - Page 10 Installing the Window Plate The window plate is designed to be adjusted for almost any standard vertical/horizontal window opening. Measure the gap in the window, and extend the plate to match the correct length. newair.com...
-
Page 11: Cleaning & Maintenance
CLEANING & MAINTENANCE CLEANING Warning: Before performing any cleaning, remember to turn off and unplug the unit. Cleaning the Outside Surface Clean the surface of the unit with a duster or damp, soft cloth. Do not use chemical reagents such as benzene, alcohol, gasoline, etc. as the surface of the unit is likely to be damaged, and the internal components may be as well. - Page 12 Cover the air conditioner (and exhaust kit) with a plastic bag or a large • sheet to prevent dust buildup. • Remove the batteries from the remote control and store them or dispose of them properly. newair.com...
-
Page 13: Troubleshooting
TROUBLESHOOTING If any of the following problems arise, and the solutions below do not solve the problem, please contact customer service at support@newair.com ISSUE CAUSE SOLUTION The air The unit is not turned on Ensure the unit is plugged conditioner does... -
Page 14: Limited Manufacturer's Warranty
When making a warranty claim, please have the original bill of purchase with the purchase date available. Once confirmed that your appliance is eligible for warranty service, all repairs will be performed by a NewAir™ authorized repair facility. The purchaser will be responsible for any removal or transportation costs.
Need help?
Do you have a question about the NAC14KWH02 and is the answer not in the manual?
Questions and answers
How do I get mold out of air conditioner? Was given to me and when I went to go put it in I noticed mold
To remove mold from a NewAir NAC14KWH02 air conditioner, follow these steps:
1. Drain the water tank by removing the drain plug at the bottom back of the unit.
2. Enter fan mode, then press and hold the “speed” button for 5 seconds to activate cleaning mode ("CL" will appear on the screen). Let it run for 2–3 hours to dry out internal moisture and help reduce mold.
3. Turn off and unplug the unit.
4. Clean the exhaust pipe to remove any dust buildup.
5. Store the unit in a dust-free area, covered with a plastic bag or sheet.
These steps help reduce and prevent mold, but if mold is already present, manual cleaning of internal parts may be required, which should be done carefully or by a professional.
This answer is automatically generated