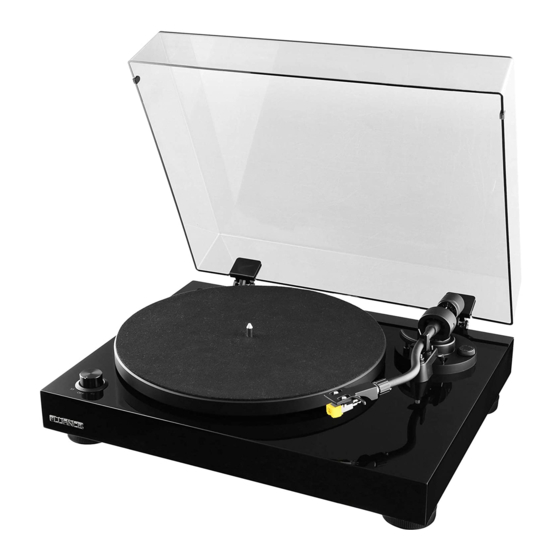
Fluance RT80 Stylus Replacement/Upgrade Manual
Hide thumbs
Also See for RT80:
- User manual ,
- Instructional manual (20 pages) ,
- Connection manual (1 page)
Advertisement
Quick Links
Advertisement

Related Manuals for Fluance RT80


Summary of Contents for Fluance RT80
- Page 1 Fluance Stylus Replacement/Upgrade Guide Stylus Replacement/Upgrade Guide...
-
Page 2: Parts Needed
Fluance Stylus Replacement/Upgrade Guide Introduction This guide is meant to assist in the installation of different cartridges on a Fluance Turntable. A step by step video of this process is also available on www.fluance.com. Parts Needed • Headshell • Cartridge •... - Page 3 Secure the tonearm and install the stylus protector to prevent accidental damage to the stylus. Loosen the locking nut and remove the headshell from tonearm Note: Step 3 and 4 can be skipped if using a spare headshell for the new cartridge. Fluance headshells are available at: www.fluance.com/turntables.
- Page 4 Fluance Stylus Replacement/Upgrade Guide Use the flat-tip screwdriver to loosen the screws on top of the headshell and remove the cartridge. Using the needle nose pliers carefully disconnect the wires from the cartridge. Once fully disconnected store the cartridge and screws in a...
- Page 5 Fluance Stylus Replacement/Upgrade Guide B. Mounting Your New Cartridge Connect the headshell wires to the posts on the cartridge. Ensure the correct color is connected to the correct post. Wire Channel White Left (+) Blue Left (-) Right (+) Green...
-
Page 6: Balancing The Tonearm
Complete all steps for balancing the tonearm. Incorrect tonearm balancing can cause damage to the stylus and to your records. For additional assistance go to: www.fluance.com/support to watch a tutorial video for this process. 1. Remove the stylus protector. 2. Unlock the tonearm and lift the cueing lever. - Page 7 Fluance Stylus Replacement/Upgrade Guide C. Balancing the Tonearm (Continued) 5. With the cueing lever now lowered, turn the entire counter weight until the tonearm is balanced and floating horizontally when headshell is released. Tip: When balancing the tonearm make sure the cueing level is down.
-
Page 8: Aligning The Cartridge
Correct cartridge alignment ensures the stylus is positioned properly relative to the grooves on the record. Incorrect alignment can cause distortion and can also cause unwanted wear and tear on your stylus. To properly align your cartridge, use the Fluance Stylus Alignment Protractor available on: www.fluance.com... - Page 9 Example: If the tracking weight is 2.0 grams the anti-skating control should be set to 2 Conclusion Your new cartridge should be properly installed and ready to go. This guide is designed to help users replace or upgrade their turntable stylus. For more information and other Fluance turntable accessories visit: www.fluance.com/turntables...
-
Page 10: Frequently Asked Questions
Depending on the height of the cartridge, the angle of the cantilever will change. The standard VTA for turntables is between 20° and 30°. Fluance turntables do not have an adjustable tonearm height so it is important to select a cartridge with a... - Page 11 Fluance Stylus Replacement/Upgrade Guide What cartridges are compatible with Fluance Turntables? There are a lot of factors to consider when determine compatibility and there are many brands and models to choose from. Use the below turntable specifications to research which cartridges would work with your turntable.
- Page 12 Fluance Stylus Replacement/Upgrade Guide Fluance.com...
Need help?
Do you have a question about the RT80 and is the answer not in the manual?
Questions and answers