Advertisement
TM
TM
®
®
1. Mounting the Speaker to the
Ceiling
First hold the speaker bracket
under the ceiling, then screw the
bracket into the ceiling wall.
Unscrew the two alan screws
found on the center of both the
speaker sides. Place a rubber
gasket for the sound quality, and
screw the speakers back into the
brackets as shown in the diagram
below.
We recommend that you
NOTE
seek professional installation
service for your protection and
safety.
Bracket Included
8mm
screw
Rubber
gasket
Installation
8mm
expanding bolt
8mm screw
Rubber
gasket
Speaker
©2007 Better Music Builder. All rights reserved.
Advertisement
Table of Contents

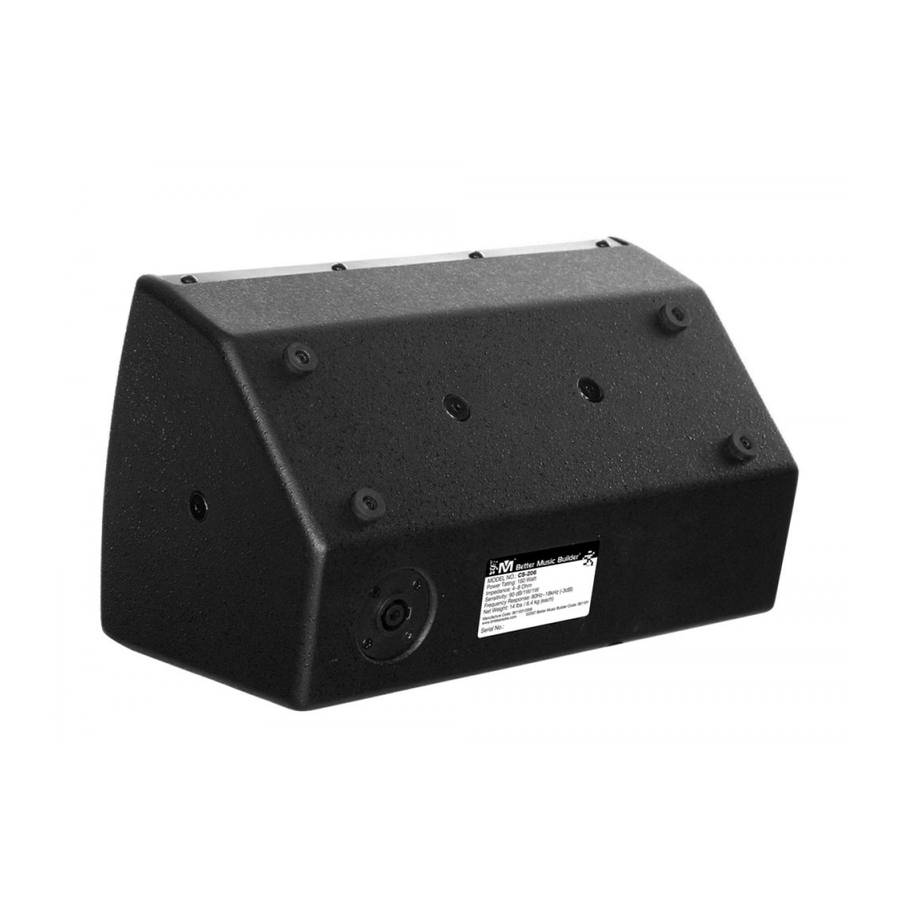
Summary of Contents for Better Music Builder DFS-206
- Page 1 8mm screw We recommend that you NOTE screw Rubber seek professional installation gasket Rubber gasket service for your protection and Speaker safety. ©2007 Better Music Builder. All rights reserved.
- Page 2 The screw size is 8mm for both wooden woodscrew and concrete screws. woodscrew When installing the speakers to the brackets you must insert a rubber gasket to protect speaker sound quality. ©2007 Better Music Builder. All rights reserved.
- Page 3 Therefore, the speaker is firmly held even with extremely loud music. Plastic washer We recommend all users NOTE to seek professional advise for safety purposes when mounting Ground or Stage the speakers onto floor or ground. ©2007 Better Music Builder. All rights reserved.


Need help?
Do you have a question about the DFS-206 and is the answer not in the manual?
Questions and answers