Advertisement
Table of Contents
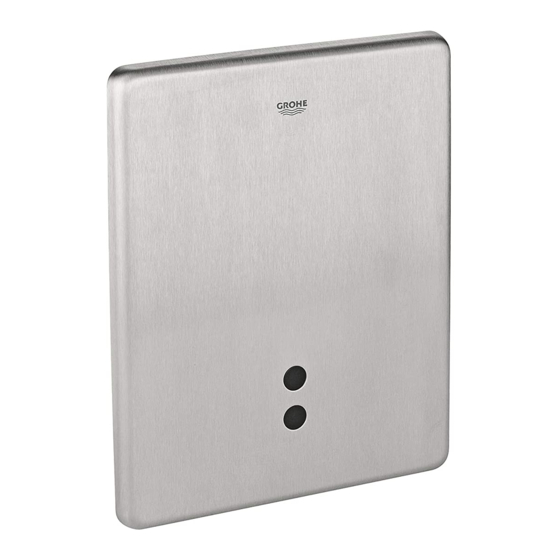
37 749
38 451
Tectron
D
D
.......1
.....1
I
I
.....5
.....13
.....2
.......4
.....6
.....16
GB
GB
NL
NL
F
F
.......7
.....3
S
S
.....19
.....7
.....4
.....10 DK .....22
DK .....8
E
E
Design & Quality Engineering GROHE Germany
94.329.331/ÄM 203841/10.08
N
N
.....25
.....9
.....13
.....37
GR
GR
.....28
.....10
.....40
.....14
CZ
CZ
FIN
FIN
PL
PL
.....11
.....31
H
H
.....15
.....43
.....12
.....34
P
P
.....46
.....16
UAE
UAE
TR
TR
.....49
.....17
BG
BG
.....21
.....61
.....52
.....18
.....22
.....64
SK
SK
EST
EST
.....55
.....19
LV
LV
.....67
.....23
SLO
SLO
.....20
.....58
.....70
.....24
HR
HR
LT
LT
.....73
.....25
RO
RO
.....76
.....26
CN
CN
.....79
.....27
RUS
RUS
Advertisement
Table of Contents

Related Manuals for Grohe Tectron 37749


Summary of Contents for Grohe Tectron 37749
- Page 1 ..22 ..64 ..26 ..76 ..3 ..7 ..7 ..19 ..11 ..31 ..15 ..43 ..19 ..55 ..23 ..67 ..27 ..79 ..4 ..10 DK ..22 DK ..8 ..12 ..34 ..16 ..46 ..20 ..58 ..24 ..70 Design & Quality Engineering GROHE Germany 94.329.331/ÄM 203841/10.08...
- Page 2 37 749 38 451 Bitte diese Anleitung an den Benutzer der Armatur weitergeben! Please pass these instructions on to the end user of the fitting! S.v.p remettre cette instruction à l'utilisateur de la robinetterie!
- Page 3 > 5 s > 5 s...
-
Page 4: Operation
The detection zone of the fitting can be checked. The indicator lamp in the sensor system of the fitting illuminates in setting GROHE Deutschland Vertriebs GmbH mode when the detection zone of the fitting is reached Zur Porta 9 by an approaching user. -
Page 5: Maintenance
5. Again hold hand at a distance of approx. 5 - 10cm in front Setting mode is quit by pressing the TEST button, of the sensor system. or automatically after 60 s. The flow volumes are indicated via the indicator lamp in the Set minimum delay time sensor system by groups of flashing signals separated (factory setting: 7 s) -
Page 6: Fault/ Cause/ Remedy
3. Disconnect plug-in connectors from the electronics Replacement parts, see fold-out page I module (E) to the solenoid valve (D) and to the (* = special accessories) transformer (F), see Fig. [19]. 4. Remove screws (E2) and holder (E3), see Fig. [20]. Care 5.
Need help?
Do you have a question about the Tectron 37749 and is the answer not in the manual?
Questions and answers