Advertisement
Quick Links
THIS PRODUCT IS NOT INTENDED FOR INSTITUTIONAL OR COMMERCIAL USE.
If you have any questions or missing parts, contact us. DO NOT return product parts
to the store from where it was purchased before contacting Delta Children's
Products Customer Service
Before assembly read these instructions and all warnings included. Make sure that all
pre-assemled parts are tight. Store this instruction booklet for future reference. The appearance of
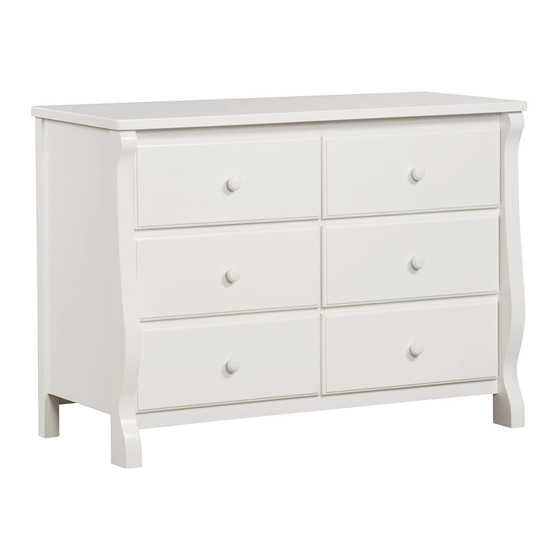
your product may be different from that pictured in this booklet. A DULT A SSEMBLY REQUIRED
due to presence of small parts during assembly.
To register your product for important safety alerts and updates to your product
please visit http://deltaenterprise.com/register.asp
MARCH 11, 2009 70816-R0
Customer S ervice:
Web S ite: w ww.deltachildrensproducts.com
Delta C hildren's P roducts
114 W est 2 6th S treet
New Y ork, N Y 1 0001
Tele.212-645-9033
©2009 DELTA ENTERPRISE CORP.
Advertisement

Related Manuals for Delta Children Eclipse 6 Drawer Chest


Summary of Contents for Delta Children Eclipse 6 Drawer Chest
- Page 1 Customer S ervice: Web S ite: w ww.deltachildrensproducts.com Delta C hildren’s P roducts 114 W est 2 6th S treet New Y ork, N Y 1 0001 Tele.212-645-9033 THIS PRODUCT IS NOT INTENDED FOR INSTITUTIONAL OR COMMERCIAL USE.
- Page 2 WARNING -PERIODICALLY CHECK TO ENSURE THAT ALL BOLTS AND SCREWS ARE TIGHT TO MAINTAIN THE STABILITY OF THE UNIT CONTACT DELTA CHILDREN’S PRODUCTS FOR REPLACEMENT PARTS OR QUESTIONS. -DO NOT OVERLOAD DRAWERS, PLACE HEAVIEST ITEMS IN THE BOTTOM DRAWERS -DO NOT ALLOW ANY CHILD TO CLIMB, PLAY ON, OR HANG FROM ANY PIECE OF FURNITURE.
- Page 3 PARTS-CONTINUED: L. LEFT SIDE PANEL (x1) M. CENTER FRAME (x1) N. RIGHT SIDE PANEL (x1) R. BOTTOM SUPPORT RAIL (x2) P. TOP (x1) S. UPPER SUPPORT RAIL (x4) V. BACK PANEL SCREW (x28) PHILLIPS SCREWDRIVER SUPPLIED W. SHORT BOLT(x4) X.
-
Page 4: Section 1: Drawer Assembly
SECTION 1: DRAWER ASSEMBLY STEP 1 FIG. 1 A or B 1. A TTACH THE LEFT DRAWER SIDE (PART C) TO THE DRAWER FRONT (PART A OR B) USING (2) DRAWER A SSEMBLY SCREWS (PART J), TIGHTEN WITH THE PHILLIPS SCREWDRIVER. - Page 5 SECTION 1: DRAWER ASSEMBLY STEP 2 1. A TTACH THE DRAWER BACK (PART E) TO THE DRAWER A SSEMBLY USING (5) DRAWER ASSEMBLY SCREWS (PART J), TIGHTEN WITH THE PHILLIPS SCREWDRIVER. BE SURE THE DRAWER BOTTOM IS IN THE GROOVE ON THE ...
-
Page 6: Section 2: Case Assembly
SECTION 2: CASE ASSEMBLY STEP 1 FOR CASE A SSEMBLY PLACE THE TOP (PART P) ON A STABLE, NON-ABRASIVE SURFACE, SUCH A S A BLANKET ON THE FLOOR. 1. A TTACH THE LEFT SIDE PANEL (PART L) TO THE TOP (PART P) USING (2) LONG BOLTS (PART X), TIGHTEN WITH THE M4 ... - Page 7 SECTION 2: CASE ASSEMBLY STEP 2 1. INSERT (2) UPPER SUPPORT RAILS (PART S) INTO THE SLOTS IN THE FRONT POST OF THE SIDE PANEL. FIG 2 FIG 3 2a. INSERT THE TABS ON THE END OF THE CENTER FRAME (PART M) INTO THE SLOTS IN THE RAILS ON THE TOP.
- Page 8 SECTION 2: CASE ASSEMBLY STEP 3 1. INSERT (2) UPPER SUPPORT RAILS (PART S) INTO THE SLOTS IN THE FRONT POST OF THE CENTER FRAME. 2a. INSTALL THE RIGHT SIDE PANEL (PART N) BY A LIGNING THE TABS ON ALL OF THE INSTALLED PIECES WITH THE SLOTS IN THE SIDE PANEL.
-
Page 9: Instructions On Use
SECTION 2: CASE ASSEMBLY STEP 4 INSTALL THE BACK PANELS (PART T) USING (14) BACK PANEL SCREWS (PART V) FOR EACH. TIGHTEN WITH THE PHILLIPS SCREWDRIVER. ABOVE ONE BACK PANEL IS SHOWN INSTALLED. THE SMALL NOTCH IN THE BACK PANEL MUST BE INSTALLED ... - Page 10 SECTION 2: CASE ASSEMBLY STEP 5 SET THE CASE UPRIGHT (FEET ON THE GROUND) THE CASE IS HEAVY, THIS MAY REQUIRE (2) PEOPLE. INSTALL THE DRAWERS BY PLACING THE WHEELS ON THE DRAWER BEHIND THE WHEELS ON THE CABINET. PUSH THE DRAWER IN. BE SURE THAT THE ...
-
Page 11: Final Assembly
FINAL ASSEMBLY THE SLOT FOR A TTACHING THE WALL STRAP IS LOCATED BEHIND THIS DRAWER TO SECURE THE DRESSER TO THE WALL, PLEASE REFER TO THE INSTRUCTIONS IN THE PROVIDED WALL STRAP KIT. - Page 12 Customer S ervice: Web S ite: w ww.deltachildrensproducts.com Delta C hildren’s P roducts 114 W est 2 6th S treet New Y ork, N Y 1 0001 Tele.212-645-9033 Warranty: ...
Need help?
Do you have a question about the Eclipse 6 Drawer Chest and is the answer not in the manual?
Questions and answers