Table of Contents
Advertisement
Available languages
Available languages
Quick Links
Item #1001 332 932
Model #SP-2026PS1
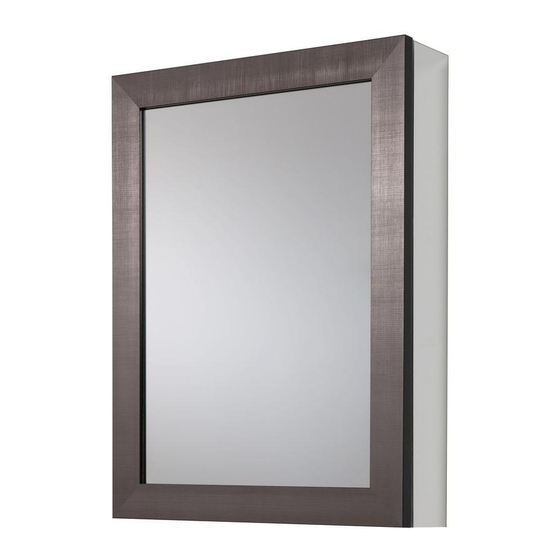
USE AND CARE GUIDE
SINGLE DOOR MEDICINE CABINET
Questions, problems, missing parts? Before returning to the store,
call Glacier Bay Customer Service
8 a.m. - 6 p.m., EST, Monday - Friday
1-855-HD-GLACIER
HOMEDEPOT.COM/GLACIERBAY
THANK YOU
We appreciate the trust and confidence you have placed in Glacier Bay through the purchase of this SINGLE DOOR MEDICINE CABINET. We
strive to continually create quality products designed to enhance your home. Visit us online to see our full line of products available for
your home improvement needs. Thank you for choosing Glacier Bay!
Advertisement
Table of Contents

Subscribe to Our Youtube Channel
Related Manuals for Glacier bay SP-2026PS1


Summary of Contents for Glacier bay SP-2026PS1
- Page 1 THANK YOU We appreciate the trust and confidence you have placed in Glacier Bay through the purchase of this SINGLE DOOR MEDICINE CABINET. We strive to continually create quality products designed to enhance your home. Visit us online to see our full line of products available for...
-
Page 2: Table Of Contents
Table of Contents Table of Contents ........2 Installation . -
Page 3: Pre-Installation
Pre-Installation PLANNING INSTALLATION □ Unpack your medicine cabinet carefully, and close the sink drain to prevent any dropped parts from falling into the drain. □ Before installing your medicine cabinet, decide whether you want to install your cabinet using a surface or a recess mount and determine which direction you want the door to open. -
Page 4: Package Contents
Pre-Installation (continued) PACKAGE CONTENTS Part Description Quantity Hinge Side mirror Cabinet Door Shelf glass Bottom bracket... -
Page 5: Installation
Installation - Surface Mounting Only Installing the bottom bracket Installing the top clips WARNING: If installing the cabinet on drywall or other □ Install the top clips (II) by inserting the rounded ends hollow wall applications, the bottom mounting bracket (F) into the rear top slot of the cabinet (C). - Page 6 Installation - Surface Mounting Only Preparing the side mirror brackets Attaching the side mirrors □ Attach four side mirror brackets (KK) to the cabinet (C) □ Adhere the side mirror bracket tape (JJ) to the side mirror brackets (KK) as shown. Make sure the bracket (KK) surface sides with screws (AA) and washers (EE).
-
Page 7: Recess Mounting Only
Installation - Recess Mounting Only Cut away the drywall Frame out the wall cavity □ Mark the opening size of the framing. NOTE: For recess mount, do not install side mirrors and □ Construct rough opening as illustrated. brackets. □ Cut away the drywall. The rough opening dimension is 19-1/5 in. -
Page 8: Hinge Adjustment
Installation - Hinge Adjustment Hinge installation NOTE: Two people may be needed to perform this installation. □ Depth adjustment is made without loosening any screw. The door can be moved in or out by rotating the cam adjuster on the hinge arm. Side view of the Cabinet Top view of the hinge... - Page 9 Installation - Hinge Adjustment Hinge installation NOTE: Two people may be needed to perform this installation. □ Side adjustment of the door is made by using the indicated screw. Front view of the cabinet Vista frontal del gabinete Top view of the hinge HOMEDEPOT.COM/GLACIERBAY Please contact 1-855-HD GLACIER for further assistance.
- Page 10 Installation - Hinge Adjustment Hinge installation NOTE: Two people may be needed to perform this installation. □ up or down, the door can be adjusted vertically. After retightening the screws, the depth adjustment is done Front view of the Cabinet Top view of the hinge...
-
Page 11: Assembly
Assembly Installing the shelves Plugging the empty holes □ Install the glass shelves (E) to your desired positions with □ Use the shelf hole plugs (CC) to seal the empty holes. shelf clips (BB) as illustrated below. Adding the bumpers □... - Page 12 Questions, problems, missing parts? Before returning to the store, call Glacier Bay Customer Service 8 a.m. - 6 p.m., EST, Monday - Friday 1-855-HD-GLACIER HOMEDEPOT.COM/GLACIERBAY Retain this manual for future use.
- Page 13 1001 332 932 SP-2026PS1...
- Page 14 Instalación ........5-10 ....5-6 Montaje empotrable solamente .
- Page 15 Pre-instalación PLANIFICACIÓN DE LA INSTALACIÓN □ Desempaque su botiquín con cuidado y cierre el desagüe del lavabo para evitar que las piezas caigan en el desagüe. □ quiere que abra la puerta. □ Usted no instalará los espejos laterales (B), se puede requerir enmarcado adicional para asegurar el gabinete. HERRAMIENTAS REQUERIDAS Taladro Cinta...
- Page 16 Pre-instalación (continuación) CONTENIDO DEL PAQUETE Pieza Descripción Cantidad Bisagra Espejo lateral Gabinete Puerta Repisa de vidrio Soporte del fondo...
- Page 17 Installation - Surface Mounting Only Installing the bottom bracket Installing the top clips WARNING: If installing the cabinet on drywall or other □ Install the top clips (II) by inserting the rounded ends hollow wall applications, the bottom mounting bracket (F) into the rear top slot of the cabinet (C).
- Page 18 Preparación de los soportes Instalación de los espejos laterales del espejo lateral □ Instale cuatro soportes de espejo lateral (KK) en los lados del □ Adhiera las cintas (JJ) en los soportes del espejo lateral gabinete (C) con tornillos (AA) y arandelas (EE), y tapas a presión de los soportes (KK) esté...
- Page 19 Instalación – Montaje empotrable solamente Corte la pared seca Enmarque la cavidad de la pared □ Marque el tamaño de la abertura del enmarcado. NOTA: Para montaje empotrable, no instale los espejos □ Construya la abertura áspera como se ilustra. laterales y los soportes.
- Page 20 nstalación - Ajuste de la bisagra ón de bisagra La instalaci NOTA: Se necesitan dos personas para realizar esta instalación. □ La se puede mover hacia adentro y hacia afuera girando el regulador de la leva en el brazo de la bisagra. Vista laterral del gabinete Vista superrior de bisagra...
- Page 21 nstalación - Ajuste de la bisagra ón de bisagra La instalaci NOTA: Se necesitan dos personas para realizar esta instalación. □ El ajuste lateral de la puerta se hace usando el tornillo indicado. Vista frontal del gabinete Vista superior de la bisagra HOMEDEPOT.COM/GLACIERBAY Para obtener asistencia, por favor, póngase en contacto llamando al 1-855-HD-GLACIER.
- Page 22 nstalación - Ajuste de la bisagra ón de bisagra La instalaci NOTA: Se necesitan dos personas para realizar esta instalación. □ montaje deslice hacia arriba o hacia abajo, la puerta se puede ajustar verticalmente. Después de reapretar los tornillos, se hace el ajuste de profundidad.
- Page 23 Ensamblaje Instalación de las repisas Sellado de los agujeros vacíos □ Instale las repisas de vidrio (E) en las posiciones deseadas □ Use los tapones de agujero de repisa (CC) para sellar los con ganchos de repisa (BB) como se ilustra a continuación. agujeros vacíos.
- Page 24 ¿Tiene preguntas, problemas o faltan piezas? Antes de regresar a la tienda, llame a Servicio al Cliente de Glacier Bay de lunes a viernes de 8 a.m. a 6 p.m., hora local del Este 1-855-HD-GLACIER HOMEDEPOT.COM/GLACIERBAY Conserve este manual para uso futuro.
Need help?
Do you have a question about the SP-2026PS1 and is the answer not in the manual?
Questions and answers