Sign In
Upload
Download
Table of Contents
Contents
Add to my manuals
Delete from my manuals
Share
URL of this page:
HTML Link:
Bookmark this page
Add
Manual will be automatically added to "My Manuals"
Print this page
×
Bookmark added
×
Added to my manuals
Manuals
Brands
Dipol Manuals
Monocular
TFA1000
Manual
Dipol TFA1000 Manual
Thermal imaging monocular
Hide thumbs
1
Table Of Contents
2
3
4
5
6
7
8
9
10
11
12
13
14
15
16
17
18
19
20
21
22
23
24
25
26
27
28
29
30
31
32
33
34
35
36
page
of
36
Go
/
36
Contents
Table of Contents
Troubleshooting
Bookmarks
Table of Contents
Table of Contents
Lieferumfang
Wichtige Hinweise & Warnungen
Anwendungsgebiet
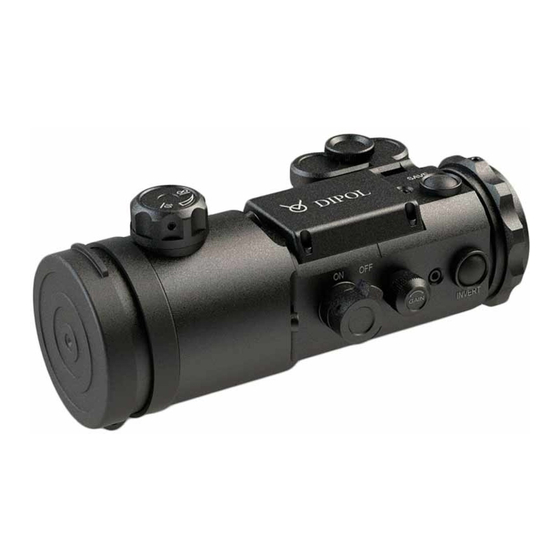
Aufbau
Technische Daten
Einstellungen & Leistungskontrolle
Bedienung & Justage
Zubehör
Mögliche Fehler / Fehlerbeseitigung
Aufbewahrung & Transport
Garantie
Hersteller & Importeur
Konformitätsvermerk
Content
Scope of Delivery
Important Notes & Warnings
Application
Design
Technical Characteristics
Settings & Performance Control
Operation & Adjustment
Accessories
Possible Errors / Troubleshooting
Storage and Transport
Guarantee
Manufacturer & Importer
Advertisement
Quick Links
1
Table of Contents
2
Application
3
Technische Daten
4
Technical Characteristics
5
Einstellungen & Leistungskontrolle
6
Settings & Performance Control
7
Bedienung & Justage
8
Operation & Adjustment
Download this manual
TFA1000/1200
Wärmebild Monokular
Gebrauchsanleitung
------------------------
TFA1000/1200
Thermal imaging monocular
Manual
1
DE / EN
Table of
Contents
Previous
Page
Next
Page
1
2
3
4
5
Advertisement
Table of Contents
Need help?
Do you have a question about the TFA1000 and is the answer not in the manual?
Ask a question
Questions and answers
Related Manuals for Dipol TFA1000
Monocular Dipol TFA 2.0 SL Manual
Thermal imaging monocular/ front attachment (24 pages)
Monocular Dipol TFA1200 Manual
Thermal imaging monocular (36 pages)
Monocular Dipol DN37 Manual
Night vision front attachment (18 pages)
Monocular Dipol DTM1000R Manual
Thermal imaging monocular with range finder (20 pages)
This manual is also suitable for:
Tfa1200
Table of Contents
Print
Rename the bookmark
Delete bookmark?
Delete from my manuals?
Login
Sign In
OR
Sign in with Facebook
Sign in with Google
Upload manual
Upload from disk
Upload from URL


Need help?
Do you have a question about the TFA1000 and is the answer not in the manual?
Questions and answers