Table of Contents
Advertisement
INSTALLATION MANUAL
AIR
CONDITIONER
Please read this installation manual completely before installing the product.
Installation work must be performed in accordance with the national wiring
standards by authorized personnel only.
Please retain this installation manual for future reference after reading it
thoroughly.
Original instruction
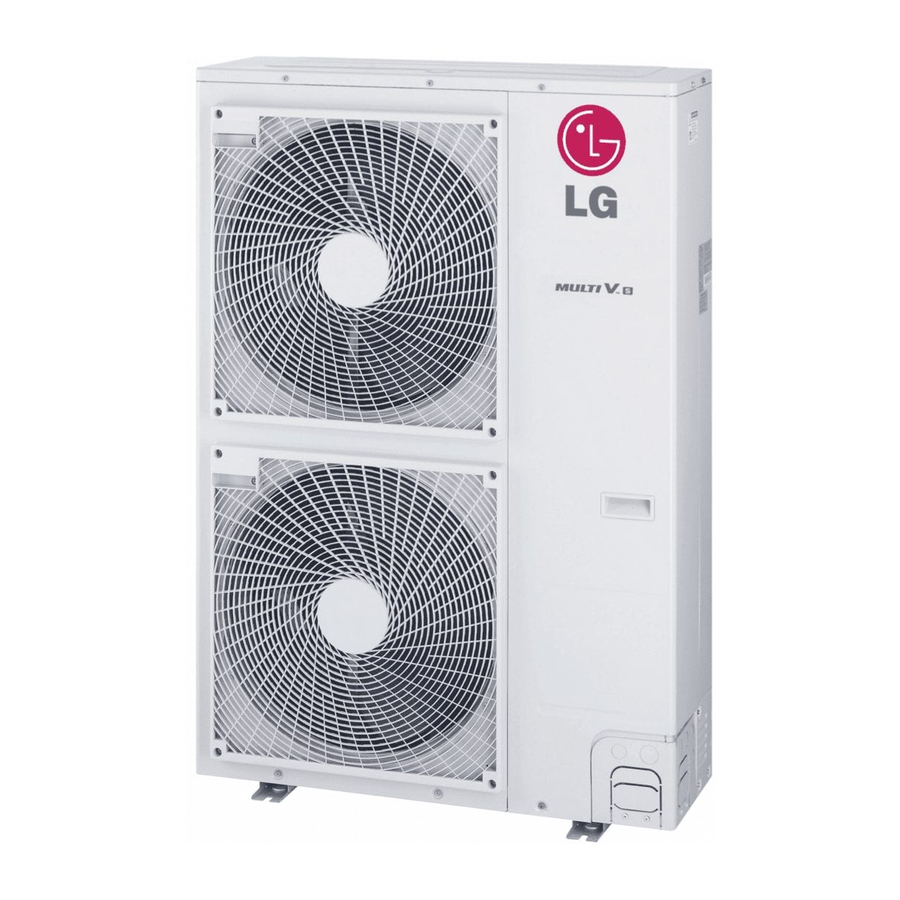
ARUB060GSS4
MFL69717905
Rev.01_040719
Copyright © 2018 - 2019 LG Electronics Inc. All Rights Reserved.
www.lg.com
Advertisement
Table of Contents

Related Manuals for LG MULTI V S ARUB060GSS4


Summary of Contents for LG MULTI V S ARUB060GSS4
- Page 1 Installation work must be performed in accordance with the national wiring standards by authorized personnel only. Please retain this installation manual for future reference after reading it thoroughly. Original instruction ARUB060GSS4 www.lg.com MFL69717905 Rev.01_040719 Copyright © 2018 - 2019 LG Electronics Inc. All Rights Reserved.
-
Page 2: Tips For Saving Energy
TIPS FOR SAVING ENERGY shock, or fire. • Always ground the product. - There is risk of fire or electric shock. Here are some tips that will help you minimize the power consumption • Always intstall a dedicated circuit and breaker. when you use the air conditioner. -
Page 3: Table Of Contents
TABLE OF CONTENTS • Do not install the unit where combustible gas may leak. - If the gas leaks and accumulates around the unit, an explosion may result. • Use power cables of sufficient current carrying capacity and rating. TIPS FOR SAVING ENERGY - Cables that are too small may leak, generate heat, and cause a fire. -
Page 4: Installation Process
INSTALLATION PROCESS OUTDOOR UNITS INFORMATION Indicate clearly who will be responsible for switch setting. Determination of division work CAUTION Make connection clearly between outdoor, indoor, Preparation of contract drawings • Ratio of the connectable Indoor Units to the Outdoor: 50 ~ 130 % remote controller and option. -
Page 5: Select The Best Location
SELECT THE BEST LOCATION Select installation location of the HR unit suitable for following conditions - Avoid a place where rain may enter since the HR unit is for indoor. Select space for installing outdoor unit, which will meet the following conditions: - Sufficient service space must be obtained. -
Page 6: Installation Space
INSTALLATION SPACE In case of obstacles on the discharge side • The following values are the least space for installation. If any service 1. Stand alone installation area is needed for service according to field circumstance, obtain enough service space. •... -
Page 7: Air Guide Work
2. Collective installation Seasonal wind and cautions in winter • Install correctly with the prospect of snow or cold temperatures in L > H L > H mind. • Install the outdoor unit ideally not to come into contact with snow directly. -
Page 8: Lifting Method
LIFTING METHOD INSTALLATION • When carrying the suspended, unit pass the ropes between legs of • Install at places where it can endure the weight and vibration/noise base panel under the unit. of the outdoor unit. • Always lift the unit with ropes attached at four points so that impact •... -
Page 9: Preparation Of Piping
Unit : mm(inch) Pipe Anti-vibration Reamer Spring washer Copper materials Slanted Uneven Rough tube Four bolt are 90° Frame Concrete required base H-Beam 3 thread ridges Point down Burrs removal - Completely remove all burrs from the cut cross section of pipe/tube. WARNING - Put the end of the copper tube/pipe to downward direction as you remove burrs in order to avoid to let burrs drop in the tubing. -
Page 10: Plumbing Materials And Storage Methods
CAUTION Plumbing materials and storage methods Pipe must be able to obtain the specified thickness and should be • Always use a charge hose for service port connection. used with low impurities. Also when handling storage, pipe must be careful to prevent a •... -
Page 11: Refrigerant Piping Installation
CAUTION Installation procedure for HR unit Using an insert-hole-in- anchor, hang the hanging bolt. 1 Always use the nitrogen.(not use oxygen, carbon dioxide, and a Install a hexagon nut and a flat washer (locally-procured)to the Chevron gas): Please use the following nitrogen pressure 0.02 hanging bolt as shown in the figure in the bottom, and fit the main MPa (2.9 psi) Oxygen –... -
Page 12: Type Of Hr Unit
Type of HR Unit Installation of Zoning Control Select an HR unit according to the number of the indoor units to be Some indoor unit can be connected to one port of HR unit. installed. HR units are classified into 3 types by the number of connectable indoor units. -
Page 13: Pipe Connections Between Indoor And Outdoor Unit
PIPE CONNECTIONS BETWEEN Refrigerant INDOOR AND OUTDOOR UNIT Charging Port - Pipe connections can be done on the front side or on the side Service Port according to the installation environments. Low Pressure gas pipe - Be sure to let 0.2 kgf/cm (0.284 lbs/in ) Nitrogen flow in the pipe Liquid pipe... -
Page 14: Refrigerant Piping System
Refrigerant piping system Refrigerant pipe diameter from outdoor unit to first branch. (A) Upward outdoor Refrigerant Pipe Connection Pipe diameter unit total capacity Example : 12 Indoor Units connected Low pressure High pressure Ⓐ : Outdoor Unit Liquid mm(inch) gas pipe gas pipe Ⓑ... - Page 15 Y branch, Header and HR unit connection pattern Pattern 5 Pattern 1 14.5 kW 14.5 kW 14.5 kW 14.5 kW (48 kBtu/h) (48 kBtu/h) (48 kBtu/h) (48 kBtu/h) Pattern 6 14.5 kW 14.5 kW 14.5 kW 14.5 kW (48 kBtu/h) (48 kBtu/h) (48 kBtu/h) (48 kBtu/h)
-
Page 16: Refrigerant Charging
• Keep the 40 m (131 ft) distance from the first branch to the farthest Attach the additional refrigerant table of IDU. indoor. 1) under 40 m (131 ft) Indoor Indoor Indoor Indoor Y branch Unit Unit Unit Unit Keep the sum of indoor capacity under 58 kW (192 kBtu/h). 1) under 40 m (131 ft) WARNING •... -
Page 17: Branch Pipe Fitting
Branch pipe Fitting • Header should be insulated with the insulator in each kit. Y branch Insulate the header using Ⓐ To Branch Piping or Indoor Unit the insulation material attached to the branch pipe kit Ⓑ To Outdoor Unit as shown in the figure. -
Page 18: Leak Test And Vacuum Drying
WARNING Header [Unit:mm(inch)] Use a vacuum pump or Inert(nitrogen) gas when doing leakage test or air purge. Do not compress air or Oxygen and do not use Models Gas pipe Liquid pipe Flammable gases. Otherwise, it may cause fire or explosion. - There is the risk of death, injury, fire or explosion. -
Page 19: Vacuum Mode
WARNING Thermal insulation of refrigerant piping Use a vacuum pump or Inert(nitrogen) gas when doing leakage test Be sure to give insulation work to refrigerant piping by covering liquid or air purge. Do not compress air or Oxygen and do not use pipe and gas pipe separately with enough thickness heat-resistant Flammable gases. -
Page 20: Electrical Wiring
Penetrations Outdoor Unit Inner wall (concealed) Outer wall Outer wall (exposed) Indoor Indoor Unit Unit Remote Remote control control Outdoor Unit Floor (fireproofing) Penetrating portion on fire Roof pipe shaft Indoor Indoor Unit Unit limit and boundary wall Remote Remote control control 2-Core Shield Cable... -
Page 21: Control Box And Connecting Position Of Wiring
Communication and Power Cables Control box and connecting position of wiring - Remove all of the screws at side panel and remove the panel by Communication cable pulling it forward. - Types : shielding cable - Connect communication cables between outdoor unit and indoor - Cross section : 1.0~1.5 mm (1.55x10 ~2.32x10... -
Page 22: Wiring Of Main Power Supply And Equipment Capacity
Wiring of main power supply and equipment Example) Connection of transmission wire capacity [BUS type] [STAR type] - Connection of communication - Abnormal operation can be - Use a separate power supply for the Outdoor Unit and Indoor Unit. cable must be installed like caused by communication - Bear in mind ambient conditions (ambient temperature,direct below figure between indoor... -
Page 23: Checking The Setting Of Outdoor Units
Checking the setting of outdoor units HR UNIT PCB Checking according to DIP switch setting #4 valve housing - You can check the setting values of the outdoor unit from the 7 segment LED. The DIP switch setting should be changed when the power is OFF. #1 valve housing Checking the initial display The number is sequentially appeared at the 7 segment in 5 seconds... - Page 24 3) Selection of the model of the HR unit NOTE If the large capacity indoor units are installed, below Y branch pipe should be used Y branch pipe (For 2 branches) (For 3 branches) (For 4 branches) PRHR022(A) PRHR032(A) PRHR042(A) [Unit : mm(inch)] ARBLB03321 Models...
-
Page 25: Automatic Addressing
3 SW01M/SW03M/SW04M (DIP S/W and tact S/W for Automatic Addressing manual valve addressing) The address of indoor units would be set by Automatic Addressing 1) Normal setting (Non-Zoning setting) - Wait for 3 minutes after supplying power. - Set the address of the valve of the HR unit to the central control (Master and Slave outdoor units, indoor units) address of the connected indoor unit. -
Page 26: Example Of Manual Valve Addressing (Non-Zoning Setting)
Example of manual valve addressing Flow chart of auto addressing for pipe detection (Non-Zoning setting) Confirmation of indoor unit address setting (In case that an indoor unit of central control address "11" is connected Outdoor unit is operated for 5~60 minues. to a valve #1 of an HR unit) - Prerequisite for manual valve addressing: central control address of Turn No.1 of SW02M of HR unit PCB off. -
Page 27: Method Of Checking The Pipe Detection Result At Hr Unit
Identification of Manual Valve ID (Address) 7) The rotary switch set value of above number of indoor units which is connected with FF and prevents a malfunction. (Example: The case where 3 indoor units is connected in piping 1, Display and setup Setup and Contents sets from rotary switch 0,1,2 and 3,4,5,6,7 with FF set) - Operation: more than 2 DIP switches... -
Page 28: Group Number Setting
WARNING Mode Function Option Value Action Remarks Content Display1 Content Display2 Content Display3 Content Display4 Implement Display5 • Valve address and central control address of its corresponding indoor Change Cool & Heat oFF op1~ Selected Save in unit should be set identical in manual addressing. the set Blank Selector... -
Page 29: Static Pressure Compensation Mode
Static pressure compensation mode CAUTION This function secures the air flow rate of ODU, in case static pressure • Request installer to set the function during installation. has been applied like using duct at fan discharge of ODU. • If ODU RPM changes, cooling capacity may go down. Static pressure compensation mode setting method Service PCB DIP switch on : No.5 Setting the ODU address... -
Page 30: Target Pressure Adjusting
Target pressure adjusting Mode setting method Service unit PCB DIP switch on : No.5 Select the mode using ‘▶’, ‘◀’ Button : “Func” Push the ‘●’ button Select the Function using ‘▶’, ‘◀’ Button : “Fn8” Push the ‘●’ button Select the Option using ‘▶’, ‘◀’... -
Page 31: Self-Diagnosis Function
Self-Diagnosis Function Error Indicator - This function indicates types of failure in self-diagnosis and occurrence of failure for air condition. - Error mark is displayed on display window of indoor units and wired remote controller, and 7-segment LED of outdoor unit control board as shown in the table. - Page 32 Display Title Cause of Error Omitting connection of R, S, T power of Outdoor Unit Omitting connection of outdoor unit Excessive connection of indoor units compared to capacity of Outdoor Excessive capacity of indoor units Unit Communication error : inverter PCB ’ Main PCB Failing to receive inverter signal at main PCB of Outdoor Unit Communication error : indoor unit ’...
-
Page 33: Caution For Refrigerant Leak
CAUTION FOR REFRIGERANT LEAK - With partition and without opening which serve as passage of air to adjoining room Outdoor unit The installer and system specialist shall secure safety against leakage according to local regulations or standards. HR unit The following standards may be applicable if local regulations are not available. -
Page 34: Installation Guide At The Seaside
INSTALLATION GUIDE AT THE Model Designation SEASIDE Product information CAUTION • Product Name : Air conditioner • Model Name : • Air conditioners should not be installed in areas where corrosive Product Sales Name Model Factory Name gases, such as acid or alkaline gas, are produced. •... - Page 35 [Representative] LG Electronics Inc. EU Representative : LG Electronics European Shared Service Center B.V. Krijgsman 1, 1186 DM Amstelveen, The Netherlands [Manufacturer] LG Electronics Inc. Changwon 2nd factory 84, Wanam-ro, Seongsan-gu, Changwon-si, Gyeongsangnam-do, KOREA...
Need help?
Do you have a question about the MULTI V S ARUB060GSS4 and is the answer not in the manual?
Questions and answers