Advertisement
Quick Links
Installing and Upgrading FRUs
•
•
•
•
•
•
Removing and Replacing the Chassis Cover
These are the steps to remove the chassis cover:
1. Confirm the router is turned off and disconnected from the power supply or power supplies.
2. Place the chassis on a flat surface.
3. Remove the screws at top of the chassis cover.
4. Remove the screws at the sides of the device (See Figure 11).
5. Lift the chassis cover once you have removed all the screws.
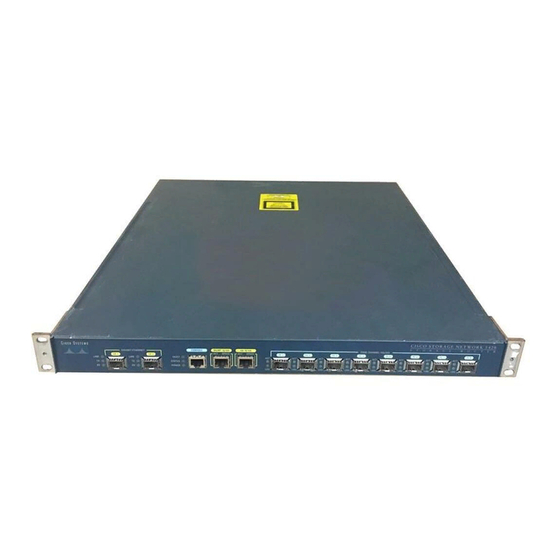
Figure 1: Removing the Chassis Cover
Removing and Replacing the Chassis Cover, on page 1
Replacing the Power Supply, on page 2
Installing Drive Bays, on page 2
Upgrading the M.2 Storage Module, on page 3
Installing and Removing a DIMM, on page 4
Installing and Removing a NIM, on page 7
Installing and Upgrading FRUs
1
Advertisement

Related Manuals for Cisco 5400


Summary of Contents for Cisco 5400
-
Page 1: Table Of Contents
Installing and Upgrading FRUs • Removing and Replacing the Chassis Cover, on page 1 • Replacing the Power Supply, on page 2 • Installing Drive Bays, on page 2 • Upgrading the M.2 Storage Module, on page 3 • Installing and Removing a DIMM, on page 4 •... -
Page 2: Replacing The Power Supply
Installing and Upgrading FRUs Replacing the Power Supply Note To replace the chassis cover, place the cover evenly on the top of the device and use the screws to secure it to the device. Replacing the Power Supply These are the steps to replace the power supply: 1. -
Page 3: Upgrading The M.2 Storage Module
Installing and Upgrading FRUs Upgrading the M.2 Storage Module 2. Press the push button on the center of the cover and pull the cover out of the system to expose the slot. 3. Slide the drive into the slot. Note Keep the drive bays covered when there are no drives installed in the slot. -
Page 4: Installing And Removing A Dimm
Installing and Upgrading FRUs Installing and Removing a DIMM Figure 4: Upgrading the M.2 Storage Module 5. Replace the chassis cover. Installing and Removing a DIMM There are two DDR4 DIMM slots. DIMMs have a polarization notch on the connecting edge to prevent incorrect insertion. - Page 5 Installing and Upgrading FRUs Installing and Removing a DIMM Figure 6: DIMM Module 3. Make sure that both latches on the DIMM connector are in the open position. 4. Orient the DIMM so that the polarization notch lines up with the polarization key on the connector. 5.
- Page 6 Installing and Upgrading FRUs Installing and Removing a DIMM Figure 7: Inserting a DIMM 6. Replace the chassis cover. These are the steps to remove a DIMM: 1. Remove the chassis cover. 2. Locate the DIMM module on the device. Refer to the Chassis - Internal View section to identify and locate the DIMM module.
-
Page 7: Installing And Removing A Nim
Installing and Upgrading FRUs Installing and Removing a NIM Installing and Removing a NIM These are the steps to install a NIM: • Locate the NIM slot on the front panel. • Loosen the screws to open the slot cover. •... - Page 8 Installing and Upgrading FRUs Installing and Removing a NIM Installing and Upgrading FRUs...