Advertisement
Quick Links
Dimensions to be observed
.for a solid door
A max.
A min.
059
32"3/4
32"1/8
259
70"5/8
B
22"
19''3/4
A
18''7/8
Wine cabinet installation
A max.
A min.
with raising piece
*
with raising piece
34"1/2
33"13/16
70"
72"1/4
71"5/8
C
2''1/2
www.eurocave.com
Flush-fitting diagrams -
B
C min.
*
22"
32"3/8
22"1/2
70"1/8
1/4''
3''
A
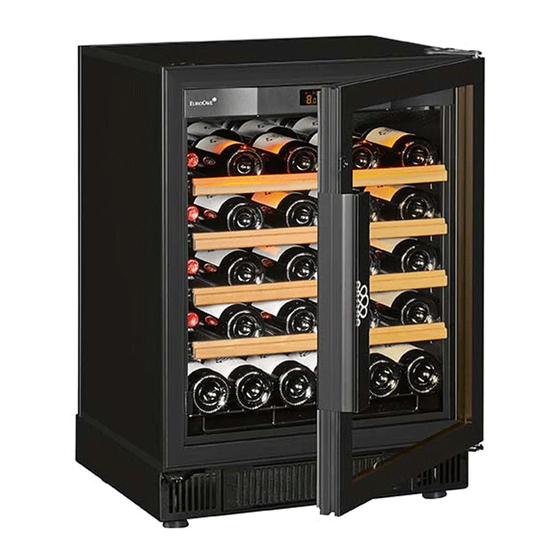
Compact 59
A
B
Advertisement

Summary of Contents for Eurocave Compact 59
- Page 1 Wine cabinet installation Flush-fitting diagrams - Compact 59 Dimensions to be observed .for a solid door A max. A min. A max. A min. C min. with raising piece with raising piece 32"3/4 32"1/8 34"1/2 33"13/16 22" 32"3/8 70"5/8 70"...
- Page 2 Wine cabinet installation Flush-fitting diagrams - Compact 59 Dimensions to be observed .for a glass door A max. A min. A max. A min. C min. with raising piece with raising piece 32"3/4 32"1/8 34"1/2 33"13/16 21"9/16 32"3/8 70"5/8 70"...
- Page 3 Wine cabinet installation Flush-fitting diagrams - Compact 59 Dimensions to be observed .for a full glass door A max. A min. A max. A min. C min. with raising piece with raising piece 32"3/4 32"1/8 34"1/2 33"13/16 21"5/8 32"3/8 70"5/8 70"...
- Page 4 Wine cabinet installation Flush-fitting diagrams - Compact 59 Dimensions to be observed .for a technical door A max. A min. A max. A min. C min. with raising piece with raising piece 33"5/8 33" 35"5/16 34"5/18 21"5/8 33"3/16 71"3/8 70"3/4 73"3/16...
- Page 5 Wine cabinet installation Flush-fitting diagrams - Compact 59 Changing the hinges - Gently remove the caps using a thin blade. - Unscrew the three screws (1) using a T25 Torx wrench. - Remove the hinge (2). - On the other side, gently remove the caps using a thin blade (3).


Need help?
Do you have a question about the Compact 59 and is the answer not in the manual?
Questions and answers