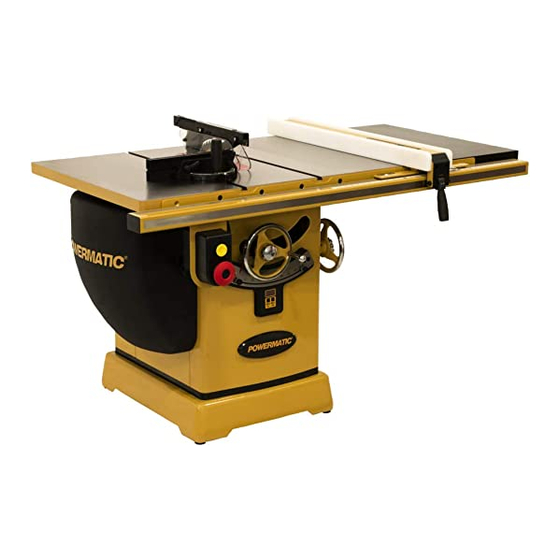
Powermatic PM2000B Instructions
Zero clearance table saw insert
Hide thumbs
Also See for PM2000B:
- Operating instructions and parts manual (152 pages) ,
- Operating instructions and parts manual (20 pages) ,
- Operating instructions and parts manual (52 pages)
Advertisement
Zero Clearance Table Saw Insert Instructions
Warnings
Disconnect saw from power source before fitting or removing insert.
Always wear safety goggles.
Be sure blade is not in contact with insert before switching on.
Do not attempt to tilt the arbor while the blade is in the insert! The blade will bind, causing severe damage
and possible injury! BEVELED CUTS ARE NOT ACCOMMODATED WITH THE USE OF A FACTORY
Insert must be securely clamped down with a board before plunging blade up through it to cut kerf.
If using blade stabilizers, check clearance before raising blade.
WARNING: This product can expose you to chemicals including lead which is known to the State of
California to cause cancer and birth defects or other reproductive harm. For more information go to
http://www.p65warnings.ca.gov.
WARNING: Drilling, sawing, sanding or machining wood products generates wood dust and other
substances known to the State of California to cause cancer. Avoid inhaling dust generated from wood
products or use a dust mask or other safeguards for personal protection. Wood products emit chemicals known
to the State of California to cause birth defects or other reproductive harm. For more information go to
http://www.p65warnings.ca.gov/wood.
Installing and Fitting Your Insert
1.
Lower the blade completely.
2.
Place insert in table with starter pocket located
over blade. (Adjustment screw may be in front
or back depending on model of saw)
3.
Run leveling screws down until insert is stable
and flush with tabletop. (Use a 3mm hex
wrench or Phillips screwdriver)
4.
Adjust the length adjustment screw and side
adjustment screw to achieve a fit that is snug,
yet removable.
5.
If the insert will not go down flush with table
top because it is resting on top of blade, then
raise up using leveling screws until insert is
setting steady about 1/16" above tabletop. This
should provide adequate clearance for blade.
IMPORTANT SPLITTER or RIVING KNIFE INFORMATION: For all through cuts (i.e. cutting through the
entire thickness in a single pass) you MUST cut a slot at the rear of the insert to accommodate the splitter or
riving knife. Trace the outline of the slot from your original insert, and cut with bandsaw or hacksaw. Leave the
bridge between the splitter/riving knife slot and the blade slot as thick as possible.
Powermatic
427 New Sanford Road
LaVergne, Tennessee 37086
Ph.: 800-274-6848
www.powermatic.com
Cutting the Blade Slot (Kerf)
1.
Check that insert is fitted properly, and that
blade is clear. Using a stick, reach under the
table and rotate the blade manually to check
for blade clearance.
2.
Fully cover the insert with a board, and clamp
at each end to the table saw top.
3.
Re-connect power to saw. Turn on Saw.
Slowly and cautiously raise blade up to cut
through the insert. KEEP HANDS OFF TABLE
TOP, STAY CLEAR & WEAR GOGGLES.
Raise blade to maximum height at this time.
4.
Lower blade, turn off saw, and remove board.
Your insert is now ready for use!
Copyright © 2017 Powermatic
Part No. M-1791786B
Edition 2 10/2018
Advertisement
Table of Contents

Summary of Contents for Powermatic PM2000B
- Page 1 Trace the outline of the slot from your original insert, and cut with bandsaw or hacksaw. Leave the bridge between the splitter/riving knife slot and the blade slot as thick as possible. Powermatic 427 New Sanford Road LaVergne, Tennessee 37086 Part No. M-1791786B Ph.: 800-274-6848 Edition 2 10/2018 www.powermatic.com Copyright © 2017 Powermatic...
- Page 2 Table Saw Type Reorder Stock Number Powermatic PM2000B 1791786B Powermatic is a division of JPW Industries, Inc. JPW Industries, the manufacturer, authorized distributors and retailers will not be held responsible for damages or injures resulting from the use of this product.


Need help?
Do you have a question about the PM2000B and is the answer not in the manual?
Questions and answers