Advertisement
RC-308 Quick Start Guide
This guide helps you install and use your RC-308 for the first time.
Go to
upgrades are available.
Scan for full manual
Step 1: Check what's in the box
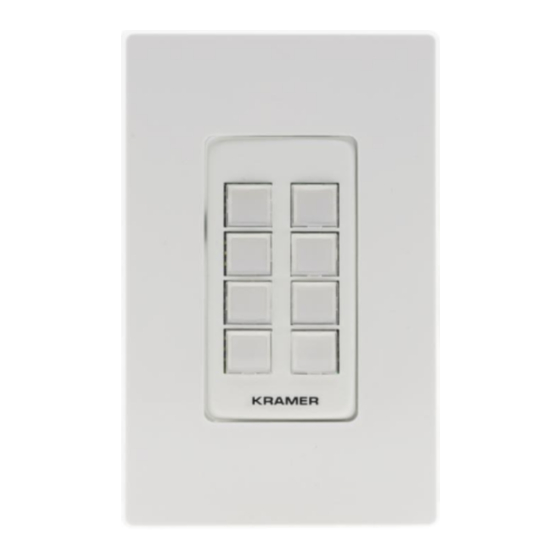
RC-308 Ethernet and K-NET Control Keypad
1 Set of button label sheets
1 Power supply and cord
Step 2: Get to know your RC-308
#
Feature
1
Designed Wall Frame
2
Button Faceplate
3
Mounting Screw Holes
4
Configurable RGB Backlit
Buttons (8)
5
Mounting Bracket
6
DIP-Switches
7
PoE ETHERNET RJ-45
Connector
RC-308 Quick Start (P/N: 2900-300968QS REV 2)
www.kramerav.com/downloads/RC-308
1 Button-cap remover (tweezers)
1 Quick start guide
Function
For fixing the RC-308 to the wall.
Covers the button area after inserting the button labels.
For securing the frame to the wall (US version only).
Configured to control the room and A/V devices.
Remove button covers to insert button labels (included).
For fixing the frame to the in-wall box.
For K-NET: The last physical device on a K-NET bus must be terminated.
For RS-485: The first and the last units on the RS-485 line should be terminated. Other units
should remain unterminated.
Slide down (ON)
Slide up (OFF, default)
Connect to a PoE-providing Ethernet LAN for control, firmware upgrade and for uploading the
configuration.
to download the latest user manual and check if firmware
DIP-switch 1 (to the left)
K-NET Line Termination
For line termination.
To leave bus unterminated.
P/N: 2 9 0 0 - 3 0 0 9 6 8 QS
1 Frame and 1 faceplate
8 button caps
DIP-switch 2 (to the right)
RS-485 Line Termination
For RS-485 line termination.
To leave RS-485 line unterminated.
Rev: 2
Advertisement
Table of Contents

Related Manuals for Kramer RC-308


Summary of Contents for Kramer RC-308
- Page 1 RC-308 Quick Start Guide This guide helps you install and use your RC-308 for the first time. Go to www.kramerav.com/downloads/RC-308 to download the latest user manual and check if firmware upgrades are available. Scan for full manual Step 1: Check what’s in the box...
- Page 2 To configure RC-308 buttons via K-Config: Configure RC-308 (go to www.kramerav.com/product/K-Config). Connect RC-308 to a PC via the Ethernet or connect via the mini USB port. Sync the configuration to the RC-308. To insert a button label: When inserting a button label for the first time, start from #3 below.
- Page 3 Step 4: Connect the inputs and outputs Always switch OFF the power on each device before connecting it to your RC-308. For best results, we recommend that you always use Kramer high-performance cables to connect AV equipment to RC-308. Step 5: Install RC-308...
- Page 4 Step 6: Connect the power If the device is not powered via PoE, connect the 12V DC power adapter to the RC-308 and plug the adapter into the mains. Safety Instructions Caution: There are no operator serviceable parts inside the unit.
Need help?
Do you have a question about the RC-308 and is the answer not in the manual?
Questions and answers