Advertisement
Quick Links
RC-206 Quick Start Guide
This guide helps you install and use your RC-206 for the first time.
Go to
Scan for full manual
upgrades are available.
Step 1: Check what's in the box
RC-206 Ethernet and K-NET Control Keypad
1 Set of button label sheets
1 Power adapter and cord
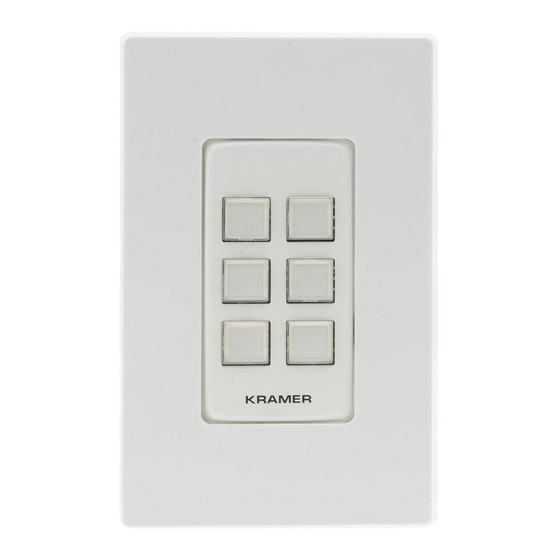
Step 2: Get to know your RC-206
US-D Version
Front
#
Feature
1
Designed 1 Gang Wall
Frame
2
Button Faceplate
3
Mounting Screw Holes
4
Configurable RGB Backlit
Buttons (6)
5
Mounting Bracket
6
DIP-Switches
7
Ethernet RJ-45 Connector
RC-206 Quick Start
www.kramerav.com/downloads/RC-206
1 Button-cap remover (tweezers)
1 Quick start guide
Installation accessories
Rear
Function
For fixing the RC-206 to the wall. DECORA™ design frames are included in US-D models.
Covers the button area after inserting the button labels.
For securing the frame to the wall (US version only).
Configured to control the room and A/V devices.
Remove button covers to insert button labels (included).
For fixing the frame to the in-wall box.
For K-NET: The last physical device on a K-NET bus must be terminated.
For RS-485: The first and the last units on the RS-485 line should be terminated. Other units
should remain unterminated.
Slide down (ON)
Slide up (OFF, default)
Connect to an Ethernet LAN for control, firmware upgrade and for uploading the configuration.
to download the latest user manual and check if firmware
EU/UK Version
Front
DIP-switch 1 (to the left)
K-NET Line Termination
For line termination.
To leave bus unterminated.
2 9 0 0 - 3 0 1 0 9 0 QS
P/N:
Frame (or frame set) and faceplate
6 Button caps
Rear
DIP-switch 2 (to the right)
RS-485 Line Termination
For RS-485 line termination.
To leave RS-485 line unterminated.
2
Rev:
Advertisement

Subscribe to Our Youtube Channel
Related Manuals for Kramer RC-206


Summary of Contents for Kramer RC-206
- Page 1 Front Rear Feature Function Designed 1 Gang Wall For fixing the RC-206 to the wall. DECORA™ design frames are included in US-D models. Frame Button Faceplate Covers the button area after inserting the button labels. Mounting Screw Holes For securing the frame to the wall (US version only).
- Page 2 To configure RC-206 buttons via K-Config: • Configure RC-206 (go to www.kramerav.com/product/K-Config). • Connect RC-206 to a PC via the Ethernet or connect via the mini USB port. • Sync the configuration to RC-206. To insert a button label for the first time: To replace a label: 1.
- Page 3 Step 4: Connect the inputs and outputs Always switch OFF the power on each device before connecting it to your RC-206. For best results, we recommend that you always use Kramer high-performance cables to connect AV equipment to RC-206. Step 5: Install RC-206...
- Page 4 Disconnect the power and unplug the unit from the wall before installing. www.KramerAV.com for updated safety information. Step 7: Operate RC-206 Operate RC-206 via the front panel buttons, as a room controller keypad configured via K-Config or as a control interface keypad by using Kramer Control. Technical Specifications Inputs...
Need help?
Do you have a question about the RC-206 and is the answer not in the manual?
Questions and answers