Advertisement
Quick Links
Advertisement

Related Manuals for Lander F9F - 8 Cougar


Summary of Contents for Lander F9F - 8 Cougar
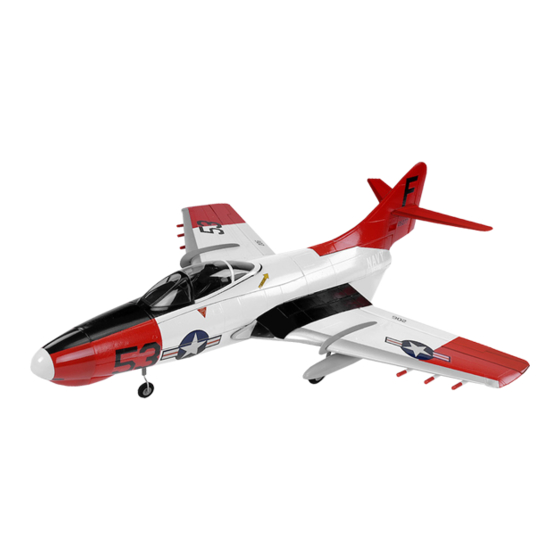
- Page 1 F9F - 8 Cougar OPERATIONAL MANUAL...
- Page 2 Please read before operating this system! e would like thank you for purchasing our new product—F9F-8 COUGAR, designed for the hobby enthusiast. Base on its full - scale counterpart, this USA Jet can finish loops, inverted flight and rolls and other aerobatics easily. Even the beginner can easily setup the model and fly it stably.
-
Page 3: Specifications
Specifications: Wing Span : 880mm Length: 1000mm Height: 300mm Flying weight: 1350 g up Servo: 9g× 9 pcs Power system: EDF68-1A Brushless electrical ducted fan Up to 1.45kg with 4s Thrust: Up to 1.65kg with 6s Function: Retract landing gear system, flaperon function and Gear doors system (optional item). ESC: 60A or above Radio:... -
Page 4: Main Accessories
3. Please don’t make any testing run of EDF unit by hand hold method, It maybe cause any danger to you or damages the unit possibly. It must be installed into the plane body or test stand for operation. 4. Please don’t remove any parts of this unit by yourself due to it has been done well balancing procedure. Otherwise it may be affected the performance after any removal action. -
Page 5: Assembling The Aircraft
Metal base retract landing gear Remarks: 1) Operational Manual (included) 2) 5 Min. epoxy set (included) 3) Extension cord x 3pcs & Y cord x 2pcs (not included except RTF version) 4) Push rods for Elevator, Rudder, Aileron, Retractable Landing Gear & Steering (included) 5) One plastic bag includes screws, Control Horns, Linkage, Stoppers &... - Page 6 1) Both aileron servos must be pre-set the centre position before installation. 2) Aileron servos cable are passed through the gear bay into the main fuselage then install the main landing gear.. 1) Both main retract landing gear are taken provided 2.6 x 12mm screws to tight up on the gear base hard wood.
- Page 7 1)Use some epoxy to glue up the Rudder on the vertical stabilizer, 1) Install the rudder & elevator servos on the stabilizer 1) Those of rudder and elevator servos are made sure linked up with extension and Y cords and passed through the main fuselage as shown before glue up.
- Page 8 1) Install the both side air intake set. 1) Use epoxy to glue up the intake set 1) Install the front lower fuselage on the main fuselage. 1) Use enough epoxy to glue up the front lower fuselage on the main fuselage.
- Page 9 1) Install the EDF set and ESC equipment on the main fuselage. 1) Divide two provided strong foam tape into 4 pcs then fixed on the EDF set bay as shown. 1) Install the EDF set on the bay and make sure on the correct position then add some hot melt glue to fill up the gap on the both size between EDF set and main fuselage in order to strengthen the EDF secured on the bay.
- Page 10 1) Install the main wing on the main fuselage. The step is plug in the rear part of main wing into the main fuselage first. 1) Screws up the front part of main wing with three provided 4 X 32mm 2pcs & 4 X 35mm 1pc screws with washers on the main fuselage.
- Page 11 The F9F-8 Cougar is completed the installation procedure and ready to fly. Also you can install the provided drop tanks, missiles and both size wing-knifes if you want. - 11 -...
- Page 12 Flight attention Do not fly at any place where another same-frequency model is being operated. Taking off: Always take off toward the wind. When launch F9F-8 COUGAR by hands, maximize the power (include the micro-adjuster) and run several meters, then throw the F9F-8 COUGAR horizontally. When launch F9F-8 COUGAR on the ground, maximize the power and let F9F-8 COUGAR accelerate in direction of the wind and keep it running straightly, after it run more than 60 feet, then pull the elevator joy stick, and it will take off.
- Page 13 - 13 -...
Need help?
Do you have a question about the F9F - 8 Cougar and is the answer not in the manual?
Questions and answers