Table of Contents
Advertisement
Quick Links
Advertisement
Table of Contents

Subscribe to Our Youtube Channel
Related Manuals for Allterco Robotics Shell Door/Window2

Summary of Contents for Allterco Robotics Shell Door/Window2
- Page 1 USER GUIDE...
-
Page 2: Specification
Failure to follow recommended procedures could lead to malfunction, danger to your life or violation of the law. Allterco Robotics is not responsible for any loss or damage in case of incorrect in- stallation or operation of this device. -
Page 3: Factory Reset
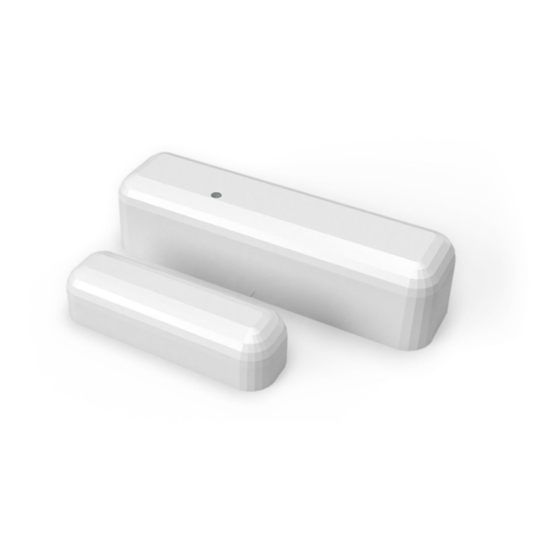
Control your home with your voice All Shelly devices are compatible with Amazons’ Alexa and Googles’ assistant. Please see our step-by-step guides on: https://shelly.cloud/compatibility/Alexa https://shelly.cloud/compatibility/Assistant Device „Wake Up“ To open the device remove the back cover. Press the Button. The LED should flash slowly. This means that Shelly is in AP mode. -
Page 4: Forgotten Password
Shelly devices from anywhere in the world. The only thing you need is connection to the Internet and our mobile application, installed on your smartphone or tablet. To install the applica- tion please visit Google Play or App Store. Registration The first time you open the Shelly Cloud mobile app, you have to create an account which can manage all your Shelly devices. - Page 5 To add a new Shelly device, connect it to the power grid fol- lowing the Installation Instructions included with the Device. Step 1 Place your Shelly D/W sensor in the room where you want to use it. Press the Button - the LED should turn on and flash slowly.
- Page 6 see the following pop-up: Step 4: Approximately 30 seconds after discovery of any new devices оn the local WiFi network, а list will be displayed by default in the “Discovered Devices” room. Step 5: Select Discovered Devices and choose the Shelly device you want to include in your account.
- Page 7 Enter a name for the Device. Choose a Room, in which the device has to be positioned. You can choose an icon or upload a picture to make it easier to recognize. Press “Save Device”. Step 7: To enable connection to the Shelly Cloud service for remote control and monitoring of the Device, press “yes”...
-
Page 8: Sensor Settings
Shelly Devices Settings After your Shelly device is included in the app, you can change its settings and automate the way it works. To enter the details menu of the device, click on it’s name. From there you may control the device, as well as edit its appearance and settings. -
Page 9: Abbreviations Used
Settings Sensor Light Enable or disable the light of the device, when the door is opened/closed. Firmware Update Update the firmware of Shelly, when a new version is released. Time Zone and Geo-location Enable or Disable the automatic detection of Time Zone and Geo-location. - Page 10 Step 2 When the LED is flashing slowly, Shelly has created a WiFi net- work, with name such as ShellyDW-35FA58. Connect to it. Step 3 Type 192.168.33.1 into the address field of your browser to load the web interface of Shelly. General - Home Page This is the home page of the embedded...
- Page 11 execution: • Via CoAP (CoIOT) • Via MQTT Cloud: Enable or disable the connection to the Cloud Settings LED Light Control: Enable or disable the light of the device, when the door is opened/closed. Time Zone and Geo-location: Enable or Disable the automatic detection of Time Zone and Geo-location.
- Page 12 Developers support Our Facebook support group: https://www.facebook.com/ groups/ShellyIoTCommunitySupport/ Our support e-mail: support@shelly.cloud Our website: www.shelly.cloud (RoHSII Directive)
Need help?
Do you have a question about the Shell Door/Window2 and is the answer not in the manual?
Questions and answers