MICRO-AIR EasyTouch RV Installation, Quick Start Manual And Operation Manual
Hide thumbs
Also See for EasyTouch RV:
- Operating manual (12 pages) ,
- Operating manual (15 pages) ,
- Quick reference manual (18 pages)
Table of Contents
Advertisement
Advertisement
Table of Contents

Related Manuals for MICRO-AIR EasyTouch RV


Summary of Contents for MICRO-AIR EasyTouch RV
- Page 1 EasyTouch RV Thermostat Installation, Quick Start Guide and Operation Manual...
-
Page 2: Table Of Contents
Connecting with WIFI ..........................8 Calibrating the touchscreen .......................... 8 Appendix I: Image reference ......................... 9 System Off ..............................9 System On ..............................9 Settings..............................10 Warranty ..............................11 Copyright ©2020 Micro-Air Inc........................11 ©2020 Micro-Air, Inc. July 22, 2020 Revision 1.07... -
Page 3: Important Safety Information
All other servicing should be referred to the factory or a qualified service person. 16. Eye wear: Always wear eye protection when drilling holes for installation. 17. Disassembly: There is no reason to disassemble our EasyTouch RV thermostat. Disassembly voids the product warranty. Wall mounting is made externally. -
Page 4: Installation
Installation All installations are made via an external wall mount. Do not open your EasyTouch RV thermostat. Single Zone DC (ASY-352) Includes all Coleman™, Airxcel™, and RV Products™ (RVP) units except ZC and dual stage 1. Push up gently on the bottom of the original thermostat. The thermostat will snap up and then can be removed from the wall. -
Page 5: Multi-Zone Oem (Asy-350)
Screw the wall mounting bracket into the wall anchors using the provided screws. Remove the center plastic spacer after the screws are tight. 5. Plug the thermostat cable into the EasyTouch RV thermostat. 6. Insert the thermostat mounting pins into the back of the thermostat in the provided holes while pressing it against the wall. -
Page 6: Operation
Away: Provides two set points allowing a wider range of temperatures. Set your desired auto mode, if available. Schedule: Allows changing the temperature up to four times each day. ©2020 Micro-Air, Inc. July 22, 2020 Revision 1.07... -
Page 7: Adjusting The Brightness
Smart device applications iPhone™ and Android™ applications are hosted by and available in the Apple App Store and from Google Play. They can be found by searching those stores for EasyTouch RV™ and making the free download to your phone. -
Page 8: Removing A Device
Calibrating the touchscreen Each time the display is powered on it will go through a reset process and display the Micro-Air logo. Touching the logo will cause the display to enter the calibration screen. Follow the on-screen instructions to complete calibration. -
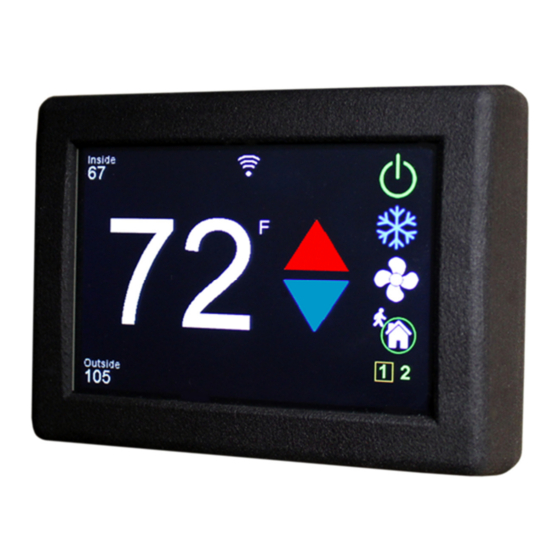
Page 9: Appendix I: Image Reference
Cool and heat pump mode . Uses compressor for both heating and cooling. Cool and heat strip mode . Uses compressor for cooling and heat strip for heating. Low fan speed. High fan speed. ©2020 Micro-Air, Inc. July 22, 2020 Revision 1.07... -
Page 10: Settings
Reset the Bluetooth password. View the system heating options. Select the day or night screen brightness. Set the display brightness for day or night. Reset the display to factory defaults. Return to the last screen. ©2020 Micro-Air, Inc. July 22, 2020 Revision 1.07... -
Page 11: Warranty
Warranty LIMITED WARRANTY Micro-Air expressly warrants new products made by it to be free from manufacturing defects for a period of two (2) years from the date of delivery to the original purchaser of our product (“Purchaser”). Complete details of the Warranty may be found at https://www.microair.net/pages/legal.
Need help?
Do you have a question about the EasyTouch RV and is the answer not in the manual?
Questions and answers