Table of Contents
Advertisement
FM2D50 Series
Two Circuit Electronic
24 Hour or 7 Day
Time Switches
APPLICATION
Time based control of lighting, ventilating, heating, cooling or other
electrical loads in commercial and industrial applications. The FM2D50
time switches are programmable for 24-hour or 7-day schedules as well
as a "8th day" or holiday schedule.
The FM2D50 series is intended for either surface or Flush panel
mounting. Din rail mounting is also available by ordering the accessory
model #MB-DIN. The control is completely enclosed in a plastic housing
and includes a terminal cover and sub-base for installation and hard wiring.
It is also supplied with a clear plastic snap-on dust cover.
TECHNICAL DATA
Output – SPDT relay with dry contacts
Switch Rating:
-1/2 hp, 120V ac
-1hp, 240V ac
-16A, 277V ac resistive
-12A Ballast, 120V ac
-8A Ballast, 240V ac
-720 VA 240V ac Pilot Duty
-360 VA 120V ac Pilot duty
-1000W Tungsten, 240V ac
-600W Tungsten, 120V ac
3 year battery back-up
Supply voltages: Separate Models – 12VDC, 24VAC/DC, 120VAC,
208/240VAC, all 60Hz (refer to product label)
Shortest switch time: 1 minute
Ambient Temperature Range –20°F to 140°F (–28°C to 60°C)
AM/PM LCD display
Input Draw: 4VA
Screw terminal connections
1/4" quick connects
Accuracy ± 4 minutes per year
Agency Approvals: UL Recognized
Installation
To the installer:
1. Read operating instructions carefully.
2. Check the input and output ratings marked on the unit to make
sure this product is suitable for your power supply and applica-
tion.
3. Disconnect power supply prior to installation to prevent electri-
cal shock.
4. Wire in accordance with National and Local electrical code
requirements.
Downloaded from
Elcodis.com
electronic components distributor
SURFACE MOUNTING
Remove cover, loosen two screws on opposite corners. Remove the
housing that surrounds the time switch and the terminal cover away from
the base. Remove timer module by pulling straight out.
Place screw through 3 mounting holes in base and screw to back
panel or wall.
Wire in accordance with instructions. Replace terminal cover and
push timer firmly onto base. Now replace housing and secure with
screws.
PANEL MOUNTING
Cut a square hole 2-5/8" x 2-5/8" (66mm x 66mm) in the front of the
panel. Insert the time switch through the opening. With a screwdriver,
press down and turn outer screws (A) until flanges are in position to fas-
ten the unit in front panel, then release.
A
A
Use 1/4" quick connects and make connections in accordance with the
wiring diagram shown and applicable code requirements.
Advertisement
Table of Contents

Related Manuals for Intermatic GRASSLIN FM2D50 Series


Summary of Contents for Intermatic GRASSLIN FM2D50 Series
- Page 1 FM2D50 Series SURFACE MOUNTING Two Circuit Electronic Remove cover, loosen two screws on opposite corners. Remove the housing that surrounds the time switch and the terminal cover away from 24 Hour or 7 Day the base. Remove timer module by pulling straight out. Time Switches Place screw through 3 mounting holes in base and screw to back panel or wall.
- Page 2 _____________________________________________________________________________________________________________________________________________________________________________ _____________________________________________________________________________________________________________________________________________________________________________ _____________________________________________________________________________________________________________________________________________________________________________ _____________________________________________________________________________________________________________________________________________________________________________ _____________________________________________________________________________________________________________________________________________________________________________ _____________________________________________________________________________________________________________________________________________________________________________ _____________________________________________________________________________________________________________________________________________________________________________ _____________________________________________________________________________________________________________________________________________________________________________ _____________________________________________________________________________________________________________________________________________________________________________ _____________________________________________________________________________________________________________________________________________________________________________ ______________________________________________ _____________________________________________________________________________________________________________________________________________________________________________ _____________________________________________________________________________________________________________________________________________________________________________ _____________________________________________________________________________________________________________________________________________________________________________ _____________________________________________________________________________________________________________________________________________________________________________ _____________________________________________________________________________________________________________________________________________________________________________ _____________________________________________________________________________________________________________________________________________________________________________ _____________________________________________________________________________________________________________________________________________________________________________ _____________________________________________________________________________________________________________________________________________________________________________ _____________________________________________________________________________________________________________________________________________________________________________ _____________________________________________________________________________________________________________________________________________________________________________ _____________________________________________________________________________________________________________________________________________________________________________ _____________________________________________________________________________________________________________________________________________________________________________ _____________________________________________________________________________________________________________________________________________________________________________ _____________________________________________________________________________________________________________________________________________________________________________ _____________________________________________________________________________________________________________________________________________________________________________ _____________________________________________________________________________________________________________________________________________________________________________ INTERMATIC INCORPORATED Spring Grove, IL 60081-9698 www.intermatic.com Downloaded from Elcodis.com electronic components distributor...
- Page 3 Instruction Manual 50 memories time switch Downloaded from Elcodis.com electronic components distributor...
- Page 4 Downloaded from Elcodis.com electronic components distributor...
- Page 5 page Safety Precautions ..................2 Symbols, keys ..................3 reset Initial Start - Up ................4 Prog Prog. Program Structure ..................5 Setting 24h or am/pm clock, time and weekday ........7 Change for Daylight Savings time ............Mode Operating Mode ..................9 Warranty ......................10 Downloaded from Elcodis.com...
- Page 6 Safety precautions · The connection and installation of electrical devices may only be carried out by a qualified electrician. · Interventions in and changes to the device result in the voiding of the warranty claim. · Observe your national regulations and the respective safety provisions. ·...
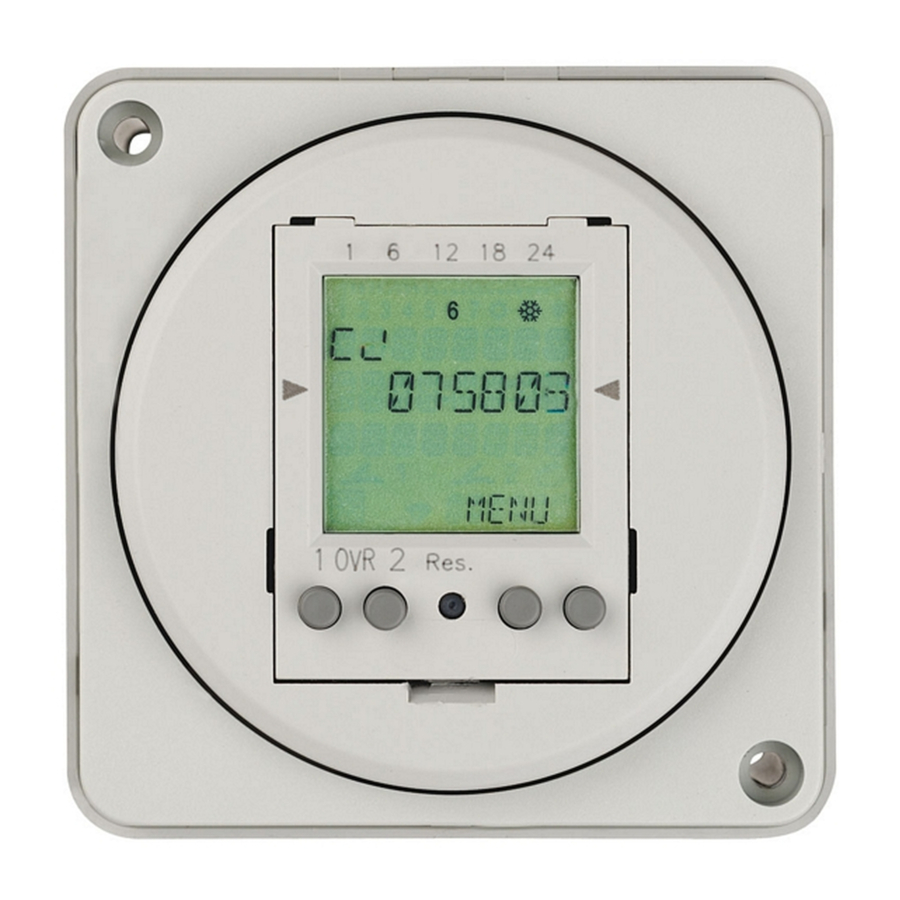
- Page 7 reset Display 1 6 12 18 24 A Function displays of the two left-hand buttons B Channel status displays = Channel 1 ON = Channel 1 OFF Channel 1 = C1, Channel 2 = C2 C 3 communication lines for time display, menu items, entry prompts etc.
- Page 8 Initial start-up - selection of menu language 1 6 12 18 24 Res. MENU Info In the delivered state the time switch is in the Auto mode with a preset time, date and the menu language English. Prog. 1 6 12 18 24 Res.
- Page 9 Prog. New program Info The time switch has 50 only with 2-channel version memory spaces. Example ON command for channel 1 at 3 pm. OFF command at 6 pm. · Select NEW program and confirm with OK. · The free memory spaces are briefly displayed.
- Page 10 Prog. View, edit program Info · The program steps can be scrolled through with ▼ ▲. · The respective program can be edited by pressing EDT. The procedure is the same as when creating a new program. Delete all programs Info ·...
- Page 11 Set date and time Info The date and time are preset at the factory. Set AM/PM (12-hour-) or 24-hour display Downloaded from Elcodis.com electronic components distributor...
- Page 12 Change for Daylight Savings time Info The following settings are possible: AUTO Factory presetting of the published calendar dates. This is automatically recalculated for each year. No switchover CALIBRAT Programming for the start and ending date / or daylight savings time must be entered for this purpose.
- Page 13 Operating mode Info 1 6 12 18 24 Left-hand button = Channel 1 Right-hand button = Channel 2 (only with 2-channel version) Press 1 x = FIX ON = continuous ON Press 2 x = FIX OFF = continuous OFF Press 3 x = return to Auto mode FIX ON : Res.
- Page 14 If within one (1) year from the date of purchase, this product fails due to a defect in material or workmanship, Intermatic Incorporated will repair or replace it, at its sole option, free of charge. This warranty is extended to the original household purchaser only and is not transferable.
Need help?
Do you have a question about the GRASSLIN FM2D50 Series and is the answer not in the manual?
Questions and answers