Advertisement
Advertisement
Table of Contents

Related Manuals for PRODIM Proliner


Summary of Contents for PRODIM Proliner
- Page 1 Proliner Quick start guide Training preparation Measure it all!
- Page 2 We advise to make control measurements once in a while to ensure accuracy. The Proliner is a precision measuring machine. Let only trained personnel work with the Proliner. Do not use the Proliner in areas where there is a lot of construction work.
-
Page 3: Table Of Contents
This Proliner quick start guide explains the components and basic operations of a standard Proliner package. This guide is applicable for each Proliner type. The examples mentioned in this guide can differ from your situation, because we supply tailored packages (for both hardware and software) to each customer’s needs. -
Page 4: Package Contents
Forms ATTENTION! Check your packing list for the exact content of your order / package. The content may differ from what is shown here. Contact Prodim if the supplied content deviates from packing list. PRODIM 2017 © Proliner Quick start guide - Training preparation... -
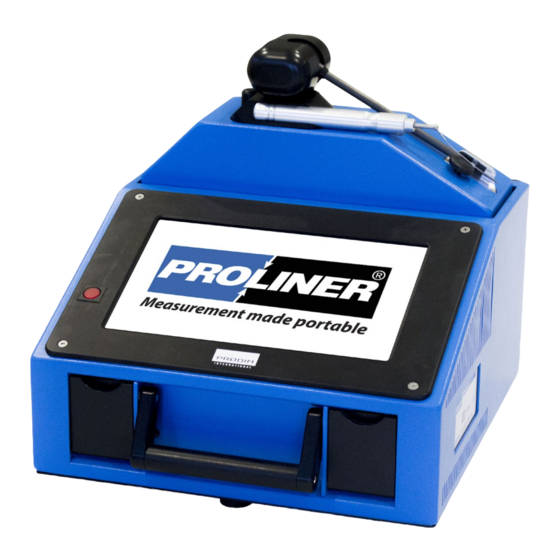
Page 5: The Proliner (Hardware)
Watch the video TIP: Mount the Proliner on a tripod for a better reach! Screw mounts can be used to attach the Proliner on a tripod. They are positioned at the bottom and back side of the Proliner. PRODIM 2017 ©... -
Page 6: The Remote Control
The remote control has four buttons · 1) Point mode Press once to capture a single point. When the next point is captured, the Proliner will automatically record a line between the measured points. ·· 2) Continuous mode Once pressed, the Proliner will register a section of points until the button is pressed again. -
Page 7: Proliner Menu (Software)
- Navigates directly to your measurement settings Date / Time - Displays date and time Proliner Logo - Turns the screen; If you position the Proliner vertically, it can be useful to turn the screen 4.2 Measurement menu: Create and manage projects, files and customer data 4.3 Open:... - Page 8 4. Proliner menu (software) 4.5 Settings: In this menu you can configure all Proliner measurement settings before starting a measurement. Choose the type of measuring pen used: Pointer or scanner. Contour Choose whether the contour you measure in the drawing should remain open or is automatically closed.
-
Page 9: Projection
2D template Project plane The drawing above is an excessive example to help explain what the Proliner software actually does. Below is a picture of a kitchen countertop. This top looks fairly flat, but is uneven in practice, thus 3D. -
Page 10: Measurement Compensation
Due to the thickness of the pen tip, there is a difference of 2.5mm between the object that you are measuring and what the Proliner pen captures. This can be corrected using the compensation settings beforehand or during editing afterwards. -
Page 11: Positioning
Range: Determine if you can reach all points to be measured. Pick a place where you can make the most of the Proliner range. Try to avoid obstacles, so that you can keep the wire in a straight line during measurement. -
Page 12: Leap Function
Start the first part of your measurement. When done, you can place the 4 leap-pods and start the leap. The Proliner will ask you to capture the position of the 4 pods. After the 4 pods have been registered, you can move the Proliner to its new position. -
Page 13: Measuring In 5 Steps
Now that the basics are explained, measurement can begin. We take a kitchen countertop to serve as an example: STEP 1 - POSITIONING Ensure that the Proliner is placed in a fixed and stable position and all measuring points can be reached. -
Page 14: Proliner Ct
• The ability to add notes 2. Ready for CNC - Instant tangential Proliner CT automatically creates fluent lines between measured points; various “radii” are made between the measured points to prepare the digital templates for quick processing by a CNC. -
Page 15: Maintenance
11. Maintenance General care We advise to regularly clean the Proliner and to keep it dust free, also in storage. If possible, make use the official Proliner backpack and / or flight case. The measuring wire should also be cleaned on a regular basis (weekly) using the supplied dust-free cloth. - Page 16 Prodim International BV Phone: +31 492 579050 Part of Prodim Group Lagedijk 26, 5705 BZ Helmond, Nederland Prodim USA Phone: 888-229-3328 7454 Commercial Cir. Fort Pierce, FL 34951, USA info@prodim-systems.com...
Need help?
Do you have a question about the Proliner and is the answer not in the manual?
Questions and answers