Advertisement
Table of Contents
- 1 Items to Prepare before Installation
- 2 What's Included
- 3 Overview of Install
- 4 Turn off Main Breaker
- 5 Remove Panel Cover
- 6 Mount the W2 Sensor
- 7 Connect the Voltage Cable
- 8 Alternate Wiring with Wire Tap
- 9 Connect the Cts
- 10 Hook up the Antenna
- 11 Review Your Work
- 12 Put on Panel Cover
- 13 Connect Neurio to Wifi
- Download this manual
Advertisement
Table of Contents

Summary of Contents for Neurio W2
- Page 1 Home Energy Monitor by Neurio Technology P RE LI M I N A RY D O N OT D I ST RI B U T E W2 Installation Guide...
- Page 2 Welcome This booklet will guide you or your electrican through the installation process of Neurio. We will focus on a 2-phase system, the most common power system in North America. If you have a one-phase or 3-phase or solar system, please visit support.neur.io for instructions...
- Page 3 Neurio to the existing cables before they go into a breaker. See Step 4 for diagrams. Please consult your local electrical code for approved methods.
- Page 4 What's included Neurio W2 Sensor Current Transformers (x2) Antenna and extension cable Voltage Cable Mounting Plate Antenna Mounts (x2) Marrette (x1) Screws (x2) Jumper Wires (x2) Wiretaps (x2) Cable Ties (x2) Neurio Sticker...
- Page 5 Step 8 Mount the sensor Replace the panel cover Step 4 Step 9 Connect the voltage cable Connect Neurio to WiFi Step 5 Connect the CTs If you get stuck at any point, visit support.neur.io for walkthrough videos and helpful tips.
- Page 6 Step 1: Turn off main breaker Simply flip the switch to turn off the Main Breaker. Note: If you have more than 1 electrical panel, make sure Neurio is installed in the main one (the one that draws power directly from your utility).
- Page 7 Step 2: Remove panel cover Remove the screws on the corners of the panel and remove the cover. After you do this, you should see the wires going into each breaker and main lines from the utility.. Note: If your panel has a secondary cover that hides the main utility line, please remove that as well.
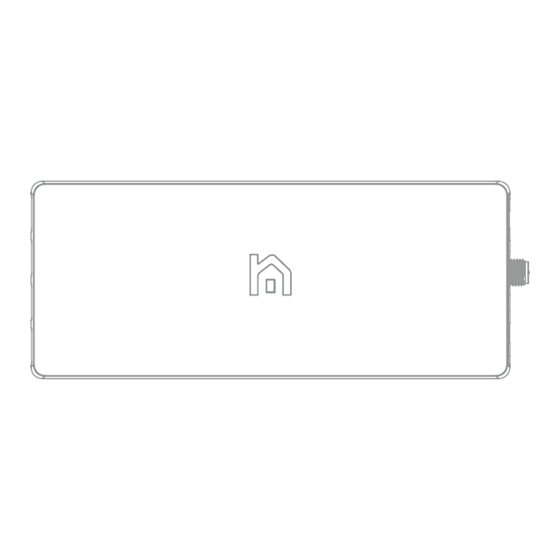
- Page 8 Step 3: Mount the W2 Sensor Find a suitable place in your panel where Neurio can fit. Then, using the supplied self-drilling screws, secure the mounting plate to your metal panel. Now clip your Neurio into place. Note: Drilling pilot...
- Page 9 Be sure to account for the length of the CTs and the 2-foot CAUTION: voltage cable, and ensure that there is enough room on the sides of Neurio for the wires and antenna to connect to..
- Page 10 Step 4: Connect the Voltage Cable a) Connect the voltage cable to Neurio by inserting the connector b) Connect the black and red wires to the empty 15 or 20 amp breakers. Connect the white wire to the neutral bus bar usually located next to the breaker.
- Page 11 Then use the wiretap to connect the jumper wire, the wire from Neurio, and the original wire you removed from the breaker. It might take a little force to ensure the wires are secured into the wiretap all the way.
- Page 12 Step 5: Connect the CTs a) For Universal CTs, just pinch the handle to open the jaws CAUTION: Be sure to take care to not touch the exposed main line connections to the main breaker...
- Page 13 b) Loop the CT around each of the main power lines. Pay close attention to the label. The direction it faces is very important. c) Insert the CT connectors to the ports labeled [1] and [2].
- Page 14 Step 6: Hook up the antenna a) Attach the extension cable to the Neurio Sensor b) Locate a metal circular knockout in your panel and remove the metal to expose the hole. Gently tapping with a hammer may be needed.
- Page 16 Step 7: Review your work a) Antenna with extension cable b) Neurio W2 Sensor c) Voltage Cable i) Blue and Red wire to 2 breakers ii)Black wire to Neutral to bus bar d) CT Connector i) Connector around mains ii) Make sure the label is facing ..
- Page 18 Step 8: Put on panel cover You're almost done. Replace the cover on your panel. Make sure to place the supplied Neurio breaker sticker next to the breaker that Neurio's black wire.
- Page 19 WiFi network again to allow you to join network re-connect to Neurio and re-enter the WiFi credentials. If Neurio is connected to the WiFi network, you should also hear a long chime one minute after the short chime.
- Page 20 Step 9: Connect Neurio to Wifi Now that the Neurio Sensor has been installed, please follow the instructions in the Welcome Guide to connect Neurio to the Wifi Network.
- Page 21 To obtain Warranty service within the Warranty Period, you must return the PERMITTED BY LAW, WE ARE NOT RESPONSIBLE FOR ANY SPECIAL, DIRECT, Neurio, freight paid, with a copy of the sales receipt or other proof of purchase INDIRECT, CONSEQUENTIAL OR INCIDENTAL DAMAGES, INCLUDING...
- Page 22 Installations should be performed in accordance Contains IC ID: 8253A-N1LD with the applicable electrical code for the region in which Neurio is FCC RF Exposure Requirements: being installed. Whenever possible, power should be disconnected...
Need help?
Do you have a question about the W2 and is the answer not in the manual?
Questions and answers