Table of Contents
Advertisement
Advertisement
Table of Contents

Subscribe to Our Youtube Channel
Related Manuals for Empire AXE


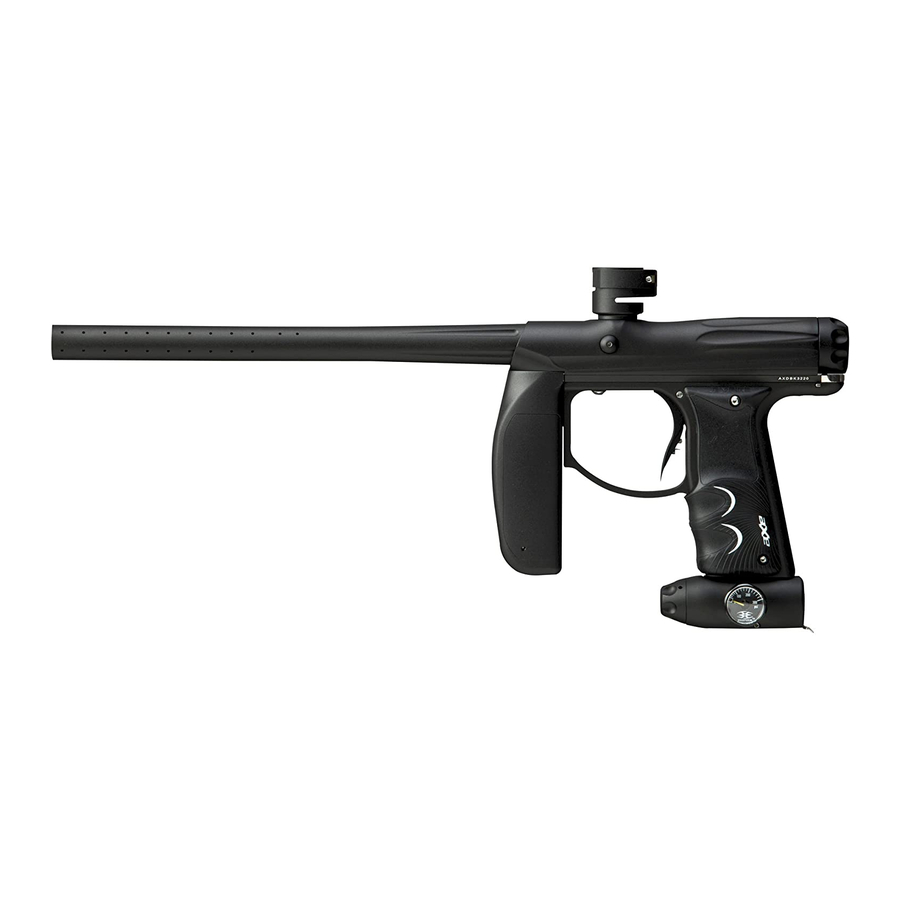
Summary of Contents for Empire AXE
- Page 1 ’S...
-
Page 2: Table Of Contents
fi rearm. For your own safety and to protect the image of For manuals in other languages (where applicable), go to: paintballsolutions.com the sport, always carry your Empire AXE in a suitable marker case or in the box in which it came in. -
Page 3: Introduction And Specifi Cations
fi elds, and many sporting goods stores. The Empire AXE also has a battery life indicator. If in standard operation and the LED fl ashes green, the battery is good; if the LED is fl ashes orange, the battery is fairly Empire AXE Specifi... -
Page 4: Basic Operation
ASA (air source adapter) or receiver for a standard threaded pre- • To turn the Empire AXE on, locate the power button on the back side of the front set output compressed air systems. It is strongly recommended that a very high-fl ow fore-grip, in front of the trigger guard and directly under the LED (Fig. - Page 5 (Fig. 5.1) loading paintballs into your loader. • Do not install compressed air or load paintballs into your Empire AXE until you feel completely confi dent with your ability to handle your Empire AXE safely. Before Pressurizing your Empire AXE •...
-
Page 6: Installing A Loader And Paintballs
fi elds, and many sporting goods stores. The paint- To turn the eyes off, ensure that there are no paintballs in the Empire AXE breech or balls feed from the loader through the neck and into the breech of the marker. -
Page 7: Regulator And Velocity Adjustments
• The bottom-line regulator should not be disassembLED. • Never set the regulator above 200 psi. The Empire AXE regulator should be factory pre-set at about 190 psi, as this is the best operating pressure for proper marker operation. However, if over time you do need to adjust the pressure, use the regulator adjuster screw on the front of your Empire AXE bottom-line regulator. -
Page 8: Programming
Adjusting Velocity 11. Programming At the back of the Empire AXE main body is the bolt guide cap. The Allen screw in the Warning: Before adjusting functions, remove the air source from the Empire AXE and bolt guide cap serves as your velocity adjuster. Confi rm that the pressure on your Em- install barrel-blocking device. - Page 9 LED will fl ash a specifi c color per the descriptions below followed the fi rst 3 shots; then pull and hold trigger on the 4th shot, and the Empire AXE will fi re by a number of fl ashes which will indicate the current setting in that function.
- Page 10 fi re that you are currently set to. Default is 20 BPS (balls per second). indicate the current dwell setting. The Empire AXE dwell setting is defaulted at setting To adjust ROF push the function button (B) two times and while the LED is lit a solid 28 (28 x .25 milliseconds = 7 ms).
-
Page 11: Trigger Adjustments
5. Ramping Point – 8 (4 BPS) for PSP, 10 (5 BPS) for Millen. 12. Trigger Adjustments The Empire AXE trigger can be adjusted by the four set screws in the trigger. Three of the set screws can be adjusted without removing the trigger frame assembly. -
Page 12: General Maintenance
However do not use an excessive amount and allow the blue loctite to dry overnight before using your Empire AXE. • If any of the set screws are over adjusted in any direction the Empire AXE may not fi re. -
Page 13: Storage And Transportation
0 psi. Install a barrel-blocking device. Push the power button and hold sport, always carry your Empire AXE in a suitable marker case or in the box in which for over 2 seconds until the LED light changes from red to green. Keep the Empire it was shipped. - Page 14 • Wipe the parts down with a clean rag removing any old grease or debris. onto the back of the bolt; if it’s on incorrectly it will be lose and will affect the AXE’s • Lubricate all O-rings on bolt and bolt guide with the supplied grease or Dow 33.
- Page 15 Grip Frame and Bolt Guide Locking Assembly Warning: It is recommended that you do not remove the grip frame, as removing it will expose the bolt guide locking assembly; this consists of a spring, detent, and but- ton. These parts are held in place by the grip frame. If you do need to remove the grip frame, be careful not to lose these parts.
- Page 16 Regulator Installation of Air Transfer Plate Removal of Regulator • It is recommended that a small amount of factory-supplied grease or • Loosen the two regulator mount set screws located on the bottom of the grip frame Dow 33 grease is applied to the air transfer gasket before the air transfer plate with a 3/32”...
-
Page 17: Troubleshooting Guide
Note: If you are experiencing any problems and you are using any aftermarket parts, it is necessary to re-install the factory parts and re-test before attempting any troubleshooting, as non-factory aftermarket parts are not designed by Invert Paintball to work in the AXE, and they may be the cause of the problems. - Page 18 5 feet high. Don't toss them up or throw them at the ground, just drop them straight down. If more than 3 paintballs out of 10 break, the paintballs are bad and should not be used in the AXE. In the case of higher-end tournament-grade paintballs, it may be possible to tune the AXE to successfully fire brittle paintballs.
- Page 19 AXE's regulator ASA. the gauge on the AXE regulator to see if the needle drops down significantly and is slow to come back to the set pressure. This is typically the result of not screwing your air tank in enough.
-
Page 20: Diagrams And Parts List
Check Valve 17531 Bolt Guide Release Housing 72345 Bolt 17532 Regulator - Dust Black (Complete) 72350 Bolt Rubber Tip 17533 Black 300psi Empire gauge 72375 Bolt Oring 17534 Trigger - Dust Black 72377 Main Spring 17535 Trigger Bearing 72381 Bolt Guide Small (Front) Oring 17537 Trigger Pin (.155'") - Page 21 17. Diagrams and Parts List ..(continued)
- Page 22 Sewell, NJ 08080 www.empirepaintball.com Empire Paintball is a brand of KEE Action Sports, Llc. Covered by one or more of the following U.S. patents: 5,881,707; 5,967,133; 6,035,843; 6,474,326; 6,637,421 and 7,100,593, marked under license; 6,601,780, 6,925,997, 6,161,573, 6,057,750 and EPC Patented.
- Page 23 LIMITED LIFETIME WARRANTY INFORMATION (ORIGINAL PURCHASE RECEIPT REQUIRED) KEE Action Sports (“KEE”) warrants that this product is free from defects in materials and workmanship for as long as it is owned by the original purchaser, subject to the terms and conditions set forth below. KEE Action Sports will repair or replace with the same or equivalent model, without charge, any of its products that have failed in normal use because of a defect in material or workmanship.
Need help?
Do you have a question about the AXE and is the answer not in the manual?
Questions and answers