
Related Manuals for Kohler Pinoir K-2035


Summary of Contents for Kohler Pinoir K-2035
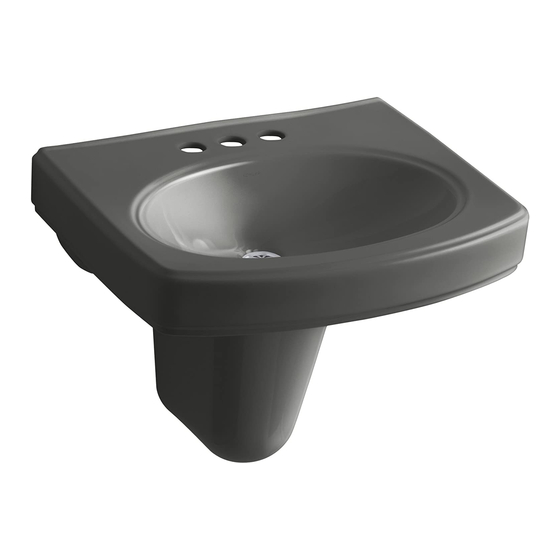
- Page 1 Installation Guide Pinoir Pedestal Lavatories K-2035 X product numbers are for Thailand (i.e. K-12345X) ⌫ 1015627-X2-A...
- Page 2 Tools and Materials Thank You For Choosing Kohler Company We appreciate your commitment to Kohler quality. Please take a few minutes to review this manual before you start installation. If you encounter any installation or performance problems, please don’t hesitate to contact us.
- Page 3 Locate the two lavatory anchoring holes, and mark the hole locations on the finished wall. Carefully position the shroud under the lavatory, and mark the finished wall at the upper anchoring hole locations. Carefully remove the shroud and lavatory from the area. Kohler Co. 1015627-X2-A...
- Page 4 5/16” on concrete-finished wall and install anchor into the mounting holes. Position hanger against the wall. Use screw 3/16” (5 mm.) and washer to secure the hanger to the finished wall and backing material. Make sure the hanger is level. 1015627-X2-A Kohler Co.
- Page 5 Apply six self-adhesive gaskets to the top of the shroud as shown. CAUTION: Risk of product damage. Do not overtighten the mounting bolts. Overtightening may damage the product. Secure the shroud to the angle brackets with bolts and washers so the shroud is snug against the lavatory underside. Kohler Co. 1015627-X2-A...
- Page 6 1015627-X2-A Kohler Co.
- Page 7 ⌦ ⌫ Kohler Co. 1015627-X2-A...
- Page 8 ⌦ 1015627-X2-A Kohler Co.
- Page 9 ⌦ ⌦ Kohler Co. 1015627-X2-A...
- Page 10 -1 1015627-X2-A Kohler Co.
- Page 11 -2 Kohler Co. 1015627-X2-A...
- Page 12 KOHLER (THAILAND) PUBLIC COMPANY LIMITED FL. Jasmine City Bldg. Sukhumvit , Wattana, Bangkok Thailand 10110 E-mail: callcenterthailand@kohler.com Call Center Tel. Fax. +(66) 2204 6222 +(66) 2204 6224 บริ ษ ั ท โคห เ ลอร (ประเทศไทย) จำกั ด (มหาชน) ชั ้ น...
Need help?
Do you have a question about the Pinoir K-2035 and is the answer not in the manual?
Questions and answers