Advertisement
Advertisement
Table of Contents

Related Manuals for Clover Station


Summary of Contents for Clover Station
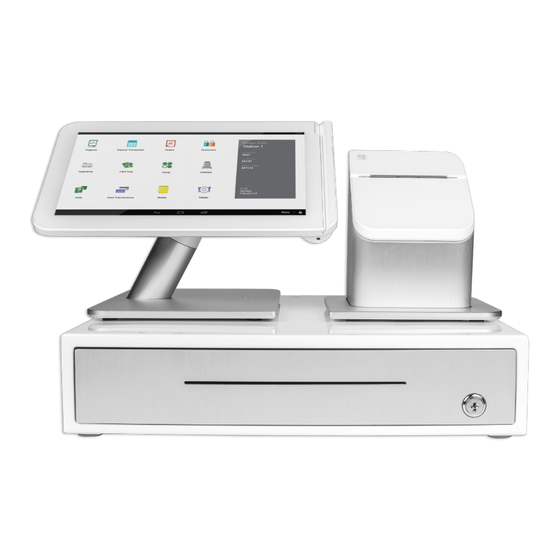
- Page 1 Congratulations on the purchase of your new Clover Station...
- Page 2 Receipt paper x2 Clover Station display Receipt Printer Plug in the cables for your Clover Station 1. Plug the L-shaped end of the Display Cable into the Display NOTE 2. Plug the other end of the Display Cable into the Printer 3.
- Page 3 It may take up to two minutes for the Clover Station to detect the connection, so wait two 2. You may need to tap Check Connection if the Clover Station did not minutes and tap the Check automatically try to connect...
- Page 4 Activate Your Clover Station Locate & enter your activation code NOTE 1. Look for emails from Clover Support (app@clover.com) that contain If you can’t find the email, try searching in an All Mail folder your activation code(s) or check your spam folder.
- Page 5 Set up Station Printer & Admin Account Insert paper roll into printer 1. To insert receipt paper into the Station Printer, pull open the front panel of the Clover Station Printer 2. Push the green button to open the printer plate and pull the plate back until it sticks to the front panel 3.
- Page 6 Install apps and access the App Market After entering your activation code, your apps should begin installing. Please wait until the install process is complete. You can customize your Clover by installing additional apps in Clover’s App Market. Customize your PIN, tip, and signature settings We will be customizing your device for the first time.
- Page 7 You may choose to operate without a PIN, however the PIN-less login does not allow for advanced functionality associated with an owner. To Set Up or Change a PIN 1. Tap the Employees app from the homescreen of your Clover device. NOTE 2. Tap the Employee name.
Need help?
Do you have a question about the Station and is the answer not in the manual?
Questions and answers