Advertisement
Available languages
Available languages
Advertisement
Table of Contents

Related Manuals for CAPITAL SPORTS Azura X1


Summary of Contents for CAPITAL SPORTS Azura X1
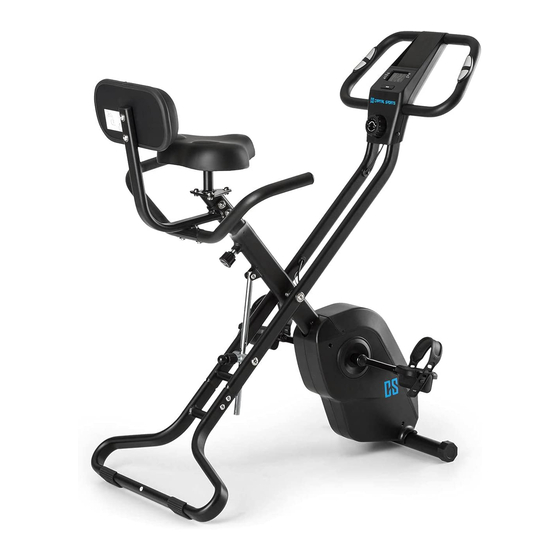
- Page 1 Azura X1 / Azura X2 10030160 10030161 10030162 10030163...
- Page 2 Sehr geehrter Kunde, zunächst möchten wir Ihnen zum Erwerb Ihres Gerätes gratulieren. Bitte lesen Sie die folgenden Anschluss- und Anwendungshinweise sorgfältig durch und befolgen Sie diese um mögli- chen technischen Schäden vorzubeugen. Warnung / Allgemeine Sicherheitshinweise • Setzen Sie dieses Gerät nicht dem Regen aus. Stellen Sie keine mit Flüssigkeiten gefüllten Gefäße, auf dieses Gerät. •...
- Page 3 Aufbau Schritt 1 Ziehen Sie den runden Knauf (25) aus dem Hauptteil (2) und ziehen Sie den Korpus auseinander. Fixieren Sie den Knauf dann an einer der Öffnungen (gemäß Ihrer Körper- größe). Schritt 2 Montieren Sie den vorderen Stabilisator (7) am Hauptteil (1). Fixieren Sie mit einer Rundkopf-Inbusschraube (28).
- Page 4 Aufbau Schritt 4 Montieren Sie den Sattel (11) an der Sattelstütze (12) und fixieren Sie mit den Rundkopf-Inbusschrauben (22). Lösen Sie den Einstellknauf (44) und ziehen Sie diesen her- aus, bevor Sie die Sattelstange (12) in die dafür vorgesehe- ne Öffnung im Hauptteil schieben. Wählen Sie die passen- de Höhe und fixieren Sie den Knauf wieder.
-
Page 5: Hinweise Zur Entsorgung
Hinweise zur Entsorgung Elektroaltgeräte Befindet sich die diese Abbildung (durchgestrichene Mülltonne auf Rädern) auf dem Produkt, gilt die Europäische Richtlinie 2002/96/EG. Diese Produkte dürfen nicht mit dem normalen Hausmüll entsorgt werden. Informieren Sie sich über die örtlichen Regelungen zur getrennten Sammlung elek- trischer und elektronischer Gerätschaften. -
Page 6: General Safety Notice
Dear Customer, Congratulations on purchasing this product. Please read and follow these instructions, in order to avoid damaging the item. We do not cover any damages that may arise from improper use of the item or the disregard of the safety instructions. - Page 7 Assembly Step 1 Pull out the round knob (25) on the main fame II (2) while opening the bike‘s main frame, then select a proper hole and fix in. (Note: you can adjust the height accordingly if necessary.) Step 2 Attach the front stabilizer (7) to the main frame I (1).
- Page 8 Assembly Step 4 Fix the seat(11) to the seat post (12)with the mushroom head allen screw (22) by the Hex wrench . Loosen the adjusting knob(44) and pull it out first before sliding the seat post (12) into the seat post housing on the main frame I (1), and align holes for your desired height, then release the adjusting knob and tighten it properly.
-
Page 9: Environment Concerns
Environment Concerns According to the European waste regulation 2002/96/EG this symbol on the product or on its pa- ckaging indicates that this product may not be treated as household waste. Instead it should be taken to the appropriate collection point for the recycling of electrical and electronic equipment. By ensuring this product is disposed of correctly, you will help prevent potential negative consequences for the environment and human health, which could otherwise be caused by inappropriate waste handling of this product.
Need help?
Do you have a question about the Azura X1 and is the answer not in the manual?
Questions and answers