Advertisement
Quick Links
Important! Install the ChickSafe Advance and attach the door BEFORE installing batteries.
Failure to observe this may cause incorrect operation and possible damage.
The ChickSafe is supplied pre-set to be attached to a FULLY OPEN DOOR. Failure to observe
this will cause incorrect operation and possible damage.
Please read these instructions carefully before setting up your ChickSafe Advance to achieve best results and keep
these instructions safe for future reference.
To register your new Brinsea product and qualify for your free 3 year warranty please visit www.brinsea.com within
30 days of purchase and follow the link on the Brinsea home page. The serial number may be found on the box
and inside the battery compartment. Sign up for the Brinsea newsletter to receive the latest news and information.
Warning - Risk of injury! Keep fingers clear of moving door and cord. Motor may start without warning.
If using with an alternative door, ensure the maximum door weight of 8lbs (4kg) is not exceeded as this
will cause damage to the motor and invalidate the warranty! Note that wooden doors are heavier when
wet.
Please note the maximum door lifting height is 15" (400mm). Do not exceed this as operation will be
incorrect and the cord may become detached.
Check the sliding door to make sure it runs smoothly and reliably both upwards and downwards. The
ChickSafe uses gravity alone to close the door.
To mount the ChickSafe further away from the door, an additional length of cord may be attached. For
helpful information see our ChickSafe 'Frequently Asked Questions' page at www.brinsea.com
This appliance can be used by children aged from 8 years and above and persons with reduced physical,
sensory or mental capabilities or lack of experience and knowledge if they have been given supervision
or instruction concerning use of the appliance in a safe way and understand the hazards involved.
Children shall not play with the appliance. Cleaning and user maintenance shall not be made by children
without supervision.
Pack Contents:
x1
x4
x1
x2
(b) x2
(a) x1
1
Installation and
Operating Instructions
(See page 10).
Tools needed for installation:
- Screwdriver (cross head PZ1)
- Drill with 1/16" (1.5mm) and 1/8" (3mm) diameter drill bits, or
bradawl
- Tape measure
- 5.5mm wrench or pliers
spanner or pliers
(c) x2
(d) x2
CS025 US Issue 01
(See page 10).
(e) x6
(f) x2
x1
x1
Advertisement

Subscribe to Our Youtube Channel
Related Manuals for Brinsea ChickSafe Advance


Summary of Contents for Brinsea ChickSafe Advance
- Page 1 To register your new Brinsea product and qualify for your free 3 year warranty please visit www.brinsea.com within 30 days of purchase and follow the link on the Brinsea home page. The serial number may be found on the box and inside the battery compartment.
- Page 2 Door Installation Instructions: Peel the protective film from the front of each door panel. Please note there may be superficial marking on the back of each panel due to the laser cutting process used to ensure the panels are very precisely made.
- Page 3 The screws and nuts must the channels at the fixings to correct channels. be at the front. them. ChickSafe Advance Door Opener installation and operating instructions: Caution! - Please Note: • Use only alkaline AA batteries 4 3/4” •...
- Page 4 1/4” (7mm) Tie the ChickSafe cord to the hole Hang the ChickSafe on the two Start to fit the two silver fitted with the grommet in the screws. woodscrews (f) into the holes top of the door. you have made. Gently tighten each screw to Make sure the cord is taut once make the ChickSafe secure.
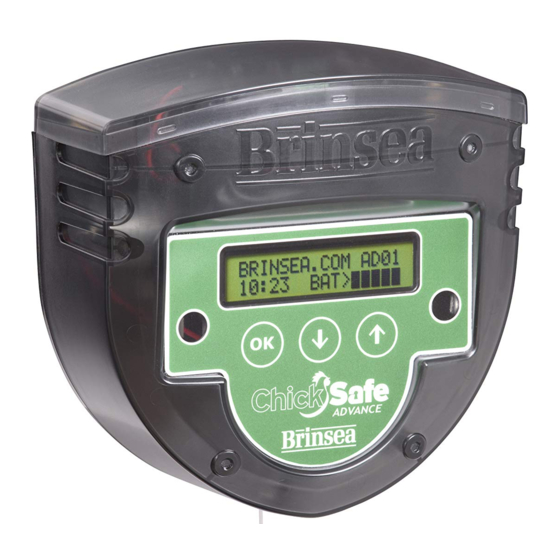
- Page 5 BASIC FUNCTIONS Sleep Mode: The ChickSafe is designed to use as little battery power as possible. It will normally be in sleep mode with a blank display and will flash the indicator LED periodically to show its status. Press briefly to ‘wake’ the display and show the current time and battery condition. The display will go off after 10 seconds to conserve power.
-
Page 6: S E T D A Y O F W E E K
TIME MENU FUNCTIONS Setting the language, time and day of the week: When the batteries are first connected the language, time and day of week must be set: Press to adjust the time or scroll through options. Press to move to the next screen. Power-Up screen. -
Page 7: Main Menu Functions
TESTING THE MOVEMENT OF THE DOOR Note that the open now and close now functions only operate from sleep mode (blank display) and the button must be pressed for 5 seconds which helps prevent accidental operation. To test the door operation: From sleep mode, press and hold for 5 seconds. - Page 8 Setting the open modes, close modes and light sensitivity Press to wake the display. Press together to open the menu. Press to adjust the time or scroll through options. Press to move to the next screen. Press to wake the Power-Up screen. B R I N S E A .
-
Page 9: Save Changes
Select the close mode. Choose from: LIGHT: Close when it gets dark. TIME: Close at the time you set. LIGHT+TIME: Close when it gets dark, or no later than the set time. C L O S E : L I G H T MANUAL: The door will stay open until you ←... - Page 10 Cleaning: Disconnect the battery holder before cleaning the ChickSafe Advance. Keep the battery holder and electrical connections dry at all times. Do not immerse the ChickSafe Advance in water. Wipe surfaces clean with a damp cloth and mild detergent as necessary.
- Page 11 Automatic openers and accessories are intended to help keep chickens safe but the overall responsibility for the welfare and safety of livestock remains with the owner/keeper. Brinsea, its retailers or distributors will not be responsible for the loss of livestock or consequential loss in the event of failure however caused.
Need help?
Do you have a question about the ChickSafe Advance and is the answer not in the manual?
Questions and answers