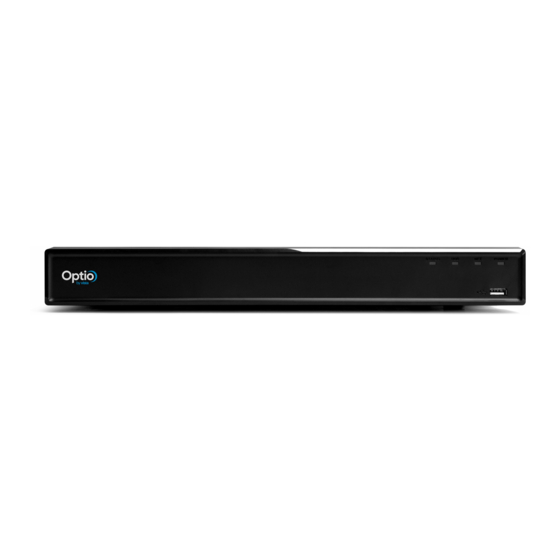
Summary of Contents for Vista Optio OPNVR
- Page 1 OPNVR Quick Guide Please read this manual thoroughly before use and keep it handy for future reference. OPNVR QSG version 1.1...
- Page 2 Norbain SD, Inspired, Easthampstead Road, Bracknell, Berkshire, RG12 1YQ, England. UK +44 (0) 118 912 5000 / Vista Technical Support +44 (0) 118 912 5125 Note: You should be at the equipment and ready with details before calling Technical Support.
- Page 3 CAUTION RISK OF ELECTRIC SHOCK DO NOT OPEN CAUTION: TO REDUCE THE RISK OF ELECTRIC SHOCK, DO NOT REMOVE COVER (OR BACK) NO USER-SERVICEABLE PARTS INSIDE. REFER SERVICING TO QUALIFIED SERVICE PERSONNEL. IMPORTANT SAFETY INSTRUCTIONS Read these instructions. Keep these instructions. Heed all warnings.
-
Page 5: Getting Started
Getting Started Checking the Components Network Video Reorder Quick Start Guide Power Supply (or power cable) USB Mouse When you receive the Device, please check against the below. If any of the items are missing or damaged, contact Norbain after-sales support immediately. Sequence Checking items Requirement... -
Page 6: Rear Panel
Rear Panel Port Name Function PoE Ports RJ45 connection for network cameras Audio input port Phono connection for devices such as microphones. Audio output port Phono connection for devices such as speakers. HDMI port High definition audio and video signal output port. Network port RJ45 Ethernet port for client network. -
Page 7: Local Configuration
Local Configuration Device initialization When booting up for the first time, you need to configure the password information for admin (by default). It is strongly recommended for you to keep the admin password in a secure place modify it regularly. Error! No text of specified style in document. -
Page 8: Startup Wizard
Startup Wizard The Startup Wizard helps you configure the basic settings to set up the Device. After you have initialized the Device, the Startup Wizard interface is displayed. If you select the Auto-check for updates check box, the system will notify you automatically when updates are available. -
Page 9: Configuring General Settings
Configuring General Settings You can configure the general settings for the Device such as Device name, language, and settings for instant playback. You can also configure general settings by selecting Main Menu > SYSTEM > GENERAL > General. Error! No text of specified style in document. 6... -
Page 10: Configuring Date And Time Settings
Configuring Date and Time Settings You can configure the system time, choose the time zone, set the daylight saving time, and enable the NTP server. You can also configure date and time settings by selecting Main Menu > SYSTEM > GENERAL > Date &... -
Page 11: Configuring Network Settings
Configuring Network Settings You can configure the basic network settings such as net mode, IP version, and IP address of the Device. You can also configure network settings by selecting Main Menu > NETWORK > TCP/IP. Error! No text of specified style in document. 8... -
Page 12: Configuring P2P Settings
Configuring P2P Settings You can add the Device into your cell phone client or the platform to manage. You can also configure P2P function by selecting Main Menu > NETWORK > P2P. Make sure the DVR is connected to the Internet, the Status box of the P2P interface, will display if it is Online. -
Page 13: Camera Registration
Camera Registration Select Main Menu > SETTING > CAMERA > Registration. The Registration interface is displayed. You can register remote devices using the following methods: Click Device Search. In the result list, double-click the remote device or select the check ... -
Page 14: Configuring Recorded Video Storage Schedule
Configuring Recorded Video Storage Schedule Select Main Menu > STORAGE > SCHEDULE > Record, the Record interface is displayed. The default setting is 24 hours recording for all channels. You can modify the settings if needed. Error! No text of specified style in document. 11... - Page 15 Recorded Video Playback Right click for Main Menu > SEARCH, the video search interface is displayed. You can view, search, and play back the recorded video. Logout On the top right of the Main Menu interface or any interface after you have entered the Main Menu, the logout option is available, select Logout to exit the DVR.
- Page 16 Adding Device into EasyViewer APP Use your mobile phone to scan the QR code with the EasyViewer application. Open the application and tab the menu is displayed. Tap Device Manager Add Device, the Add Device interface is displayed. Tap P2P, enter a name for the DVR, the username and password, scan the QR code Under Device SN, then tap Start Live Preview.
-
Page 17: Web Login
Web Login Open the IE browser, enter the IP address of the Device [192.168.1.108], and then press Enter. The Login in dialog box is displayed. Enter the user name and password. Device initialization is required at the first login. The default administrator account is admin. - Page 18 NORBAIN SD Inspired Easthamptead Road Bracknell Berkshire RG12 1YQ (Subject to change without notice) Error! No text of specified style in document. 15...


Need help?
Do you have a question about the Optio OPNVR and is the answer not in the manual?
Questions and answers