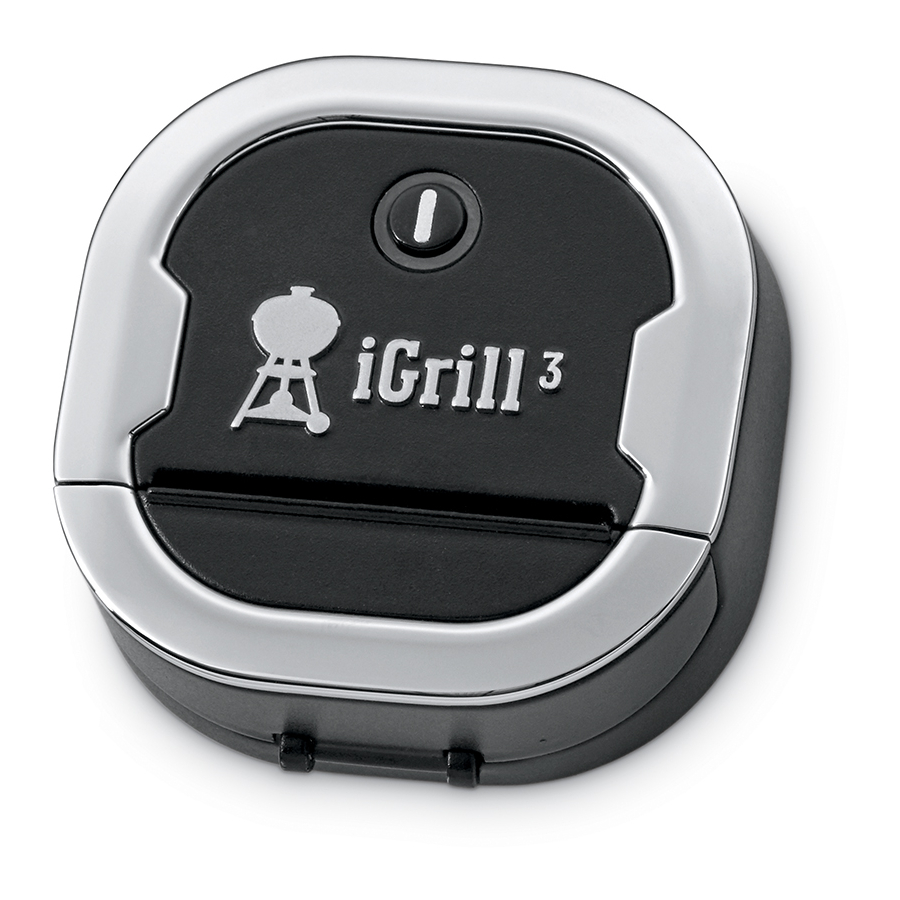
Weber iGrill 3 User Manual
Hide thumbs
Also See for iGrill 3:
- User manual ,
- Installation and quick start manual (18 pages) ,
- Installation & quick start manual (16 pages)
Table of Contents
Advertisement
Advertisement
Table of Contents

Summary of Contents for Weber iGrill 3
- Page 1 enUS USER GUIDE...
-
Page 2: Table Of Contents
IC Compliance . . . . . . . . . . . . . . . . . . . . . . . . . . . . . . . . . . . . . . . . . . . . . . . . . . . 29 Before you begin Enhance Your Assembly Experience Download the free BILT app for ™ step-by-step 3D instructions showing how to install your iGRILL 3. iGRILL 3 | USER GUIDE... -
Page 3: Box Contents
AA Batteries (3) Battery Wire LP Magnet Wire Retention Clip LP Fuel Sensor iGRILL 3 Yellow Coloured Probe Meat Probe Indicator Probe Wrap Probe Wrap Coloured Probe Indicator Meat Probe WARNING! Probe gets hot. Use mitts. iGRILL 3 | USER GUIDE... -
Page 4: Installation
Installation Remove cover plate. Some models may have screws. iGRILL 3 | USER GUIDE... - Page 5 Installation Install batteries. Do not mix old and new batteries. Do not mix alkaline, standard or rechargeable batteries. iGRILL 3 | USER GUIDE...
- Page 6 Installation Install bracket on the inside of the wheel frame. Snap battery pack into bracket. Connect battery wire to the battery pack. iGRILL 3 | USER GUIDE...
- Page 7 Installation Route battery wire through front of side table. Connect battery wire to the iGRILL. iGRILL 3 | USER GUIDE...
- Page 8 Installation Install magnet. iGRILL 3 | USER GUIDE...
- Page 9 Installation Connect LP fuel sensor. iGRILL 3 | USER GUIDE...
- Page 10 Installation Snaps into place. No screws required. iGRILL 3 | USER GUIDE...
- Page 11 Installation Remove adhesive liner from wire retention clip. Apply clip to cleansed area underneath side table. Wire(s) must be secured using clip. iGRILL 3 | USER GUIDE...
-
Page 12: Genesis Ii & Genesis Ii Lx
Installation Remove cover plate. Some models may have screws - OR - iGRILL 3 | USER GUIDE... - Page 13 Installation Remove LED fuel gauge. iGRILL 3 | USER GUIDE...
- Page 14 Installation Install batteries. Do not mix old and new batteries. Do not mix alkaline, standard or rechargeable batteries. iGRILL 3 | USER GUIDE...
- Page 15 Installation Install bracket underneath side table. iGRILL 3 | USER GUIDE...
- Page 16 Installation Connect the battery wire to the battery pack. Then, snap the battery pack into the bracket. iGRILL 3 | USER GUIDE...
- Page 17 Installation Route battery wire through front of side table. Connect battery wire to the iGRILL. iGRILL 3 | USER GUIDE...
- Page 18 Installation Install magnet on GENESIS II models. GENESIS II LX models already have magnet installed. iGRILL 3 | USER GUIDE...
- Page 19 Installation Connect LP fuel sensor. iGRILL 3 | USER GUIDE...
- Page 20 Installation Connect lighted control knob wires. Installation on GENESIS II LX only. iGRILL 3 | USER GUIDE...
- Page 21 Installation Snaps into place. No screws required. iGRILL 3 | USER GUIDE...
- Page 22 Installation Remove adhesive liner from wire retention clip. Apply clip to cleansed area underneath side table. Black wire(s) must be secured using clip. iGRILL 3 | USER GUIDE...
-
Page 23: Quick Start Instructions
Quick Start Instructions WEBER iGRILL App Download the WEBER iGRILL App. Then enable Bluetooth® on your smart device under ‘Settings’. iGRILL 3 | USER GUIDE... - Page 24 Quick Start Instructions Press the power button once to turn on the iGRILL 3. A single beep will sound. iGRILL 3 | USER GUIDE...
- Page 25 Quick Start Instructions Open the door on the front of the iGRILL 3 to expose the probe ports. iGRILL 3 | USER GUIDE...
- Page 26 WARNING: Risk of burns! Handling the meat probes without hand protection will result in severe burns. Please wear heat-resistant gloves or mitts at all times while using this product in order to avoid being burned. iGRILL 3 | USER GUIDE...
- Page 27 Quick Start Instructions Launch the WEBER iGRILL App on your smart device. Follow the pairing instructions within the app. You are now ready to use your iGRILL 3. Additional information, instructional videos and barbecue inspiration can be found at weber.com/igrillsupport. iGRILL 3 | USER GUIDE...
-
Page 28: Important Information
Please read the full user guide – especially the safety information – before using the WEBER iGRILL 3 for the first time, and follow the instructions while using the device. Intended Use Use this device only for measuring and monitoring the temperature of grilled items on WEBER iGRILL compatible products only. -
Page 29: Disposal Requirements
(4) Consult the manufacturer, dealer or an experienced radio/TV technician for help. Changes or modifications not expressly approved by WEBER could void the user’s authority to operate this device. IC Compliance This device complies with Industry Canada’s licence-exempt RSSs. Operation is subject to the following two conditions: (1) This device may not cause interference;... - Page 30 L4H 4E6 The Bluetooth® word mark and logos are registered trademarks owned by Bluetooth SIG, Inc. and any use of such marks by Weber-Stephen Products LLC is under licence. Other trademarks and trade names are those of their respective owners.


Need help?
Do you have a question about the iGrill 3 and is the answer not in the manual?
Questions and answers
grill ap does not receive temperature via probe. I have changed batteries and used another probe but no temp