Advertisement
Quick Links
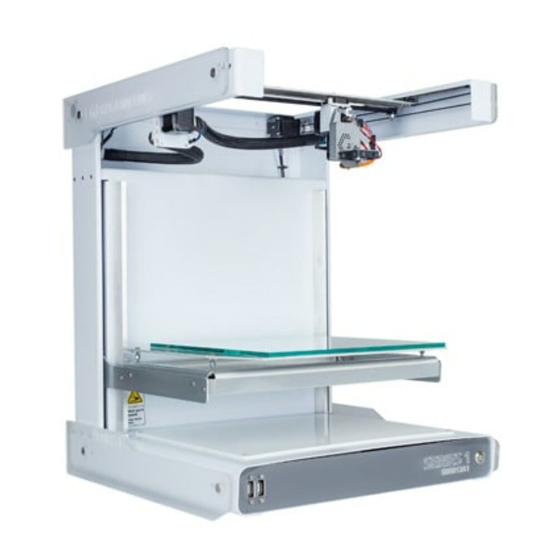
Unboxing Your Printer
• Lay the box on the side with the "Type A
Machines" sticker upright, facing you.
• With the box on its side, grasp the top-center of
the printer's white frame and slide it out.
Note: Pull on the white frame ONLY to avoid
damage to the printer.
• Remove the foam packaging, stand the printer
up, and remove the plastic bag. Turn the white
knob clockwise to raise the platform and remove
the box held underneath.
• Retrieve the second cardboard box from the
foam packaging and open both boxes.
NOTE: Retain printer box and packing for
reuse in case of upgrade or repair.
Attaching the Side Panels
• Attach side panels with included bolts, spacers,
and wrench with "Type A Machines" on the top
panels, larger end to the rear.
• Place spacers between the printer and side
panels, then insert bolt. Ensure webcam bracket
bolt, top front left, is straight before tightening.
Attaching the Spool Holder
• Attach the spool holder to center top (be careful
not to over-tighten), then attach guide tube.
TYPE A MACHINES
TYPE A MACHINES
SERIES 1 & SERIES 1 PRO
Unboxing and Assembly
Loading Filament
• Place filament on the included rod and place
• Trim the filament end and feed it through the guide.
• Remove the yellow tie holding the print head.
• While holding the lever on the right side of the
Installing the Build Platform
• Push the build platform down onto the spring-
Final Assembly Steps
• Connecting the Wi-Fi antenna and power cable
Next: Connecting and Setting Up
the rod into slots at the top of the spool holder.
print head, feed filament into the print head
until it touches bottom, then attach the
filament guide tube to the print head.
loaded standoffs, then slide it away from you to
secure it. If equipped with a heated bed, attach
the cable to the connector located on the e-tray
cover.
to the rear of the printer to complete assembly.
v2.7-1800 16-01-11
Advertisement

Related Manuals for Type A Machines 1 PRO Series


Summary of Contents for Type A Machines 1 PRO Series
- Page 1 Attaching the Side Panels • Attach side panels with included bolts, spacers, Installing the Build Platform and wrench with “Type A Machines” on the top • Push the build platform down onto the spring- panels, larger end to the rear.
- Page 2 TYPE A MACHINES TYPE A MACHINES SERIES 1 & SERIES 1 PRO Connecting and Setting Up Connecting to Your Printer Aligning the Build Platform if Needed • Turn on your printer using the front power button. • Loosen the black thumbscrews on the build platform underside.
- Page 3 Get More from Series 1 Some materials, such as PET, will bond Get more from your printer at the Type A Machines website. permanently with the glass build plate if Download Cura for Type A to prepare models for printing, get printed in direct contact.
Need help?
Do you have a question about the 1 PRO Series and is the answer not in the manual?
Questions and answers