Table of Contents
Advertisement
For customer service inquiries, please contact
the Nestlé® Waters North America customer
service center at 1-800-274-5282.
Visit ReadyRefresh.com to order additional
bottled water, AquaEase™ water cartridges,
cups, and more.
© 2018 Nestlé Waters North America, Inc.
Scan with QR code reader
to watch how-to videos
for changing the bottle and
AquaEase water cartridge.
Version 001
Please read the manual carefully before operating your water dispenser. Retain it for future reference.
BYC458
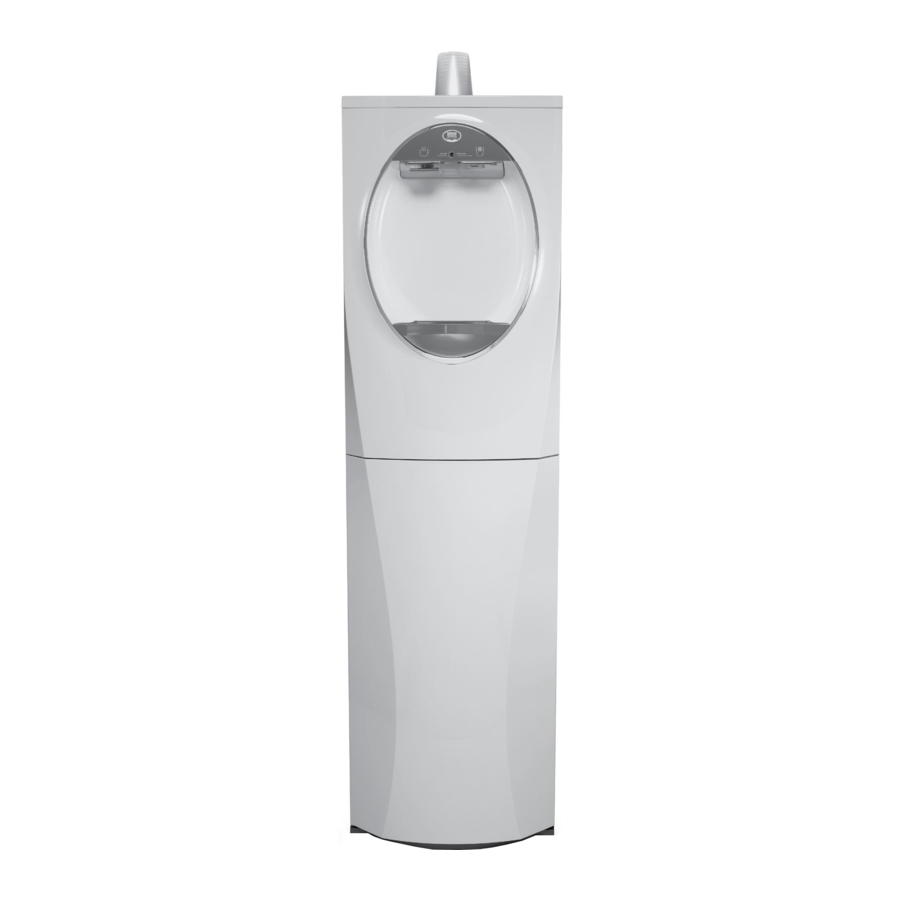
lumina
bottom-load dispenser
User Guide
™
Advertisement
Table of Contents

Summary of Contents for NESTLE ReadyRefresh Lumina
- Page 1 For customer service inquiries, please contact the Nestlé® Waters North America customer service center at 1-800-274-5282. Visit ReadyRefresh.com to order additional lumina bottled water, AquaEase™ water cartridges, cups, and more. ™ Scan with QR code reader to watch how-to videos for changing the bottle and bottom-load dispenser AquaEase water cartridge.
-
Page 2: Table Of Contents
Contents 1.0 Safety Precautions 2.0 Features 2.1 lumina™ Bottom-Load Dispenser 2.2 AquaEase™ Replaceable Water Cartridge 3.0 Setup & Installation 3.1 Dispenser Placement 3.2 AquaEase™ Water Cartridge Installation 3.3 Water Bottle Installation 3.4 Power 3.5 Priming System 3.6 Activating Hot Water 4.0 Dispenser Care 4.1 Bottle Change 4.2 AquaEase™... -
Page 3: Safety Precautions
1.0 Safety Precautions CAUTION To reduce risk of user injury or damage to the This unit dispenses water at temperatures that can equipment, the user must read this manual in full cause severe burns; avoid direct contact with hot prior to installation. Failure to follow the instructions water. -
Page 4: Features
2.0 Features 2.1 lumina™ Bottom-Load Dispenser 2.2 AquaEase™ Replaceable Water Cartridge The innovative AquaEase™ Water Cartridge helps keep your water dispenser clean by replacing all internal cold-water contact parts. It is recommended to change the AquaEase™ Water Cartridge every three months to ensure a clean dispensing source for your water. -
Page 5: Setup & Installation
3.0 Setup & Installation 3.1 Dispenser Placement 3. Remove the upper cartridge from the packaging. Holding the handle of the upper water cartridge: Find a shaded location for the unit, and place it on a flat surface within 6ft of A Feed upper cartridge tube down the small, a power outlet, at a minimum of 4 inches from any wall. -
Page 6: Water Bottle Installation
3.0 Setup & Installation (continued) 3.3 Water Bottle Installation 3.4 Power 1. Remove entire cap by holding tab firmly, peeling 1. Before powering on the unit, ensure the hot halfway around bottle neck and pulling upwards. water switch is in the OFF position. HOT TANK SWITCH 2. -
Page 7: Dispenser Care
4.0 Dispenser Care 4.1 Bottle Change 5. Lower dip tube into new, full bottle and secure cap onto bottle opening. Press down on clamping lever to lock. 1. The solid red light will indicate the bottle is nearly empty. 6. Attach red air connector to inlet on cap. The connection should be tight and secure. -
Page 8: Aquaease™ Water Cartridge Change
4.0 Dispenser Care (continued) 4.2 AquaEase™ Water Cartridge Change 5. Lift up clamping lever to unlock, release cap, and pull the lower cartridge upwards. By replacing your AquaEase™ Water Cartridge every three months (the red indicator light will flash when Let water drain from tube, then remove from it’... - Page 9 4.0 Dispenser Care (continued) 10. Remove the upper cartridge from the packaging. 13. Bring in a new, full 5-gallon bottle of water over Holding the handle of the upper water cartridge: to your dispenser. Remove entire cap by holding tab firmly, peeling halfway around bottle neck A Feed upper cartridge tube down the small, and pulling upwards.
-
Page 10: Troubleshooting
5.0 Troubleshooting 5.1 Water Is Leaking 5.4 Cold Water Is Not Cold 4. Ensure the lower cartridge is fully seated 3. Ensure that the plastic cups are properly and sealed. (See section 4.1, step 5) positioned inside the cup dispenser (if applicable). -
Page 11: Technical Information
6.0 Technical Information Refrigeration System Refrigerant can be harmful to the environment if released. Never attempt to modify or repair the refrigeration system. Refrigerant Type: R134a Charge: 30g Refrigeration Pressure: High Side: 0.93 MPa (135 PSIG) Low Side: 0.264MPa (39 PSIG). Water Flow The flow rate from the water outlets on the dispenser is approximately 0.5 gallons per minute (2 L/min). -
Page 12: Customer Service
7.0 Customer Service For any customer service inquiries, please contact the Nestlé® Waters North America customer service center at 1-800-274-5282. LUMINA BOTTOM-LOAD DISPENSER USER GUIDE | 21...
Need help?
Do you have a question about the ReadyRefresh Lumina and is the answer not in the manual?
Questions and answers
I am trying to clean a nestle digital water cooler.
To clean a Nestlé Lumina digital water cooler, follow the instructions in section 4.0 "Dispenser Care" of the manual. This includes:
1. Changing the water bottle (section 4.1).
2. Changing the AquaEase™ water cartridge (section 4.2).
Detailed steps for these processes involve:
- Removing and replacing the water bottle and AquaEase™ cartridge using proper procedures and hygiene.
- Ensuring all components are properly aligned and secured.
- Using gloves and cleaning any visible debris with a clean cloth.
Refer to the user guide for complete steps under section 4.0.
This answer is automatically generated
Hi, I need to replace my red air connector. It seems to be broken. Is there a process for that?
The red air connector for the Nestlé Lumina is part of the connection between the air supply inlet and the lower cartridge cap. To replace it:
1. Ensure the unit is powered off and unplugged.
2. Remove the lower cartridge from the dispenser.
3. Disconnect the damaged red air connector from the air supply inlet and the lower cartridge cap.
4. Obtain a compatible replacement red air connector (may require contacting the manufacturer or supplier).
5. Attach the new red air connector securely to the air supply inlet and the lower cartridge cap, ensuring a tight and secure fit.
6. Reassemble the unit and verify that the connection is not loose or leaking.
Note: The manufacturer may not cover this part under warranty if the original warranty has expired.
This answer is automatically generated
Hot water not working. Primed both cold and hot, turned on hot water switch and it still isn’t working
The hot water may not be working on the Nestlé Lumina for the following reasons:
1. The hot water switch has not been activated. After priming, you must remove the protective tape and turn on the hot water switch.
2. The dispenser has not had enough time to heat the water. It normally takes 15 minutes for the water to get hot.
3. The dispenser may not have been properly primed after installing the bottle and AquaEase™ cartridge. If depressurized, it must be re-primed.
4. The dispenser was recently tilted more than 45 degrees. In this case, unplug the dispenser for 24 hours before powering it on.
Make sure all setup steps were completed correctly.
This answer is automatically generated
The air pump is not pumping air. The water wasn't flowing, so I ordered a new water cartrage and replaced it but it shows the same problem, red light and led light are blinking and there is no water flow, the new cartrage is empty and doesn't want to fill up.
Possible causes for the air pump not working and water not flowing in the NESTLE ReadyRefresh Lumina include:
1. The water bottle is empty — replace it with a full bottle.
2. The unit has no power — ensure it is plugged in and powered on.
3. The upper to lower cartridge connector is not assembled correctly or fully seated.
4. The upper cartridge is not properly aligned or sealed.
5. The rubber dispense tubes are not positioned correctly or are pinched.
6. Debris is blocking the nozzle — clean the area.
Check each of these to resolve the issue.
This answer is automatically generated
Cold water side working fine, hot water side not working at all. Priming issue?
Yes, there can be a priming issue with the hot water side of the NESTLE ReadyRefresh Lumina. The unit must be primed before activating the hot water. If the dispenser was depressurized for any reason, it needs to be re-primed. Priming is confirmed when the dispensing light flashes and stops after two minutes.
This answer is automatically generated
How can I get a red air supply connector for my lumina water dispenser
You can obtain a red air supply connector by ordering it through ReadyRefresh.com.
This answer is automatically generated
BY24WH-US Is not pumping water and I bought the product second hand and customer service is being helpful. I’ve worked on everything in my power and having 200 plus clients using my space.
The NESTLE ReadyRefresh Lumina BY24WH-US may not be pumping water due to the following reasons:
1. No Power – Ensure the unit is plugged in and has power.
2. Air in the System – The system may need priming (refer to section 3.5).
3. Water Bottle Installation Issues – Ensure the bottle is properly installed with no pinched or kinked tubes.
4. AquaEase™ Water Cartridge Issues – Ensure the lower cartridge is fully seated and sealed.
5. Gray Bracket Not Secured – Ensure the gray bracket is fully closed and secured.
6. Clamping Lever Not Locked – Ensure the clamping lever is locked in the down position.
If the issue persists, contact Nestlé® Waters North America customer service at 1-800-274-5282.
This answer is automatically generated
how do i get replacement parts for an embac BY24BL-us. The port for the air tube broke off the clamping top.
You can order replacement parts such as AquaEase™ water cartridges, cups, and bottled water from ReadyRefresh.com. For further assistance, you can contact the Nestlé® Waters North America customer service center at 1-800-274-5282.
This answer is automatically generated
BY24GR-US completely stopped working. At first it just made a very loud noice while it was pumping the water, I've gotten on the app ready refresh and can't seem to find the red air supply connector part that I assume is why it stopped working.