Table of Contents
Advertisement
Quick Links
Advertisement
Table of Contents

Related Manuals for ACTi LPR-100


Summary of Contents for ACTi LPR-100
- Page 1 Quick Installation Guide LPR-100 6-Channel Desktop Standalone IVS V180607...
-
Page 2: Before You Start
BEFORE YOU START Thank you for purchasing ACTi Standalone IVS License Plate Recognition (LPR). This guide contains all the information you need to quickly set up the LPR system via local display interface. For detailed instructions on installation and operation, please search for the product manuals on http://www.acti.com/downloadcenter. -
Page 3: Front Panel
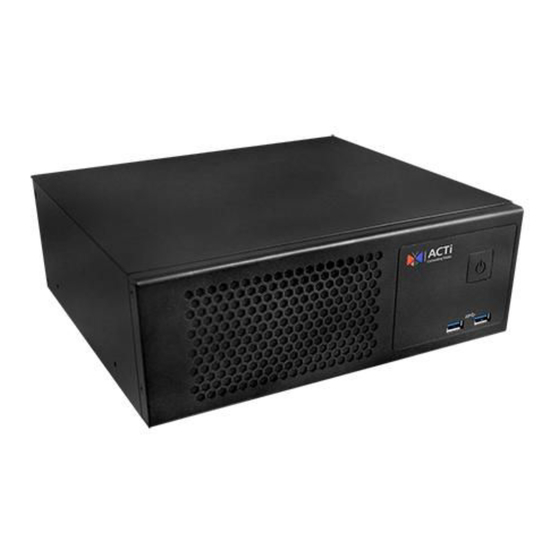
AT A GLANCE FRONT PANEL Power Button USB 3.0 Ports x 2 REAR PANEL Power Connector eSATA Connector Display Port HDMI Port LAN Ports x 2 USB 3.0 Ports x 4 COM Port x 2 DVI Connector for RS-232) Audio Input Audio Output Quick Installation Guide... -
Page 4: Install The Hard Disk
INSTALL THE HARD DISK An optional hard disk drive or HDD (sold separately), can be installed inside the LPR to store license plate recognition results. MAKE SURE THE UNIT IS NOT CONNECTED TO POWER before installing the hard disk. Step 1 Step 2 Step 3 Remove the two (2) -
Page 5: Connect The Devices
CONNECT THE DEVICES The example below displays a local network consisting of an LPR, network cameras and basic required peripherals to start using the device. Power-Over-Ethernet (PoE) Switch Power Source Cameras eSATA Storage USB Devices HDMI Monitor START UP 1. On the front panel, press the POWER BUTTON to turn on the LPR. - Page 6 INITIALIZE THE HARD DISK After installing the hard disk, use the Windows Disk Management to initialize the disk to enable LPR to save the video recordings for event purposes. 1. In Windows Search Box, search and enter “Computer Management”. 2. Select Disk Management. The Initialize Disk pop-up window will appear. 3. Select GPT as the partition style, and then click OK.
- Page 7 LOGIN The LPR is already equipped with the ALPR Server workstation software. 1. On Windows destop, double-click the IVS Client icon. 2. Input the server IP address and port number, account and password to log Account: admin Password: 123456 “123456” is the default password of the NVR administrator’s user account.
-
Page 8: Add Video Source
ADD VIDEO SOURCE 1. On the Home screen, click Device 2. Click Add then select the video source type from the list. 3. Input the device properties, and then click Apply. 4. Repeat above steps to add more devices. The added devices will appear on the left panel. - Page 9 CREATE ANALYSIS 1. On the Home screen, click Main 2. On the left is a channel list that shows the available number of channels. Click on an empty channel and then the Create Analysis icon. 3. On the pop-up window, type the analysis name and click OK. 4. Click to select the video source.
- Page 10 5. The added devices are shown on the left panel, drag a video source to the right window. 6. The video image appears on the screen. To narrow down the area in which the algorith will actively run, draw the Region of Interest (ROI), where the license plate will appear.
- Page 11 7. Modify the default settings as needed. Resize to set the Minimum Plate Size Reference Frame Import / Export Configuration Resize to set the Maximum Plate Size Reference Frame Click to draw ROI: Polygon Input Rectangle Properties Play Video Select to access ALPR settings Timeline Numeric values of the Minimum License Plate Size and...
- Page 12 9. The Analysis page appears. Drag the channel to the right to see the live view. Double-click the live view to display the Result window. To see the list of results, click License Plate Recognition Result. Quick Installation Guide...
- Page 13 Select the video source and covered schedule, then click Search The list of recognized licenses will be shown on the list. 13. Check the box of the license plates data to export, then click Export Check to select all 14. Select the folder to save the exported file, then click Start.
-
Page 14: Warranty Card
Due to continuous product improvements, some contents may have changed from the time this documentation was printed. You can download the latest user documentation, which shall prevail over the printed version provided in the package, from http://www.acti.com/downloadcenter WARRANTY CARD This product is under warranty from the date of the original purchase (“Warranty Period”).
Need help?
Do you have a question about the LPR-100 and is the answer not in the manual?
Questions and answers