Makita TD001G Instruction Manual
Hide thumbs
Also See for TD001G:
- Instruction manual (128 pages) ,
- Instruction manual (129 pages) ,
- Instruction manual (128 pages)
Table of Contents
Advertisement
Quick Links
Advertisement
Table of Contents

Related Manuals for Makita TD001G


Summary of Contents for Makita TD001G
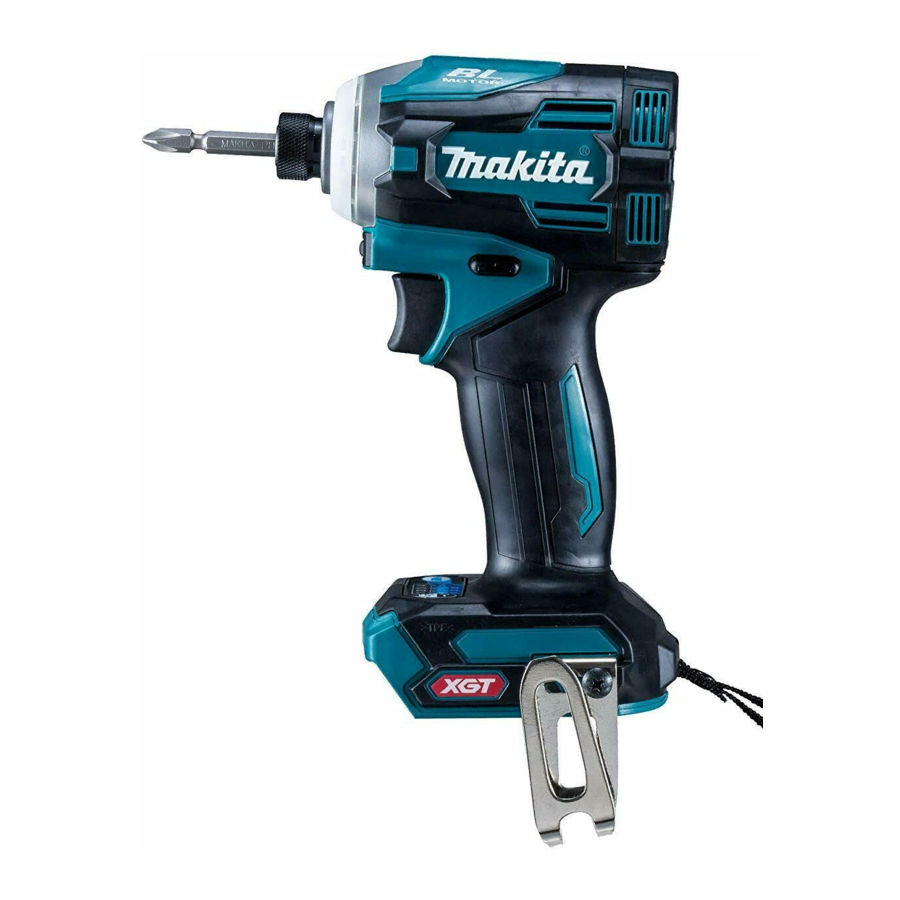
- Page 1 INSTRUCTION MANUAL Cordless Impact Driver TD001G IMPORTANT: Read Before Using.
-
Page 2: Specifications
SPECIFICATIONS Model: TD001G Fastening capacities Machine screw 4 mm - 8 mm Standard bolt 5 mm - 16 mm High tensile bolt 5 mm - 14 mm No load speed (RPM) 4 (Max impact mode) 0 - 3,700 min 3 (Hard impact mode) -
Page 3: Safety Warnings
Intended use EC Declaration of Conformity The tool is intended for screw driving in wood, metal For European countries only and plastic. The EC declaration of conformity is included as Annex A to this instruction manual. Noise The typical A-weighted noise level determined accord- ing to EN62841-2-2: SAFETY WARNINGS Sound pressure level (L... - Page 4 Personal safety Power tool use and care Stay alert, watch what you are doing and use Do not force the power tool. Use the correct common sense when operating a power tool. power tool for your application. The correct power tool will do the job better and safer at the Do not use a power tool while you are tired or under the influence of drugs, alcohol or med- rate for which it was designed.
- Page 5 12. Use the batteries only with the products MISUSE or failure to follow the safety rules stated specified by Makita. Installing the batteries to in this instruction manual may cause serious non-compliant products may result in a fire, exces- personal injury.
-
Page 6: Functional Description
It will also void the Makita warranty for the Makita tool and charger. Tips for maintaining maximum battery life Charge the battery cartridge before completely discharged. - Page 7 Overheat protection Indicating the remaining battery capacity When the tool is overheated, the tool stops automati- cally, and the front lamps blink. In this situation, let the Press the check button on the battery cartridge to indi- tool cool before turning the tool on again. cate the remaining battery capacity.
-
Page 8: Changing The Application Mode
CAUTION: Always check the direction of rotation before operation. CAUTION: Use the reversing switch only after the tool comes to a complete stop. Changing the direction of rotation before the tool stops may dam- age the tool. CAUTION: When not operating the tool, always set the reversing switch lever to the neu- tral position. - Page 9 By registering a certain application mode to the tool, you can When the application mode is not registered: switch to the registered application mode by just pressing the The level of impact force changes every time you press quick mode-switching button (quick mode-switching function). the quick mode-switching button.
- Page 10 How to confirm Button(s) / Purpose Action Press and hold (each button) Erasing the registered application mode All impact force grade lamps blink. Press and hold (each button) All lamps on the panel blink. Disabling/resuming the quick mode-switching button : The lamp is blinking. Changing the impact force You can change the impact force in four steps: 4 (max), 3 (hard), 2 (medium), and 1 (soft).
- Page 11 Application mode Maximum blows Purpose Example of application (Impact force grade displayed on panel) 1 (Soft) 1,100 min (/min) Tightening with less force to avoid Tightening sash screws or small screw thread breakage. screws such as M6. : The lamp is on. NOTE: When none of the lamp on the panel is lit, pull the switch trigger once before pressing the button or the quick mode-switching button.
- Page 12 Application mode Maximum blows Feature Purpose (Assist type displayed on panel) T mode (2) * 2,600 min (/min) This mode helps to prevent the screws from Driving self-drilling breakage and stripping. It also accomplishes quick screws to a thick metal operation and good finish at the same time.
- Page 13 Quick mode-switching function What you can do with the quick mode-switching function The quick mode-switching function saves the time for changing the application mode of the tool. You can switch to your desired application mode by just pressing the quick mode-switching button. It is helpful when doing a repetitive work which requires to switch between two application modes alternately.
- Page 14 Using the quick mode-switching function When the tool is in the mode that is not registered, press the quick mode-switching button to switch to the registered application mode. The tool switches between the registered application mode and last application mode every time you press the quick mode-switching button.
-
Page 15: Installing Hook
For tool with one-touch type sleeve ASSEMBLY To install the driver bit, insert the driver bit into the sleeve as far as it will go. CAUTION: Always be sure that the tool is Procedure 2 switched off and the battery cartridge is removed before carrying out any work on the tool. -
Page 16: Operation
Proper fastening torque for high tensile bolt OPERATION N•m (kgf•cm) (2040) (1836) (1632) (1428) (1224) (1020) (816) (612) (408) (204) The proper fastening torque may differ depending upon the kind or size of the screw/bolt, the material of the workpiece to be fastened, etc. The relation between fas- tening torque and fastening time is shown in the figures. -
Page 17: Maintenance
Discoloration, deformation or cracks may result. To maintain product SAFETY and RELIABILITY, repairs, any other maintenance or adjustment should be performed by Makita Authorized or Factory Service Centers, always using Makita replacement parts. OPTIONAL ACCESSORIES CAUTION:... - Page 20 Jan-Baptist Vinkstraat 2, Makita Europe N.V. 3070 Kortenberg, Belgium 3-11-8, Sumiyoshi-cho, Makita Corporation Anjo, Aichi 446-8502 Japan 885769-221 www.makita.com 20191011...
Need help?
Do you have a question about the TD001G and is the answer not in the manual?
Questions and answers