Table of Contents
Advertisement
Advertisement
Table of Contents

Subscribe to Our Youtube Channel
Related Manuals for Tenveo HD Conference Camera


Summary of Contents for Tenveo HD Conference Camera
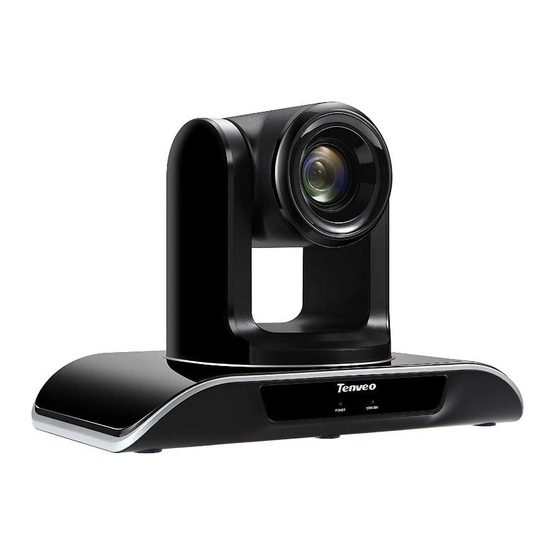
- Page 1 HD Conference Camera User Manual Version V3.21(English)
-
Page 2: Table Of Contents
Contents Product Description Foreword ------------------------------------ Notice ------------------------------------ Supplied accessories ------------------------------------ Performance Characteristics Tech parameters ------------------------------------ Camera parameters ------------------------------------ Quick Start Interface definition ------------------------------------ Installation instructions ------------------------------------ Remote control button description Remote control instructions ------------------------------------ Common operation instructions Common operation instructions ------------------------------------ Dail switch setup ------------------------------------... -
Page 3: Foreword
·Do not disassemble any camera components, in case of abnormal operation; contact your authorized dealer or the store where you p- urchased the product. 3. Supplied Accessories (1) HD conference camera (2) DC12V-2A power supply (3) Ceiling mount (4) Mounting screws... -
Page 4: Performance Characteristics
Performance Characteristics 1. Camera technical parameters Electric Communication Input Voltage DC12V Rate 9600/38400bps Power Protocol VISCA/PELCO-D/PELCO-P Decoder internal Address Set 1~255 Operation Surroundings Operating Horizontal Rotation ±170° 0°~+50° Environment Vertical Rotation 120° Operating Temp 0~95% Rotation Speed 100°/s non-condensing Physics Installation Method Preset Point: 9 for remote control,... -
Page 5: Quick Start Interface Definition
Quick Start 1. Interface definition ① ② ③ High Speed USB HD Video interfare keyboard control DC 12V Output AC 220V Input RS-485 DC 12V ④⑤ ⑥ ⑦ ⑧ (1)IR Receiver (2)Power indicator (3)Standby indicator (4)IR Receiver (5)USB (6) RS-232 (7)RS-485 (8)DC12V... -
Page 6: Installation Instructions
2.Installation instructions (1)Surface Installation Put the camera on the desk flat, and make sure the camera in level. If want to put the camera on oblique surface, please m- ake sure the angle of inclination less than 15 degree for ensu- re camera pan and tilt working in normal operation. -
Page 7: Remote Control Button Description
Remote control button description (1)Remote control launch window (2)【POWER】Standby button, pressing it, camera goes into standby mode; pressing again, camera go- CAMERA SELECT es power on. (3)【P/T Reset 】Camera pan/tilt reset function sa- me with⑧ (P/T RESET) (4)【CAMERA SELECT】Choose the camera number PRESET RESET that needed to control, to correspond the dial-up code... -
Page 8: Common Operation Instructions Common Operation Instructions
Common Operations Introductions CAMERA SELECT 1. Camera Select Refer to the dial-up at the back of camera and choose camera address number that you want to control(1-3) 。 2. Camera Direction Control Turning up Turning down HOME Turning to left Turning to right *Note: Press direction key to move the camera.Press the direction key when you need to change the angle. - Page 9 4. Camera Zoom Control Press any one of the 4 【ZOOM】 ZOOM ZOOM SLOW FAST to make the zoom functioning. These 4 keys are not applicable for fixed focus camera. 5. Preset Setup,Call,Cancel (1) Reserve Preset: Press 【PRESET】 then press one of the number (1-9) to reserve a preset that correspond to the RESET PRESET...
-
Page 10: Dail Switch Setup
Camera Address set PTZ Add. SW1 DIP-1 SW1 DIP-2 SW1 DIP-3 SW1 DIP-4 SW1 DIP-5 SW1 DIP-6 SW1 DIP-7 SW1 DIP-8 ..Protocol Baud rate COM IR IR Add Protocol Baud SW2 DIP-3 SW2 DIP-4 IR Add. SW2 DIP-5 SW2 DIP-6 SW2 DIP-1 SW2 DIP-2 VISCA... -
Page 11: Troubleshooting
Troubleshooting Before request service to serviceman, it can according to below methods to remove failures, if- still can’ t be solved, please contact us for help. Q:The video of camera cannot be displayed on the screen. A:Please check the connection between power cable,video cable, camera and monitor, fix the c- onnector on each end. -
Page 12: Warranty Card Warranty Card
Te n v e o Wa r r a n t y C a r d T h a n k y o u v e r y m u c h f o r c h o o s i n g o u r p r o d u c t s . U s e r ’... - Page 13 C e r t i f i c a t e c o m p l i a n c e Q . A . QC PASSED...
- Page 14 Make any meeting better and easier...
Need help?
Do you have a question about the HD Conference Camera and is the answer not in the manual?
Questions and answers