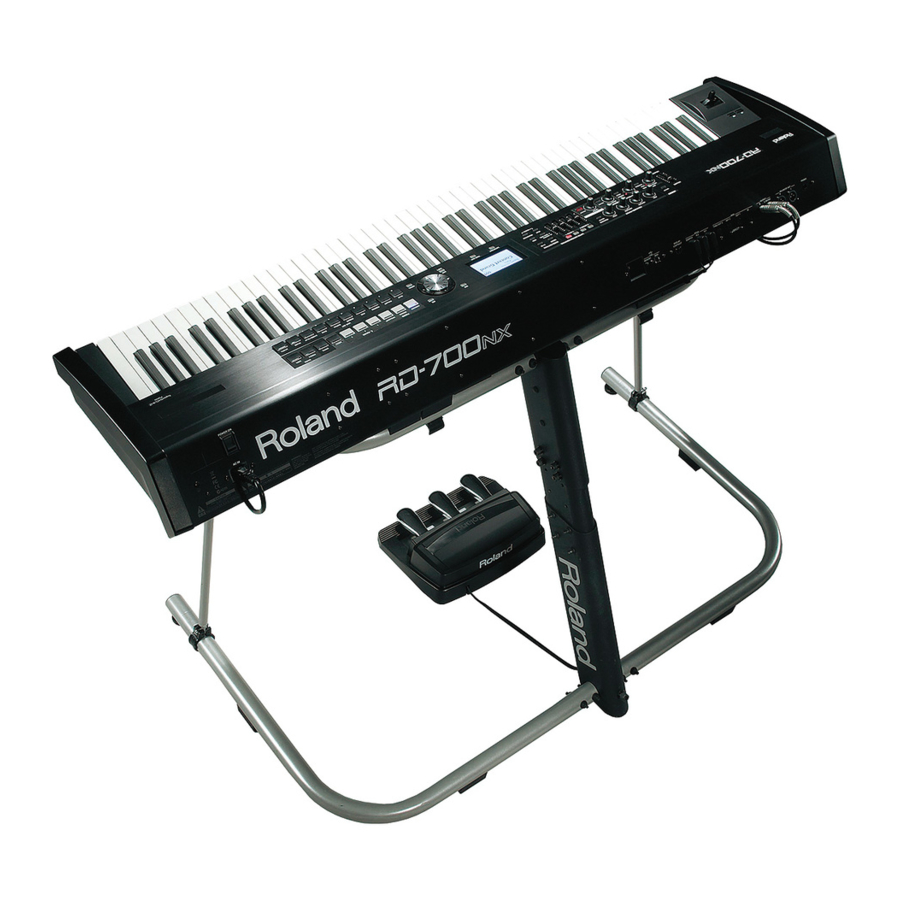
Roland RD-700NX Turbostart
Hide thumbs
Also See for RD-700NX:
- Owner's manual (106 pages) ,
- Midi implementation manual (15 pages) ,
- Supplementary manual (4 pages)
Advertisement
Quick Links
®
®ÂØÒňÎ
Welcome
Congratulations on your purchase of the Roland RD-700NX. This TurboStart contains
step-by-step instructions that will quickly introduce you to its major features.
Listening to the RD-700NX's Preset Live Sets
The RD-700NX contains 200 Preset live sets, and you can store up to 100 of your own. Use
the following procedure to select a Preset live set on the RD-700NX.
1
Press the desired PIANO, E. PIANO, or LIVE SET button to select a category.
2
Use the INC and DEC buttons to choose live sets within the selected category.
Changing a Live Set's Tones
The sound of each live set is a result of the tones it plays. You can have two Upper tones
and two Lower tones in a live set. The UPPER 1 and 2 and LOWER 1 and 2 buttons in
the LAYER SWITCH/CONTROL area show you the tones that are active in the current live
set—if Upper 1 or 2, or Lower 1 or 2 is turned on, its button lights. Here's how to change
these tones.
1
Press a PIANO, E. PIANO, or LIVE SET category button so it lights, and then choose
the desired sound within that category.
2
Press LAYER EDIT so it lights.
3
Press the 6 button to highlight the desired tone onscreen.
Note:
The RD-700NX's PIANO and E. PIANO sounds are based on SuperNATURAL technology
and have a unique internal structure in which Upper 1 can't be selected or changed.
Note:
If you highlight a tone that's not already turned on, its UPPER 1 or 2 or LOWER 1 or 2
button flashes. If you want to activate the tone, press the flashing button so it lights.
When LAYER EDIT is turned on, the PIANO, E. PIANO, and LIVE SET buttons act as
shortcut buttons that select tone categories instead of live set categories.
4
Press a PIANO, E. PIANO, or LIVE SET button to select the desired tone category.
5
Use the INC/DEC buttons or the dial to choose a tone in the selected category.
Note:
You can also use these steps to change other tones in a live set.
©2011 Roland Corporation U.S.
RD-700NX
www.RolandUS.com
Digit al Piano
Adding Additional Tones to a Live Set
You can layer new sounds into a live set by activating additional tones. Here's how:
1
Select the desired live set.
2
Press LAYER EDIT so it lights.
Note:
You can now see the live set's tones.
3
To activate a tone that's not yet in use, press its UPPER 1 or 2 or LOWER 1 or 2 button
so it lights.
4
Press the 5 and 6 buttons to highlight the newly activated tone.
5
To change the selected tone, press a PIANO, E. PIANO, or LIVE SET button to select
the desired tone category.
6
Use the INC/DEC buttons or the dial to choose a tone in the selected category.
Creating a Split
When you've got a live set that plays across the entire keyboard, you can divide, or "split, "
the keyboard so that each hand plays a different tone or pair of tones as follows:
1
Select the desired live set.
2
Press SPLIT so it lights—the live set's Upper tones now play starting at the G below
Middle C, and the Lower tones play below that key.
Note:
You can change the split point by holding down the SPLIT button and touching the
lowest key that you want play the Upper tones.
3
Press LAYER EDIT so it lights.
Note:
You can now see the live set's tones.
4
To turn a tone on or off, press its UPPER 1 or 2 or LOWER 1 or 2 button to light or
unlight it.
5
Press the 5 and 6 buttons to highlight the various Upper and Lower tones and
turn the dial to change the sound currently assigned to each as described earlier.
TBS276
1
Advertisement

Related Manuals for Roland RD-700NX


Summary of Contents for Roland RD-700NX
- Page 1 You can now see the live set’s tones. The RD-700NX contains 200 Preset live sets, and you can store up to 100 of your own. Use To activate a tone that’s not yet in use, press its UPPER 1 or 2 or LOWER 1 or 2 button the following procedure to select a Preset live set on the RD-700NX.
- Page 2 How to Save a Live Set Use the following procedure to transpose your RD-700NX. The RD-700NX has 100 live set memory locations in which you can save your favorite settings. Use the following procedure to save your current settings as a live set on the Press and hold the TRANSPOSE button to display the TRANSPOSE menu.
Need help?
Do you have a question about the RD-700NX and is the answer not in the manual?
Questions and answers